The Windows keyboard has duplicate shortcut keys for some of the functionalities. These include Ctrl, Alt, Shift, Home, Page Up, Page Down, etc. Unlock the full potential of your Windows keyboard by learning how to remap keys and create custom shortcuts for your favorite functions. For example, you could directly open My Computer via the Home Key. Now you won’t have to raise your hands, grab hold of the mouse, and open the desired option. You can even create custom shortcuts for apps on Windows.
Remapping Keys in Windows
You can remap keys in Windows by editing values in the Registry Editor. However, the steps are highly complicated and might result in unforced errors. For example, if you wish to disable the functionality of the Caps Lock key, you’ll have to browse to the following location:
HKEY_LOCAL_MACHINE\SYSTEM\CurrentControlSet\Control\Keyboard Layout
We will then have to modify the ScanMap code file, which has the following value, with 3a being the Scan Code of Caps Lock.
"Scancode Map"=hex:00,00,00,00,00,00,00,00,02,00,00,00,00,00,3a,00,00,00,00,00
The four zeroes before ‘3a’ represent the feature we are going to associate it with. Since we are disabling its functionality, hence the value is 00,00. On the other hand, the 3a,00 in italics represents the code of the key we are remapping in Windows (on which you could enable the Secure Sign-In feature), which in this case is Caps Lock. Once you do this, save it as a disable_capslock.reg file and merge it with the original ScanMap file.
SharpKeys does all the work in the background. All you have to do is perform one or two clicks, and that is it. With that said, here are the steps that need to be followed to remap keys in Windows Vista, 7,8, and 10.
Warning: I tried the steps personally on my laptop, and everything went perfectly. Even then, I cannot guarantee that the app will work 100% of the time. You should only try these steps at your own risk, understanding the risks involved. Technastic or any of its members won’t be held responsible if you mess up while remapping any of the keys on your Windows PC via this software.
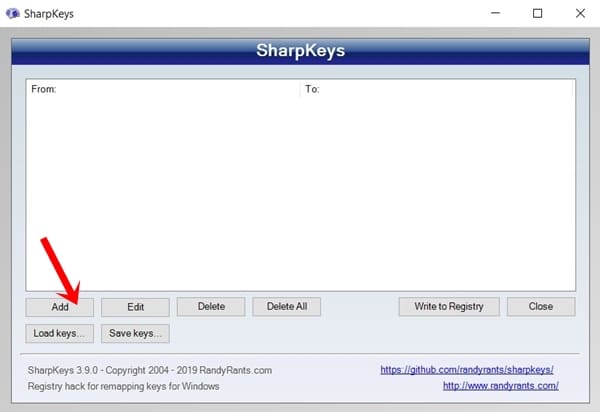
Remap Keys using SharpKeys
- Download and install the SharpKeys on your Windows PC.
- Now, click Add to create a new key mapping on Windows.
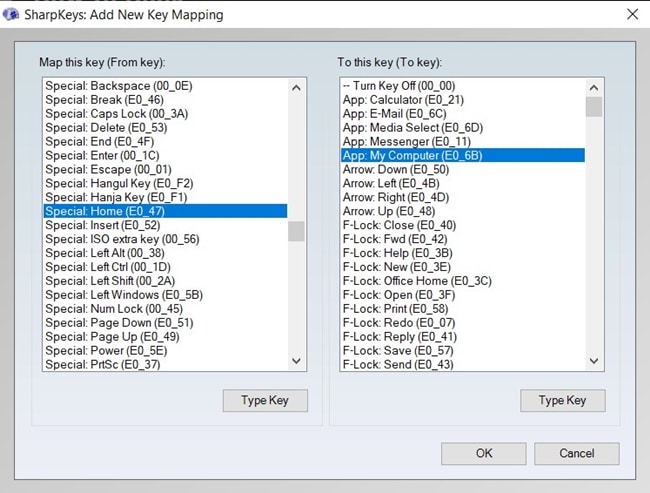
- The next step is self-explanatory. Under the “Map this key” section, select the key to be remapped in Windows. And from the “To this key“, select the functionality to be mapped to that key. Say, you wish to open the My Computer using the Home key.
- In that case, select Home in the “From Key” section and select “My Computer” from the “To key” section. Once done, click OK. If you are having trouble finding the right key, take the help of the Type Key functionality.
- Finally, click Write to Registry and restart your PC once for the changes to take place.

That’s it. You have successfully remapped a key on your Windows PC.
Read next: How to Remotely Sign Out and Lock Windows 10 Devices