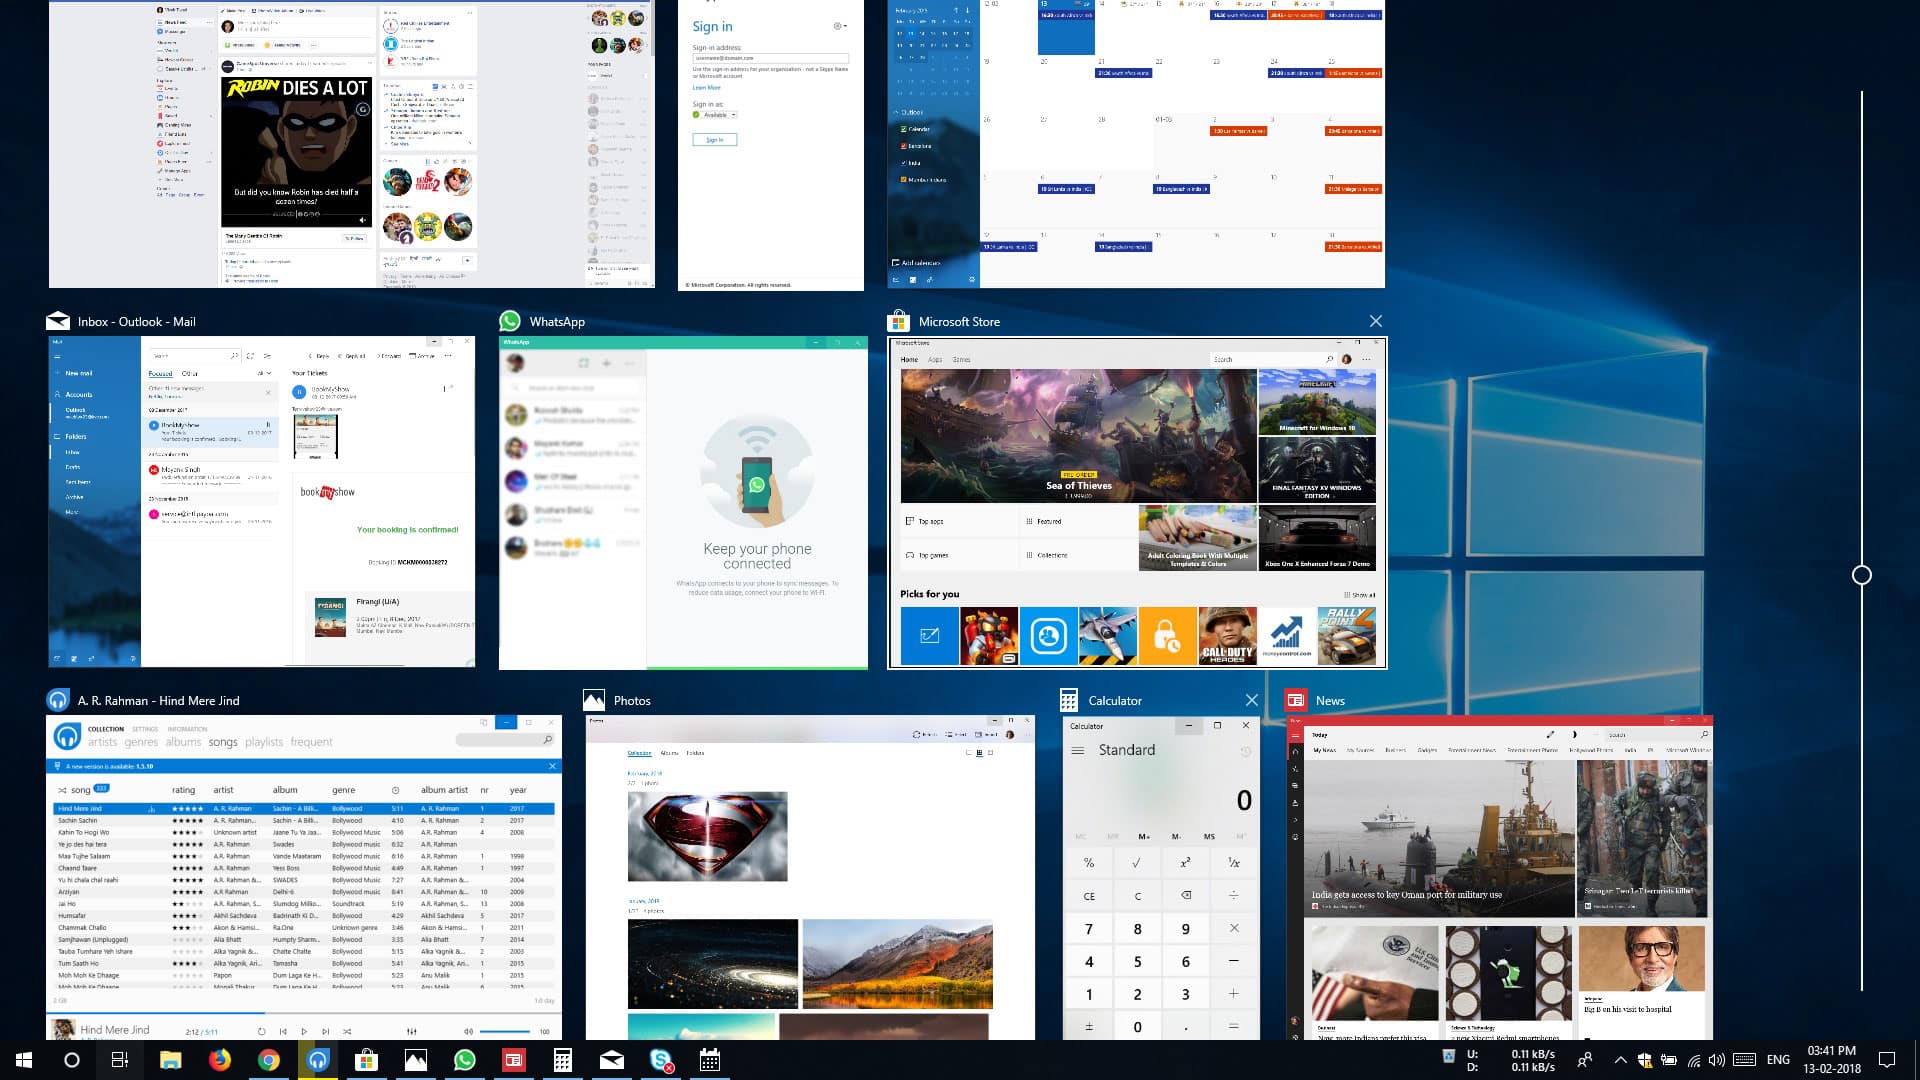
Windows has come a long long way when it comes to multitasking. You can now have twice as many or even more websites open without them taking an extra inch of space on your taskbar. Multiple Windows from the same program are grouped. The best of all are virtual desktops. Here are 5 Windows 10 multitasking tips that you must check out.
If your PC is booting up slowly or taking a lot of time, here are some tips to make your Windows 10 machine boot faster.
1. Use the Win+Tab instead of Alt+Tab
The first of our Windows 10 multitasking tips relates to switching all active tasks or windows. When I used Windows 10 for the very first time, I wasn’t very impressed with the Task View button. For a long time, I’ve wanted a fancier alternative to Alt+Tab and I’ve even had one for a while, pinned to the taskbar, pretty much like the Task View button. While it was fancy, it wasn’t practical to find and click something on the taskbar to switch between open windows. Why not click the Window you want to switch to in the first place? Switching Windows was all I thought the Task View button was for. I couldn’t have been more wrong, but we’ll return to that later.
The Task View button can be used to switch Windows quite effectively. This becomes quite apparent when you have a lot of open windows. The Alt+Tab view has been pretty much the same as it has been for the past decade. The traditional Alt+Tab view only displays small thumbnails of Windows and the Title text gets smaller as the number of Windows increase.
In the Task View, the Window thumbnails are much bigger and clearer, even compared to the slightly better Alt+Tab menu on newer Windows 10 versions. This makes it easier to find the window you want to switch to. TaskView can be invoked by pressing Win+Tab or clicking the button next to the Cortana search bar or icon on the Taskbar. There are a bunch of more Windows 10 keyboard shortcuts to perform various tasks easily. You should also check them out.
2. Virtual Desktops
Coming back to why the TaskView button was introduced in the first place, Virtual Desktops. This might be a new concept if you’ve never used anything other than a Windows PC. Virtual Desktops have been around for quite a while on Linux. These are a software implementation of multiple screens. Some people have a lot of windows open on one screen and even more on another. Things can get complicated and messy if all these windows are open in the same desktop space. However, not everyone can afford to have multiple displays to better organize their work.
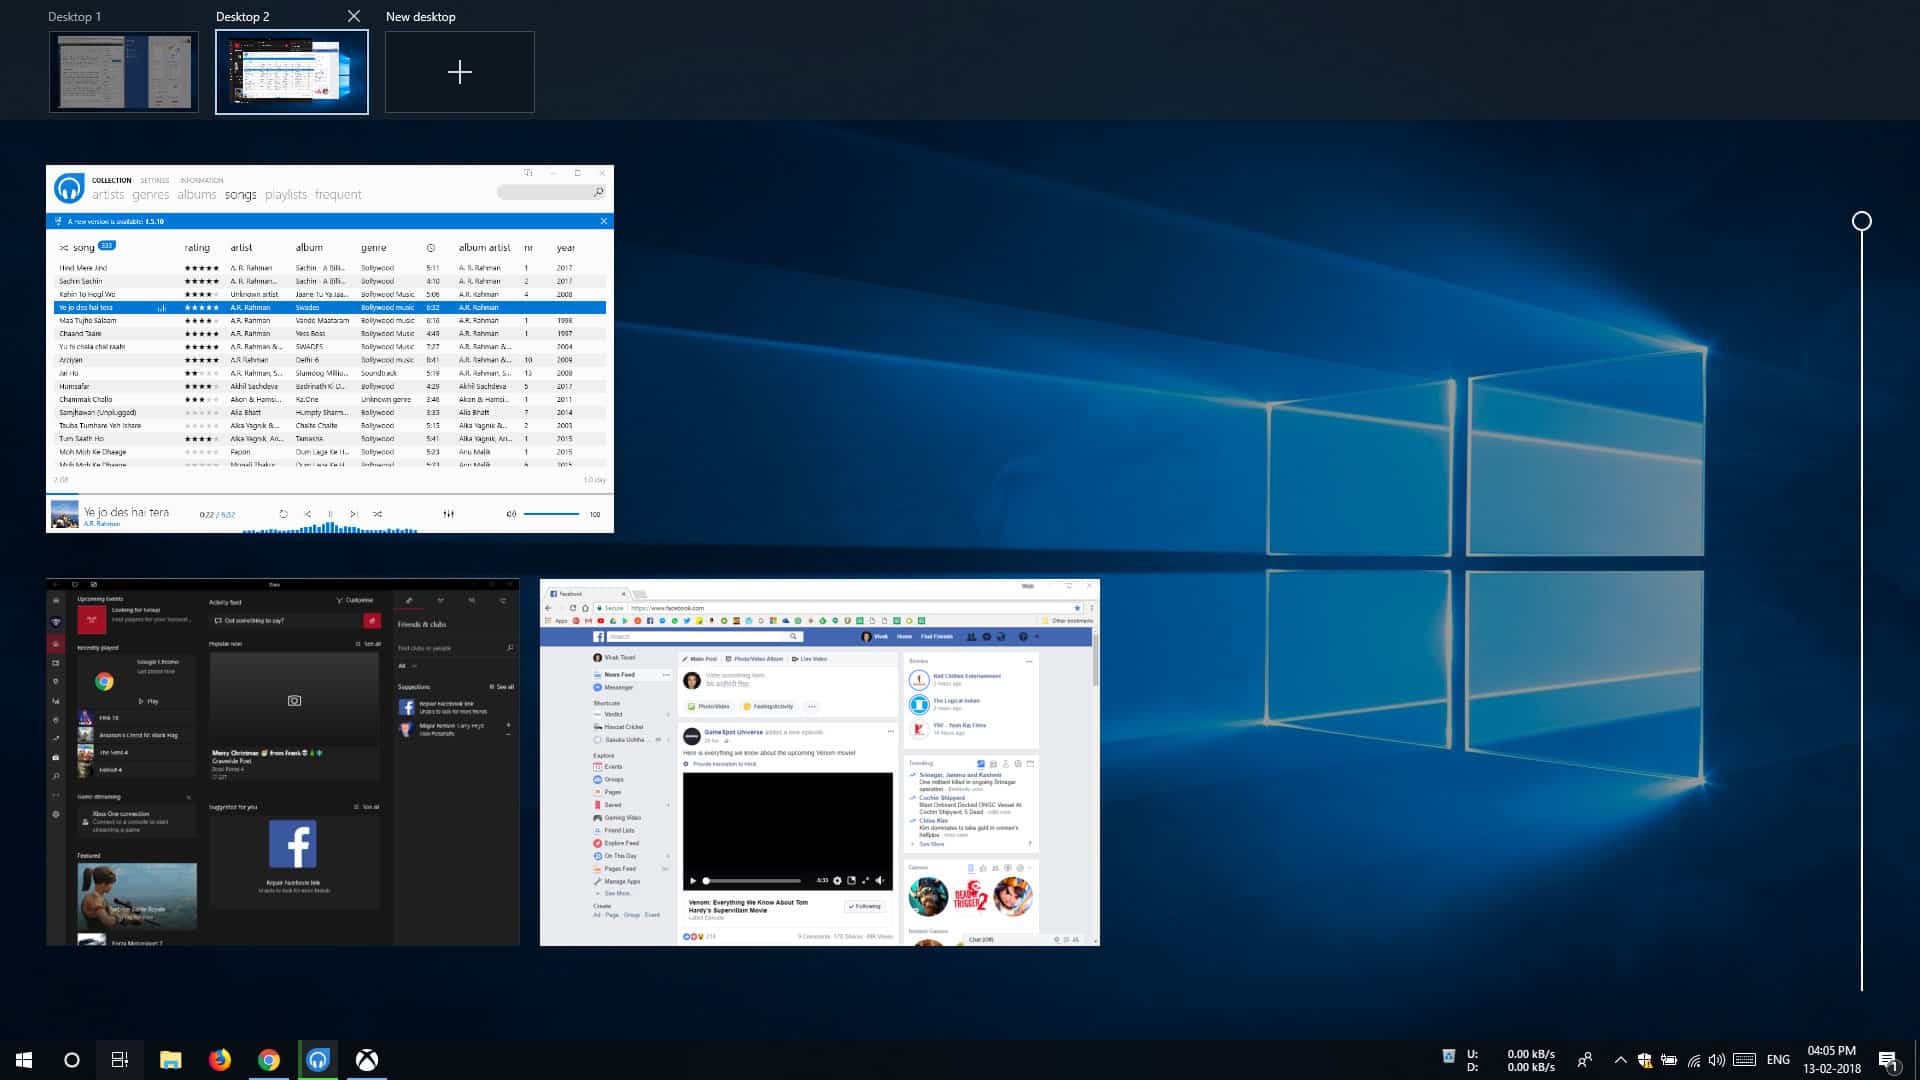
Hence, Virtual desktops. These allow you to have a set of Windows open on one desktop, and another set open on another desktop, which is virtual. It’s kind of like having multiple desktops. Creating a Virtual desktop is easy, go to the Task View and click the + button that says New desktop. Until Windows 10 version 1709, this button has been located in the bottom-right corner of the Task View. Later versions will have it in the top-right.
Even if you don’t consider yourself much of a multitasker, Virtual desktops are useful. For example, sometimes while working on my PC, I feel like I need a break, let’s watch some YouTube or listen to some songs. I have multiple tabs and windows open and don’t want to look at them anymore. So I create a new desktop and do whatever I want to do. All my work is right there on the previous virtual desktop and I can resume anytime I want. You can easily drag and drop Windows to move them from one desktop to another. If you close a Virtual Desktop with open Windows, the windows are moved to the previous desktop.
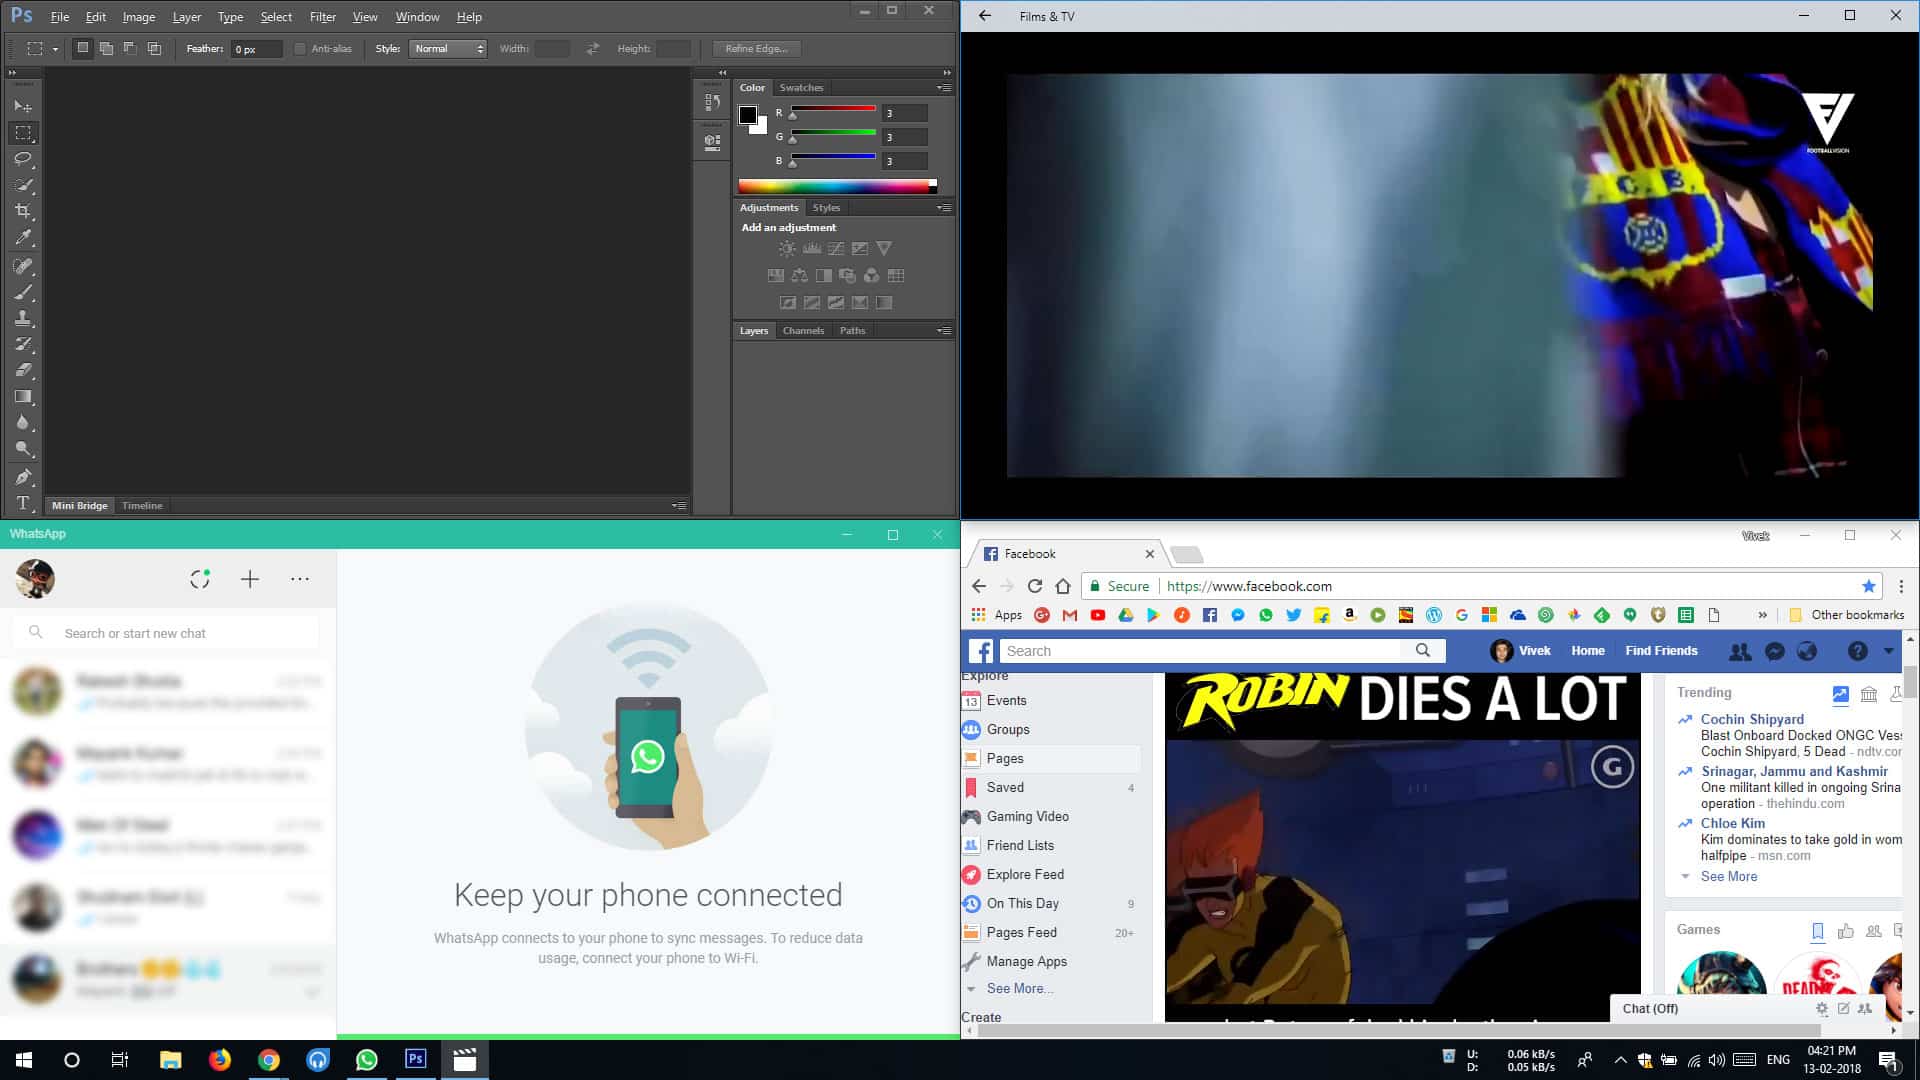
3. Mini Player
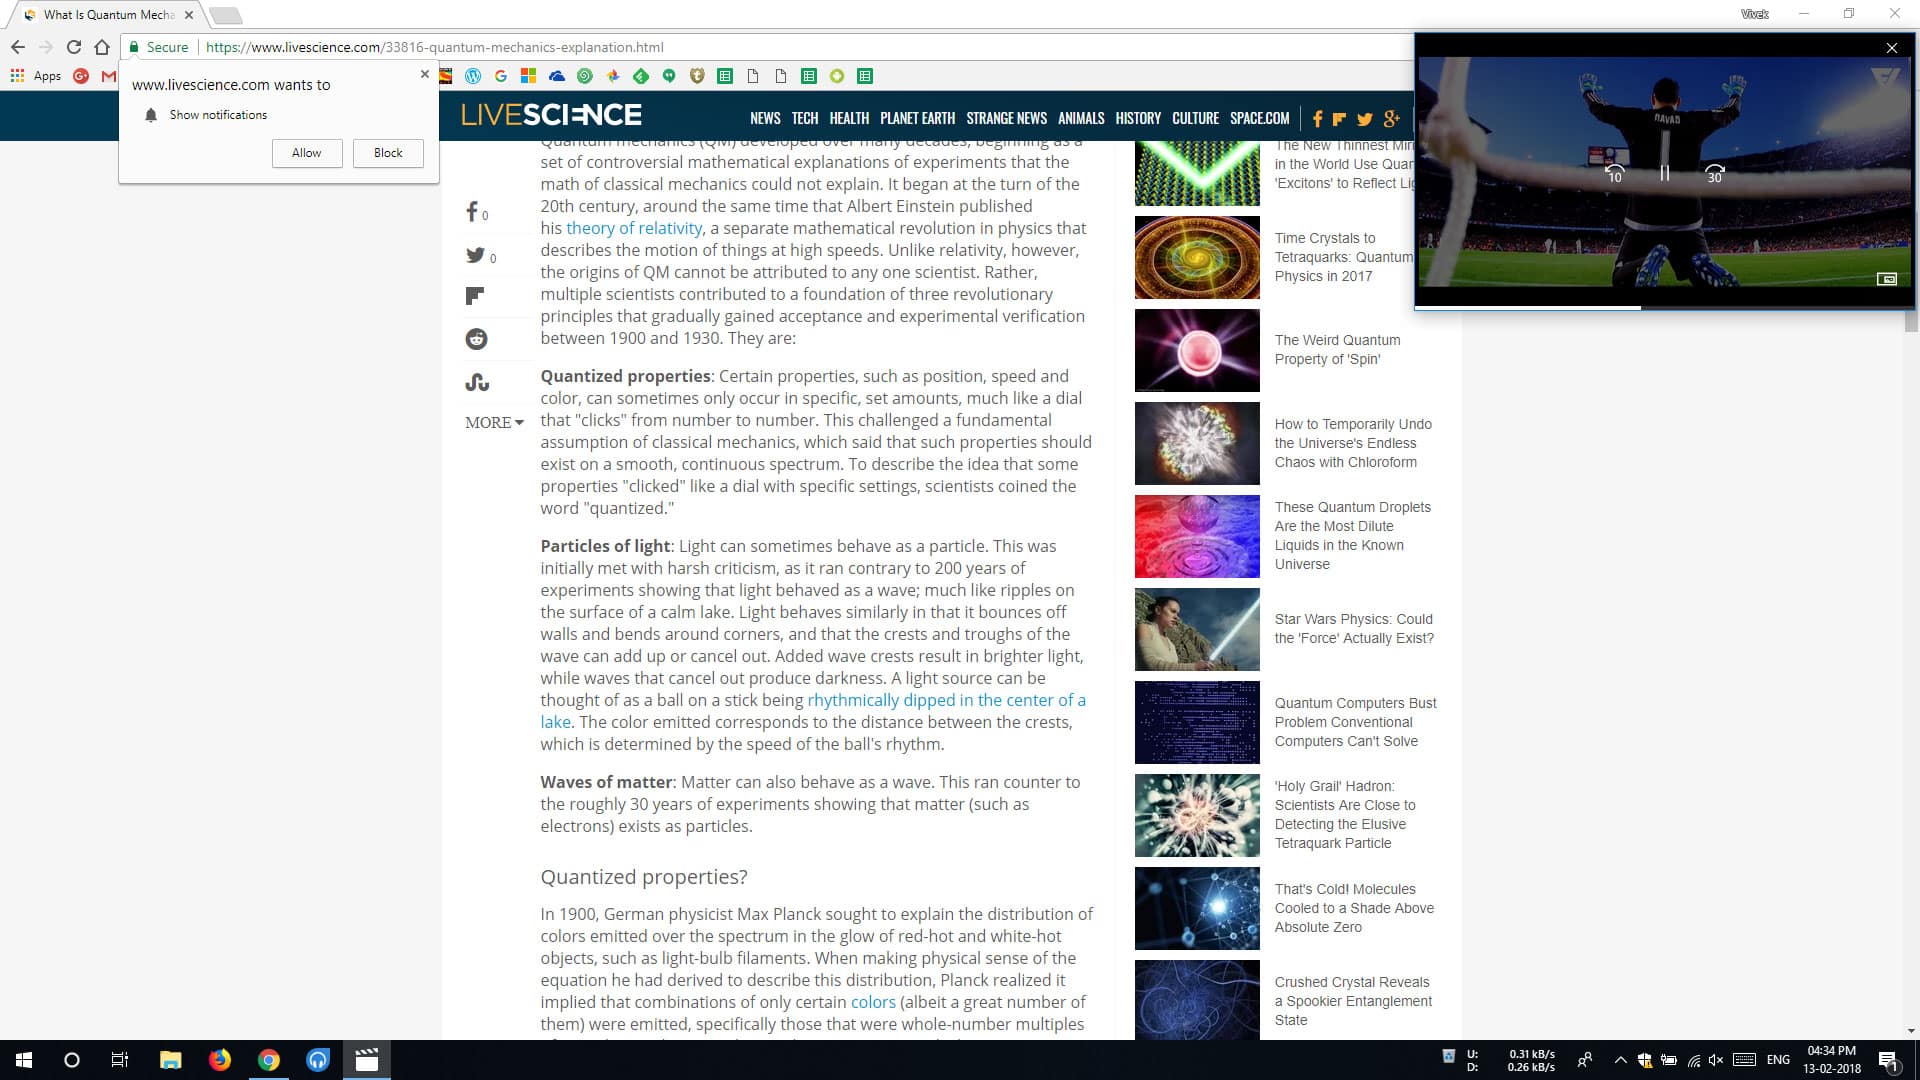
VLC might be the best Media Player ever but the default Films & TV app on Windows 10 has something VLC doesn’t. It’s the Mini Player feature. If you’re watching a video using the Films & TV app you can click the Mini Player button in the bottom-right to reduce the player size. The small window is aligned to the top-right of your desktop but you can move it around and resize it to an extent. It works a bit like the Picture-in-Picture mode on Android. This minimized Window stays on top of anything you might open.
You can give your PC a refreshed look with custom icon packs and beautiful wallpapers. Check out these free icon packs for Windows 10 and wallpaper apps.
4. Scroll Inactive Windows
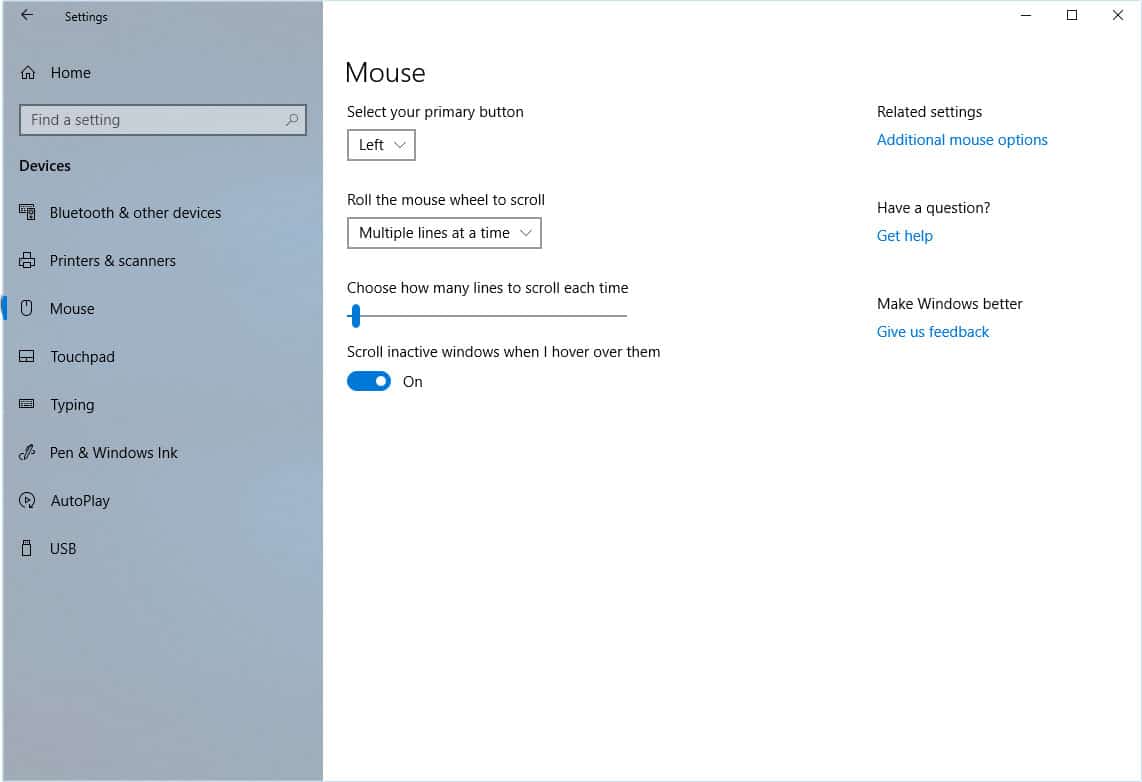
Once again, Windows should’ve had it years ago but better late than never. With Windows 10, you can finally scroll inactive Windows. Move your mouse over to an inactive Window and use the mouse wheel or scroll gesture to scroll. No need to first select the Window and make it active. You can disable this feature if you want to, for some reason, under Settings > Devices > Mouse. This can be convenient if you’re writing something while looking at something else in another Window for reference. It complements the functionality we’re going to discuss next.
5. Snap Assist
This is pretty old and this is something that Windows introduced first. You probably already know that you can drag a Window to either edge of the screen, left or right to snap the Window to the edge so that it takes exactly half of your screen. You can then have another Window take the other half of your screen the same way. Windows 10 takes this up a notch by allowing you to snap Windows to not only the edges but also the corners. If you drag a Window to any of the four corners of your desktop, it will stick to the corner and take up exactly a quarter of your screen.
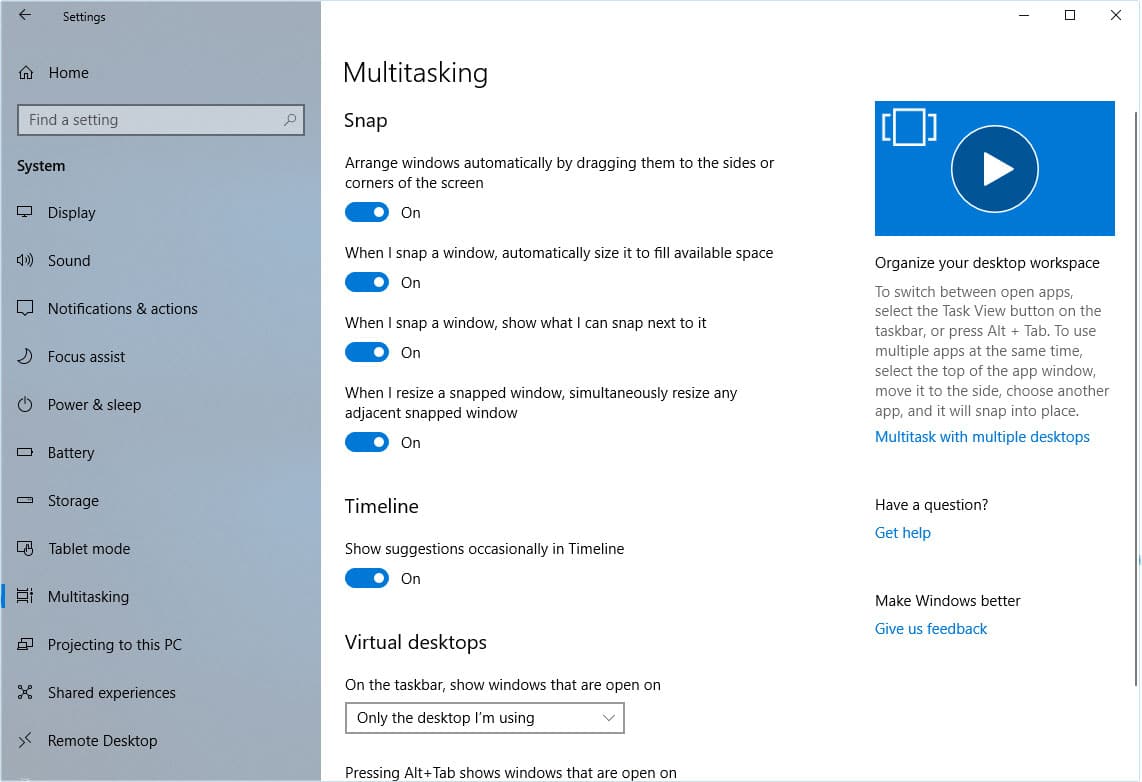
This is pretty useful when you need to use multiple windows side by side. Since the Windows File Explorer is still stuck in 2010 and doesn’t support tabs yet, stacking two Explorer Windows side by side is convenient when moving a lot of folders here and there. You can change some Snap settings under Settings > System > Multitasking or completely disable the feature.
Besides the tips mentioned above, we have several articles describing screenshot tips, some hidden Windows 10 tips, Windows taskbar tips, and so on.