Microsoft has always considered accessibility as an important part of Windows. Whether it’s the magnifying tool or the speech-to-text service that reads things out to you. The OS also includes a Speech recognition feature that can enable voice typing. This has been available before Windows 10, but Windows 10 brings in a new speech tool. The new tool can help you type using your voice. The older tool can do it too and still lives in the Control Panel but can also be accessed via the new Settings app. We’ll focus on speech recognition on Windows 10 so the Settings app is how we’ll access the tool.
Like all the other tools that make using your Windows PC easier for people with certain disabilities, speech recognition too was originally meant for people with disabilities. However, with recent trends and the focus on voice commands, Microsoft is putting in more effort. Speech recognition is still disabled by default though. Here’s how you can enable it.
Setup Speech recognition on Windows 10
- Go to Settings > Ease of access.

- On the left-hand column, scroll down and select Speech. Now on the right side turn on the toggle under Turn on Speech Recognition.
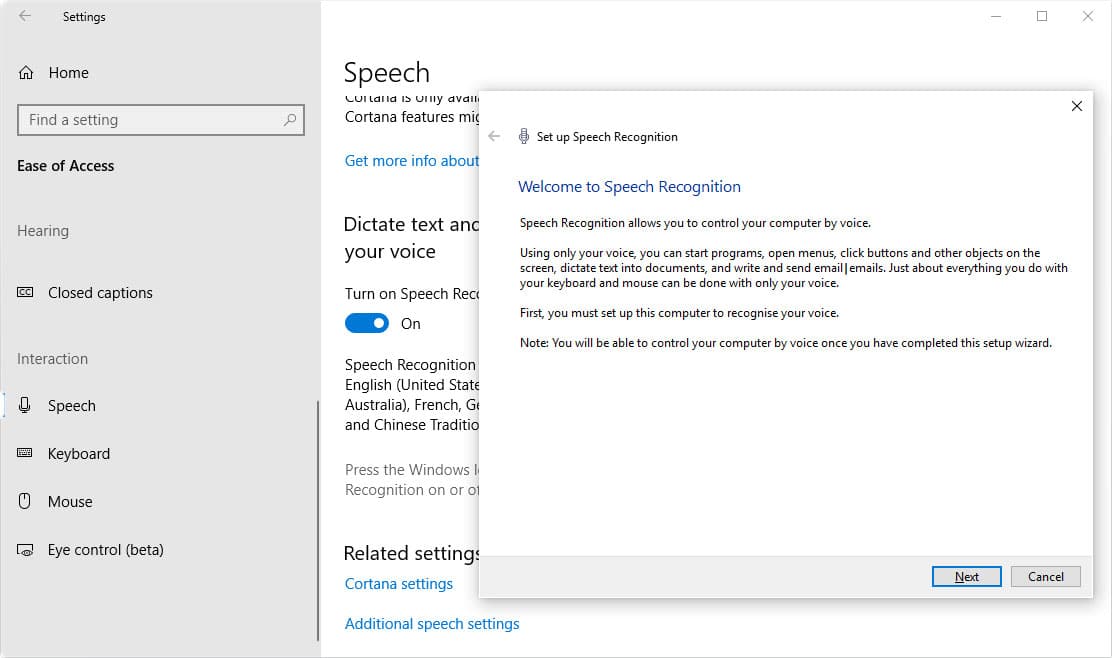
- This will launch the Speech Recognition setup wizard. Click Next.
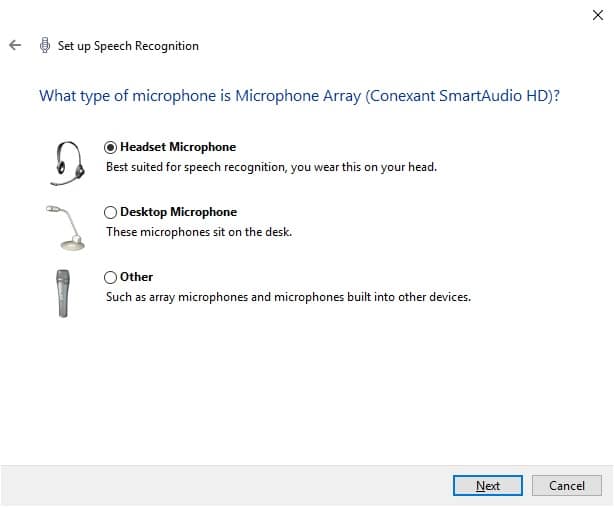
- Select the type of microphone you’ll be using. Desktop microphones are not ideal, headset microphones or microphone arrays are recommended.
- Click Next, then Next again, and read the sentence loudly so that the computer can hear you. Click Next and Next again.
- Speech Recognition can improve accuracy based on the words you use by accessing the documents and emails in your Windows search index. Select the Enable document review option, or Disable document review if you have privacy concerns. Click Next.
- On the next screen, you’ll be asked to select an activation mode. These are your two choices:
- Use manual activation mode — When you’re done using it, Speech recognition will turn off as soon as you use the Stop Listening voice command. To turn it back on, you’ll need to click the microphone button or use the Ctrl + Windows key shortcut.
- Use voice activation mode — Speech Recognition merely goes into sleep mode when not in use, instead of turning off altogether. You can turn it back on by simply saying Start Listening.
- Click Next, and then follow the on-screen instructions. The setup is pretty much done, but on the next few screens, you can see the available voice commands and choose to Start or Skip the tutorial about speech recognition on Windows 10.
Don’t miss: Relocate Installed Apps and Games in Windows 10
Enable Voice Typing using Speech Recognition on Windows 10
Depending on the activation method you chose earlier, activate the Speech Recognition tool. Select a text field and start dictating once you’re sure that the tool is in listening mode. Remember, you’ll have to speak out every punctuation mark or special character. For instance, to type “Technastic is your source for all the tech tutorials for Windows, Linux and more” you’ll have to speak, “Open quote Technastic is your source for all the tech tutorials for Windows comma Linux and more Close quote”
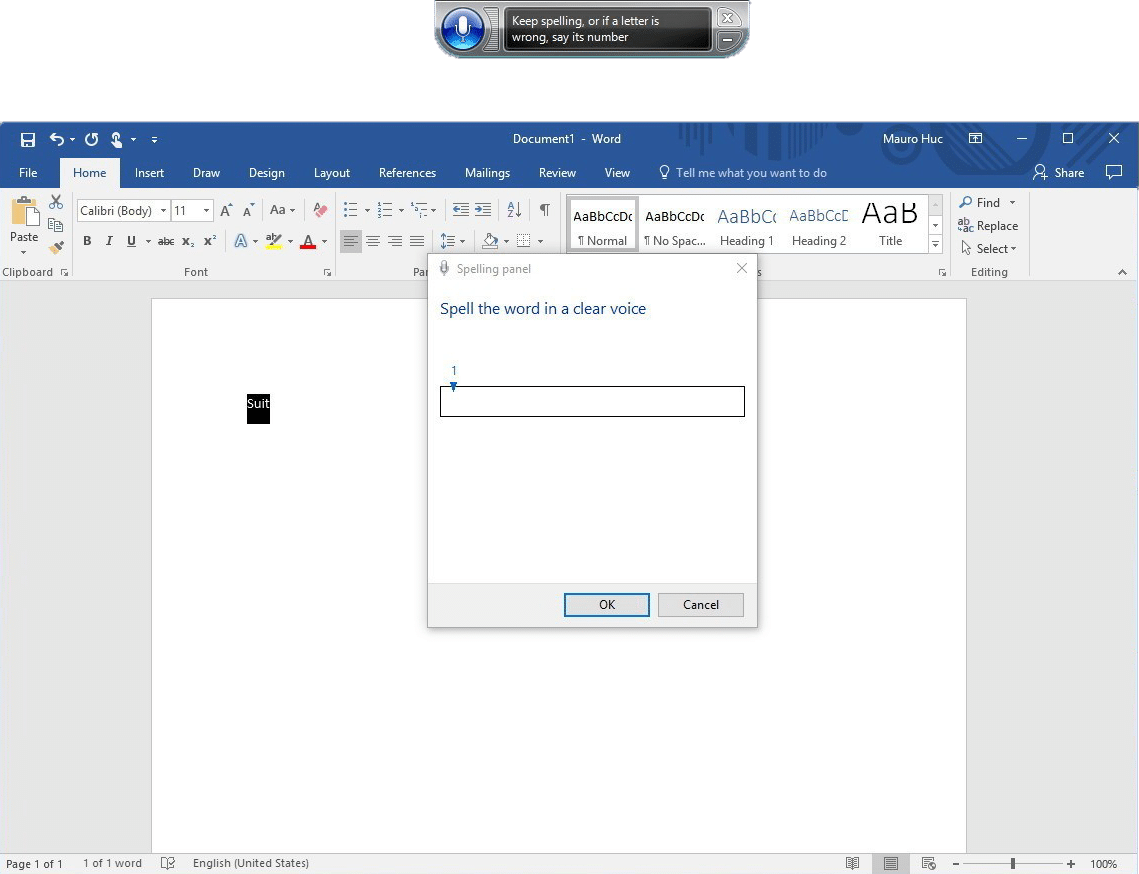 To correct a word that the tool recognized wrong, you can use the Correct command. For instance, say Correct tech and then select from one of the available choices or say Spell it to manually dictate the spelling.
You may also like: How to Use Windows 10 Clipboard History
Enable Voice Typing in Windows 10 using the new tool
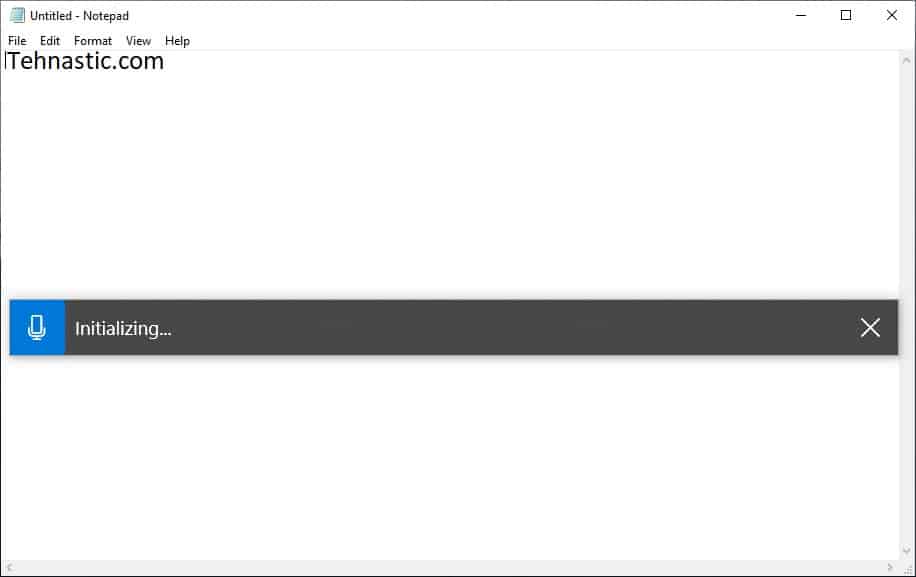
As mentioned previously, Windows 10 includes a new dictation tool, separate from the Speech Recognition on Windows 10. This new tool is easier to use and a bit more modern. This feature is enabled by default and there is no toggle you can turn it off with, not yet. This doesn’t even require any set up whatsoever and will work even if you have Speech Recognition turned off. All you have to do to activate it is select any text field and press Windows+H on your keyboard. As long as your device language is one of the supported languages, you should see the new dictation panel. You can start dictating right away, but if you let the tool sit idle for a 5 seconds or more, it stops listening. To make it start listening again, use the Start Listening command or click on the microphone icon.
You can visit the Microsoft support page to learn about more commands.