Windows has never been the most customizable OS but it is still fairly customizable compared to its main competition. Even Windows XP allowed users to select between one of the taskbar styles. Starting from Windows 7, users could change the taskbar color, and title bar color. That is pretty much all the customization Windows 10 offers today too. That’s not much to people like me, and luckily you can take risks and change more than that using themes. However, if you only want to change system fonts on Windows 10, you don’t need to go to such extreme measures.
On Windows 10, you can change system fonts from the settings, but not really. This means you can change the font size, albeit indirectly, by changing the scaling but you cannot change the font itself. By default, Microsoft uses the Segoe UI font which isn’t bad but it is entirely possible that you may get bored with it. I remember when that used to be me, although I don’t love changing fonts very much. So, in case you don’t like the default font or are bored with it, you can use Advanced System Font Changer.
Advanced System Font Changer
Advanced System Font Changer is a freeware tool that lets you change the default system fonts in Windows 10/8/7. Not only does it let you change system fonts but changes the font size. Fonts aren’t the only thing that can change, however. The tool also allows you to adjust icon spacing, menu height, scroll height, caption height, scroll width, and more. It can also be used to restore the default system fonts. You can use it to change the font system-wide in the following places:
- Title bar
- Menu
- Message box
- Palette title
- Icon
- Tooltip
You’re also allowed to select different fonts and font sizes for each of the above options. Below is an official list of features:
- Advanced setting view options, currently not supported by the basic system
- Allows the detailed setting of Windows 10
- Setting options for font type, size, and style (Bold or Italic) per view categories
- Setting the distance of desktop icons
- Exporting safety backup and settings
- Tracking the current changes in settings
- Doesn’t require installation
- Free to use
- It supports Windows 7/8/10 operating systems
Download
In case you recently downloaded a new Windows update and want to shut down your PC without installing the update, you can do that with our tips.
Run Advanced System Font Changer and back up your default fonts
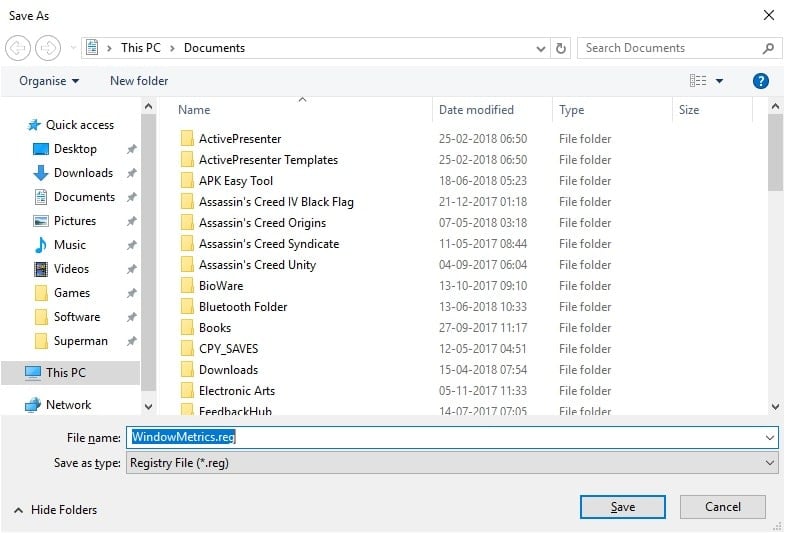
Download the .exe file from the link above and double-click to run it. This is a portable tool so you don’t have to install it. Upon the first run, you’ll be asked if you want to back up your default system fonts. You should do that and select a location you can remember later. You’ll then be presented with the main window where you can change fonts for all the places mentioned above.
Change system fonts on Windows 10
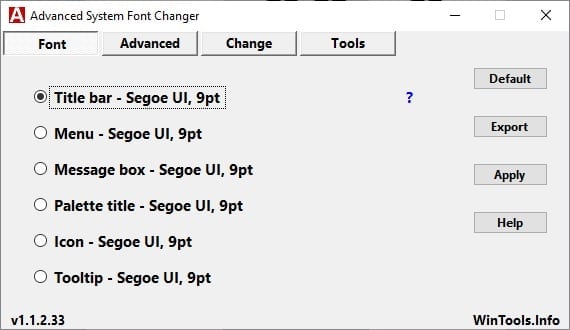
There isn’t a clear button that you can click on to change a selected font, instead, you have to click on the font you want to change. For instance, the Title Bar option is pre-selected, so you would think there is a button that lets you change the font for the selected option. There’s none, and you have to click on the Title bar or another option for which you want to change the font. This will open a font selection Window where you can select from a list of all the installed font styles, and choose any font size and weight you want.
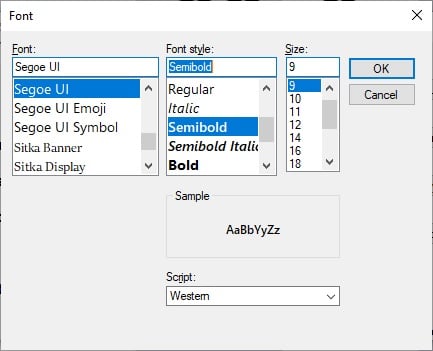
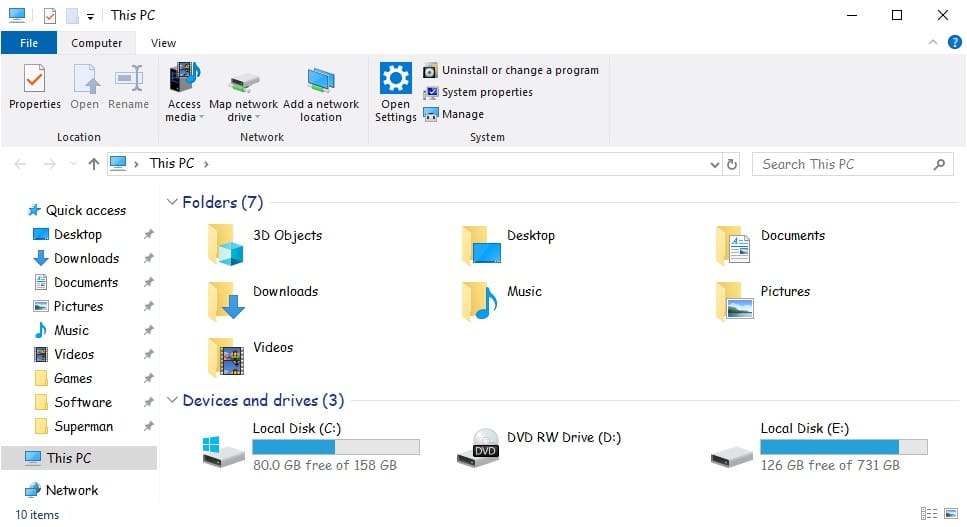
When you’ve found and selected something you like, click OK. Similarly, you can change the font for every available option if you want. When everything is according to your liking, click on the Apply button. To bring the changes to effect, log out of the system and a dialogue box will appear telling you so. Click OK but make sure you save all your work before doing so. When you log back in you should see your new fonts everywhere that you’ve changed.

Under the Advanced tab, you can change all those other options not quite related to font such as icon spacing, menu height, caption height, etc. Select the option to change and move the slider at the bottom. Click Apply and you’ll have to log out for the changes to take effect.
Finally, you have successfully changed the default system font with the font of your choice on Windows 10. It’s time to check our tips to speed up Windows 10 boot-time.