Microsoft’s Windows is a pretty closed affair meaning it’s not an open-sourced software like Linux-based operating systems. This gives Microsoft greater control over the user experience which is essential for Microsoft. This also means you’d have to be dependent on the company to provide features such as themes. Fortunately, unlike Mac, Windows is popular.
As a result, there is no lack of third-party developer support and even with the restrictions, Windows can be quite customizable, provided you’re willing to take risks. Installing third-party themes requires modifying some core system files that can break your PC in case things go south. Let’s see how you can apply custom themes on Windows 10 using UltraUXThemePatcher and UXStyle.
Windows does have a Themes feature, by the way, but for years now it has been the same. It only lets you change the wallpapers and the color of certain Window elements. This is why perhaps these supposed “themes” are aptly called visual styles. Windows does not support third-party themes and you’ll need Microsoft-signed themes (visual styles) on their website. A popular tool called UltraUXThemePatcher bypasses this restriction and allows third-party themes to make changes to your system. With each new release though, the company makes a few changes to the Theme engine which means for every update, you’ll need a new version of UltraUXThemePatcher to support it.
There is another tool called UxStyle that allows you to install third-party themes but does not make any changes to system files. It’s a safer approach and you don’t have to worry about a Windows update breaking something other than your themes. There’s a pretty good chance this won’t work for you. UxStyle hasn’t been updated beyond Windows 10 Technical Preview versions.
Downloads UltraUXThemePatcher
- UltraUXThemePatcher
- UxStyle (uxstyle.com)
Download the setup file, right-click it, and select Run as administrator. Follow the on-screen setup wizard to install whichever of the two tools you’ve chosen. Once installed, you’ll have to reboot your system before you can install any themes.
Note
- Before you try anything, it is better to create a system restore point.
- The three system files that UltraUXThemePatcher modifies are uxtheme.dll, UXInit.dll, themeui.dll. These files are located in the C:\windows\system32\ folder. If you’re running the latest version of Windows, anything beyond the Creator’s update, there’s a small chance UltraUXThemePatcher will not be able to take ownership of these files. In that case, download and install TakeOwnershipEx from Winaero. Navigate to the System32 folder, right-click each of the above .dll files, and select Take Ownership/Restore Rights.

Install Custom Themes on Windows 10
To install third-party themes, you’ll first of all need one. You can find many themes for Windows all over the internet, some paid but mostly free. Some themes come with a .exe installer so you don’t have to do much but double-click on them. These installers will install everything from the required icon packs, cursor themes, necessary tools to modify Windows Explorer, visual styles, etc. Most of the time though these will also attempt to install unwanted browser add-ons, search tools, or other adware on your system so be very careful while clicking any buttons. A good source for such themes is skinpacks.com.
The best source for all your customization needs though is deviantart.com. Here you’ll find tons of visual styles for Windows and themes and icons for many other pieces of software. For example, let’s download the Ades Theme for Windows 10 by unisira from DeviantArt. 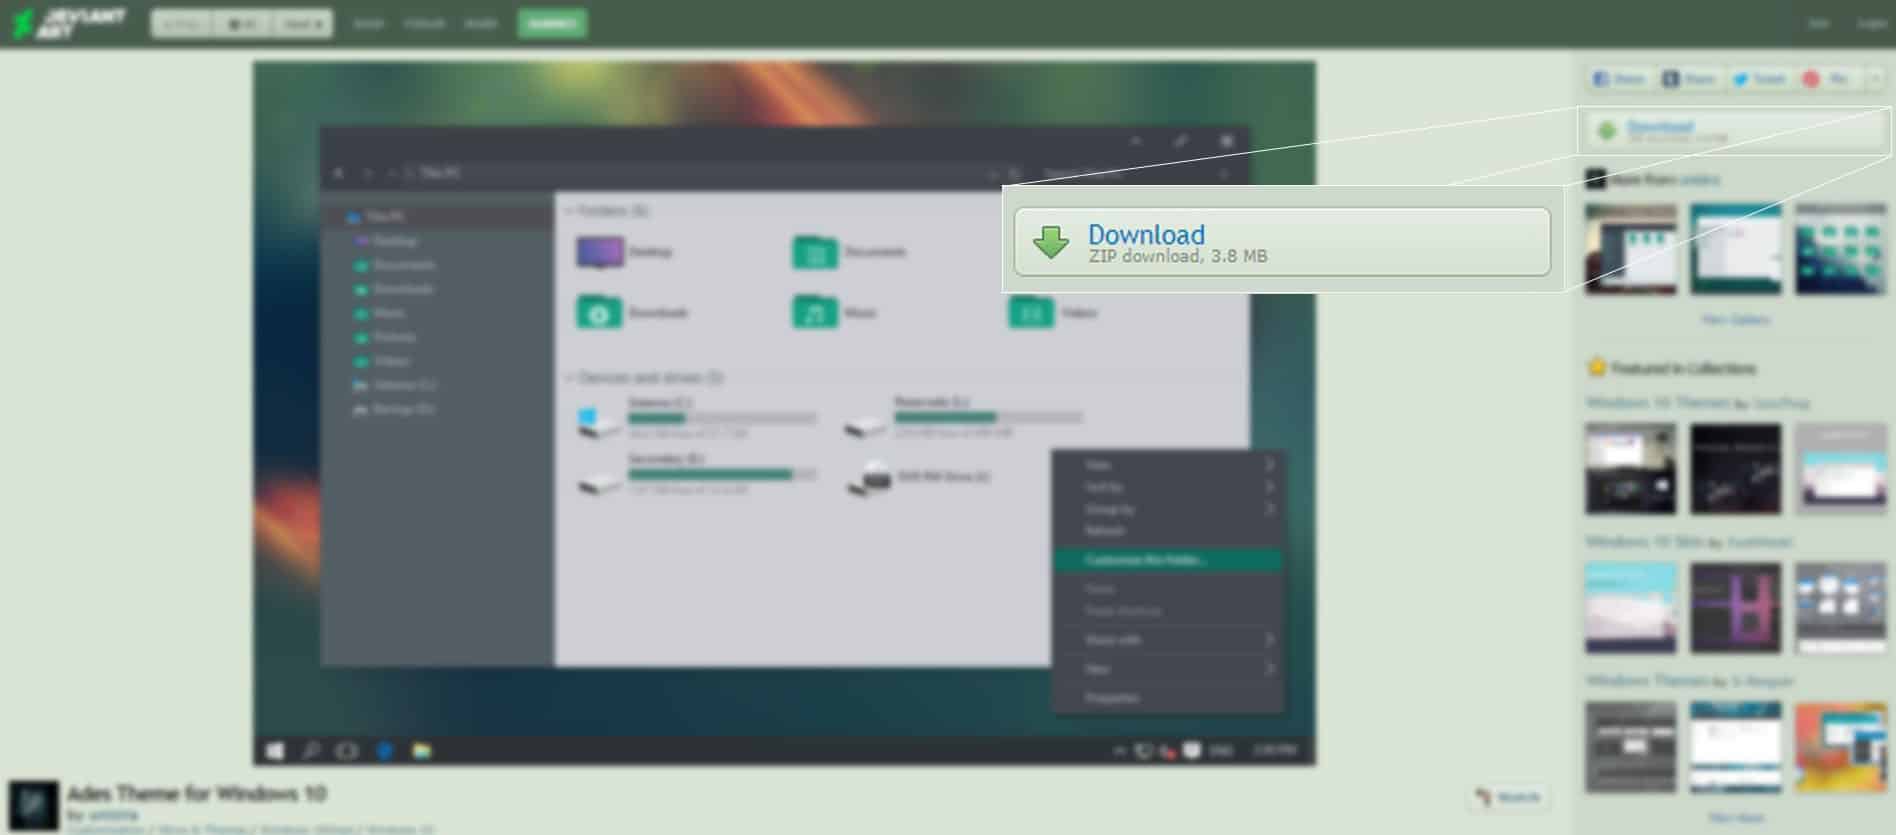
Just click the Download button on the right to get a zip file. Extract the file and move the contents inside the Themes folder to the C:\Windows\Resources\Themes\ folder. You’ll find the Windows Aero theme here by default and any other themes you may have installed from Microsoft’s website. 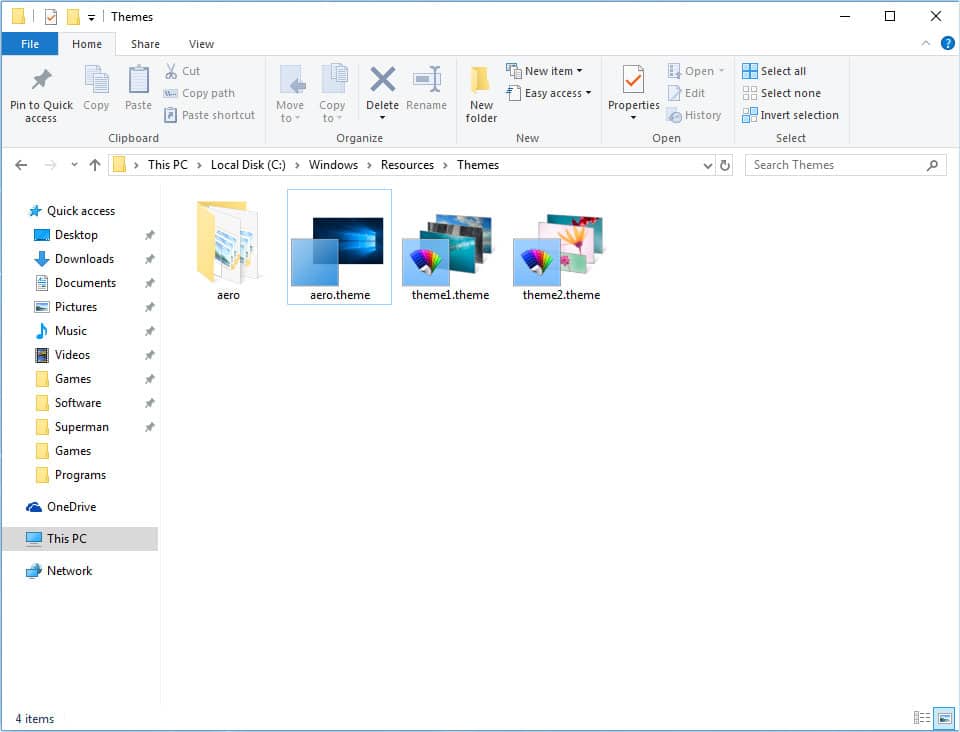
Every zip you download will probably have a different folder structure. You only need to move the contents of the folder which has .theme file(s) and it will also have a folder of the same name. Once you’ve moved the theme files to the appropriate folder, you can double-click on any of the .theme files to apply it. 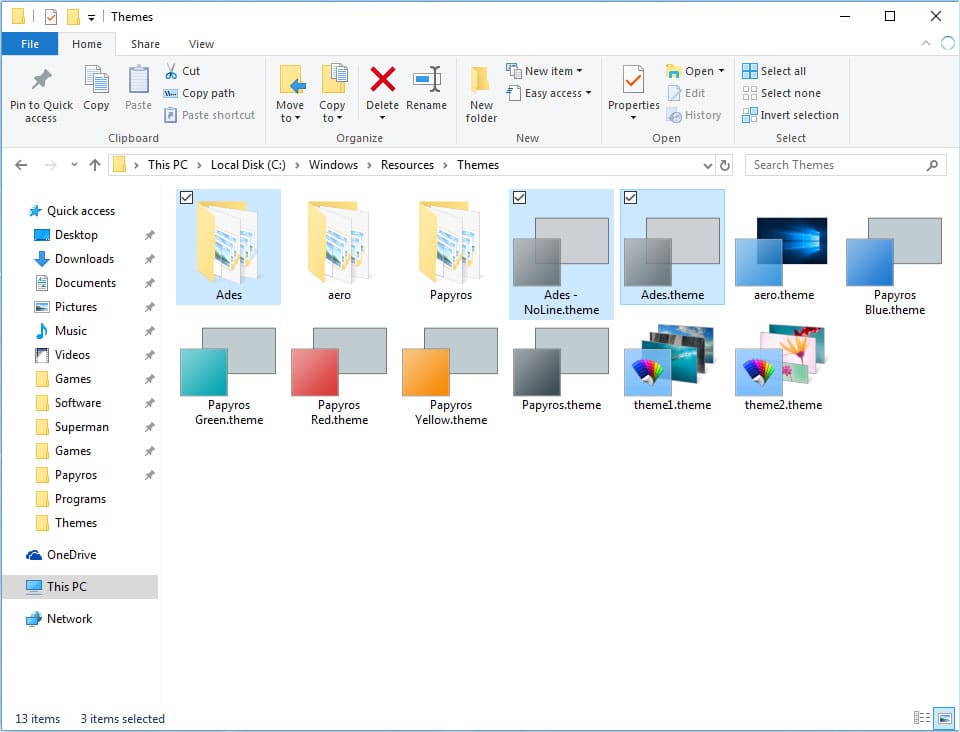
Also, most theme designers aren’t fans of the Ribbon bar introduced with Windows 8, so their themes are designed keeping the old-school Windows 7 style explorer in mind. The Ribbon bar can make things look awkward, but you can easily remove it with a tool called OldNewExplorer.
Read Next: How to Combine Multiple Partitions into a Single Partition