Linux may not be as popular as some desktop operating systems but it still has plenty of apps for just about anything. Take screen recording, for instance. There are plenty of screen recording apps to choose from ranging from amateur projects to professional-grade tools. When you’re looking for a good screen recorder it can get confusing. GNOME is one of the most popular Linux desktop environments, and has a built-in GNOME screen recorder. Below, we’ll see how we can use this screen recorder in Ubuntu.
You may have seen YouTube videos of users sharing a screencast of their Ubuntu or Linux desktops. If you want to join the fun and already have the GNOME desktop you don’t need to install a screen recording app. Ubuntu 17.10 was the first version of Ubuntu to ditch Unity in favor of GNOME, and recently, with Ubuntu 18.04 Canonical has completely switched to GNOME. This will only add to GNOME’s popularity considering Ubuntu is the most popular Linux distro. Yet, it’s a little-known fact that GNOME desktop has a built-in screen recorder.
The GNOME screen recorder, as you would expect, is very well integrated with the GNOME shell. It is also just as well hidden, for some reason. It’s there, but there’s no app launcher, unlike the screenshot tool. There’s no menu entry anywhere nor a quick button or extension to turn it on or off. To launch the screen recording tool, you’ll have to perform some finger acrobatics on your keyboard. This means if you don’t learn about it from elsewhere, you’re unlikely to stumble upon it by chance. There is also a way to record the screen as a GIF on Ubuntu.
GNOME screen recorder
The GNOME screen recorder is a no-frills screen recording app. It is as basic as it gets. Here is a complete list of features included: It lets you record your entire screen. That’s pretty much it. You can select a specific region to record let alone a specific window. It doesn’t even let you record audio, you cannot set framerates, encode format, or any of that stuff.
Screencasts are saved automatically to the Videos folder in the WebM format. You have no control over the save location, file name, or format. The file is given a name automatically but includes the date and time of the capture. This can be useful if you take a lot of screengrabs.
But if all you want is a quick screen record to share online or to show off the fancy new animations to your friends the GNOME screen recorder is still perfect. It does one job but it does it well. It also helps that you don’t have to install another app like Peek for a basic screen recording. It is not a tool for those who plan on doing more with your screen records.
How to use Screen Recorder in Ubuntu
First of all, make sure you’re logged into the GNOME desktop and not into KDE or any other DEs you may have installed. Simply having GNOME doesn’t work. To record your GNOME session as a video, press Ctrl + Alt + Shift + R on your keyboard.
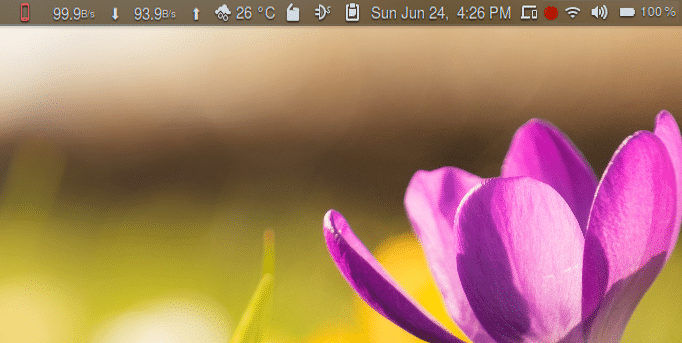
You will see a small red dot in the system tray area on the top right (assuming you haven’t moved it elsewhere) while the recording is on. Recording automatically stops after 30 seconds by default but this is one thing you can change. If you want, you can stop the recording before pressing the same key combination again (Ctrl + Alt + Shift + R). You’ll find the recording in Home > Videos.
Increase the time limit
If you want to show off your customized desktop with some fancy animations over a video, 30 seconds is probably enough. But it’s not ideal for other cases. Fortunately, you can increase the time duration via the Terminal, using a command line since the app has no visible front end. Just launch the Terminal and enter this command:
gsettings set org.gnome.settings-daemon.plugins.media-keys max-screencast-length X
Here, replace X is the number of seconds that you want the duration of the screen record to be. Replace X accordingly. For instance, if you want to set the time limit to 300 seconds, type 300 in place of X.
gsettings set org.gnome.settings-daemon.plugins.media-keys max-screencast-length 300
To set the time limit to indefinite, replace X with 0.

