Are you a content creator? There are chances you’ve wanted to record your screen before. But the thought of all the technicalities involved in recording video on Mac OS can be daunting and overwhelming. Don’t worry! In this article, we’ll show you 4 simple yet effective ways to record videos on your Mac OS with ease – no need for complicated tech knowledge or expensive software.
If you’ve ever wanted to record a video on your Mac but didn’t know how this guide is for you. In just a few simple steps, you can record high-quality videos on your Mac in no time. Whether you want to record a family event, create a tutorial, or capture something funny that happened, recording videos on your Mac is easy to do and only takes a few minutes.
If you want to capture screenshots on macOS, do that quickly using Mac keyboard shortcuts. When it comes to recording video, there are several ways to do that. You can use the native Screenshot Toolbar or QuickTime Player. You can also record videos and even do screen recording using Apple’s iMovie app. Alternatively, you can install a 3rd-party app like OBS, Snagit, EaseUS RecExperts, ScreenFlow, Snapz Pro, Monosnap, Apowersoft Screen Recorder, Loom, Camtasia, Movavi Screen Recorder, etc.
1. EaseUS RecExperts
EaseUS has been a leading company when it comes to tools and utilities for the Windows and macOS platforms. I remember using their MobiSaver tool to recover data from my Samsung Galaxy Note 10. While searching for a great screen recording tool for my Macbook, I came across EaseUS RecExperts. As a tech blogger, I often need to share videos showing the steps in my tutorials.
EaseUS RecExperts is a powerful and easy-to-use screen recording software that allows you to capture your screen with ease. With its intuitive interface, you can easily record your screen and create professional-looking videos in minutes. It also comes with a wide range of features that allow you to customize your recordings and create high-quality videos.
This handy utility is available for Windows and Mac both. It lets you record videos in full HD 1080p quality. You can also record your screen and audio at the same time, which is perfect for creating tutorial videos or recording gameplay footage. EaseUS RecExperts also allows you to schedule recordings in advance. This is perfect for capturing live events or making sure you never miss a moment of your favorite TV show. Overall, EaseUS RecExperts is a great choice for anyone looking for an easy-to-use video recording software for their Mac.
RecExperts has everything you need to record high-quality videos, and its scheduling feature ensures you never miss a moment of your favorite content. Whether you are making a home movie or creating content, EaseUS RecExperts has the features you need to get the job done quickly and easily. It offers a clean and user-friendly interface. You can try the free version of the software which has some limitations in terms of features and functionality.
Using EaseUS RecExperts to record your screen or webcam is pretty easy. Here’s how to use it:
- Launch the app and choose whether you want to record your screen or webcam.
- Select the recording area and set the recording quality.
- Click the Record button to start recording.
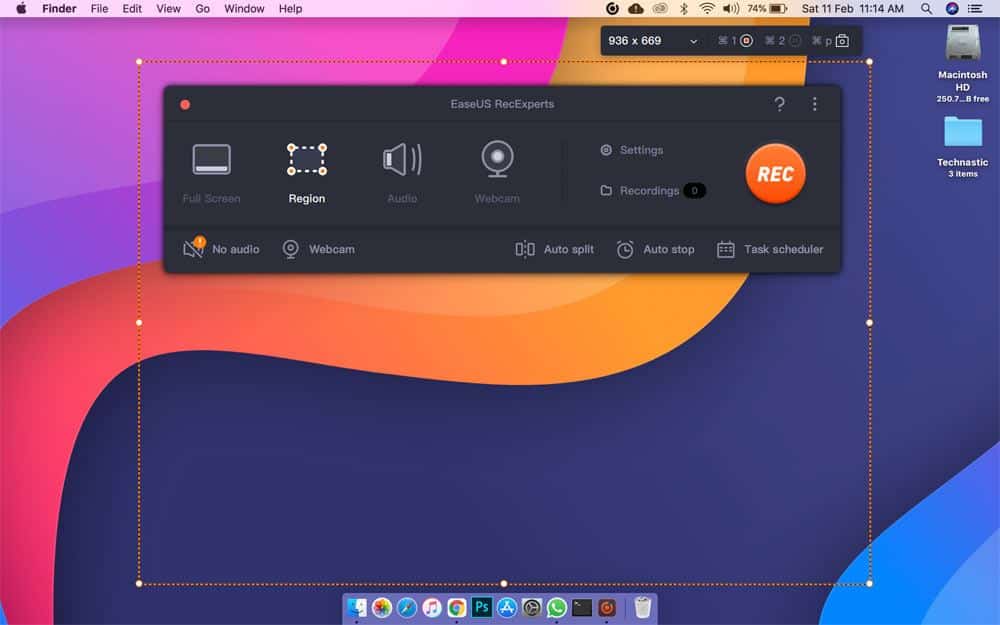
- When you’re done, click Stop and Save to save your recorded video.
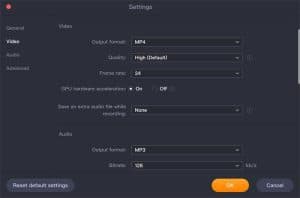
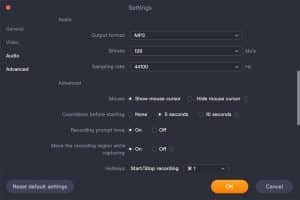
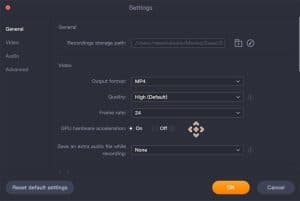
EaseUS RecExperts has an extensive settings panel that lets you customize audio and video quality, format, frame rate, and so on.
Don’t Miss: How to Check MD5 Checksum and SHA Hash of a File on Mac
2. Screenshot Toolbar
If you want to record the screen on a Mac, you can use its native Screenshot Toolbar. It’s a simple-to-use tool with basic features and a nice interface. However, the Screenshot Toolbar feature is available only on macOS Mojave or newer.
Apple’s Screenshot Toolbar is a handy tool that allows you to quickly and easily take screenshots and record screens on macOS. The toolbar appears at the bottom of your screen when you take a screenshot, and it provides you with several options for how to save or share your screenshot or screen recording. You can also choose to share your screenshot via email, social media, or even just copy it to your clipboard.
It’s worth taking the time to learn how to use Mac’s Screenshot Toolbar.
- Press the Shift + Command + 5 keyboard shortcut.
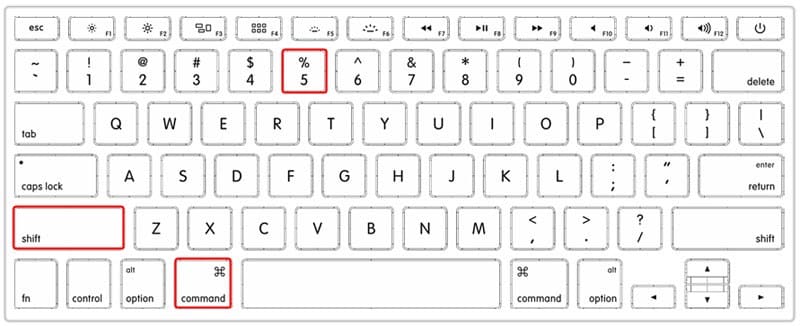
- You will see onscreen controls for recording the entire screen, recording a selected portion of the screen, or capturing a still image of your screen.
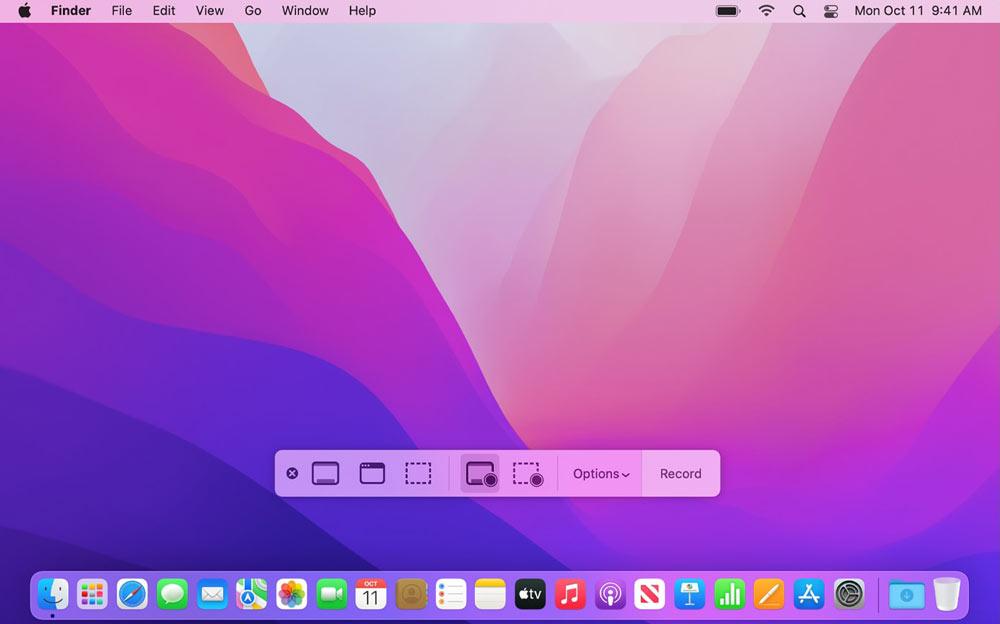
- Once you have made your selection, click on the Record option. The screen recording file will be saved to your desktop as a .MOV file.
3. QuickTime Player
If you’re using an older version of macOS than Movaje, you can record video on your Mac with the QuickTime Player app that comes installed on all Mac computers. However, if your Mac runs Mojave or a newer version of the OS, The steps given below will take you to the Screenshot Toolbar we discussed above. Anyway, here’s how you initiate a screen recording using QuickTime Player.
- Launch QuickTime Player from Applications.
- Click on File > New Screen Recording.
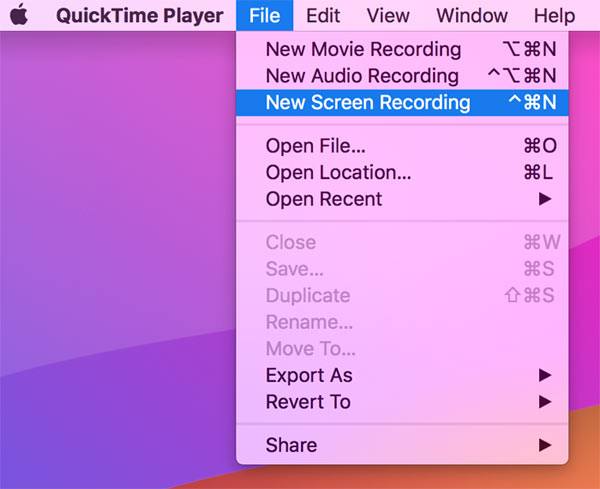
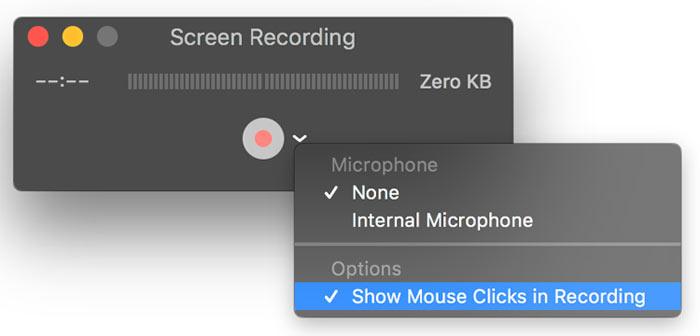
- This will open up a new recording window where you can adjust your settings by clicking the arrow icon.
- To start screen recording, simply click on the Record button.
4. iMovie
If you’re using a Mac, there’s a good chance you have iMovie installed. iMovie is a great video editing tool that’s perfect for creating simple videos. To record a video with iMovie, simply launch the app and click the Create New button. Then, click the Import Media button and select the Camera option. This will open up your Mac’s built-in camera. Click on the Record button to start recording your video. When you’re finished, click on the Stop button and then click on the Save button to save your video.
5. OBS Studio (Free)
OBS Studio is a free and open-source video recording and live-streaming application for Mac, Linux, and Windows. It lets you capture your screen, webcam, audio, and more. With OBS Studio, you can easily record and stream high-quality video and audio to Twitch, Facebook Live, and more. The application is easy to use and comes with a variety of features that make it perfect for both beginners and advanced users.
The software has a great user interface and it can save you money if you are looking for a free tool to record video on Mac.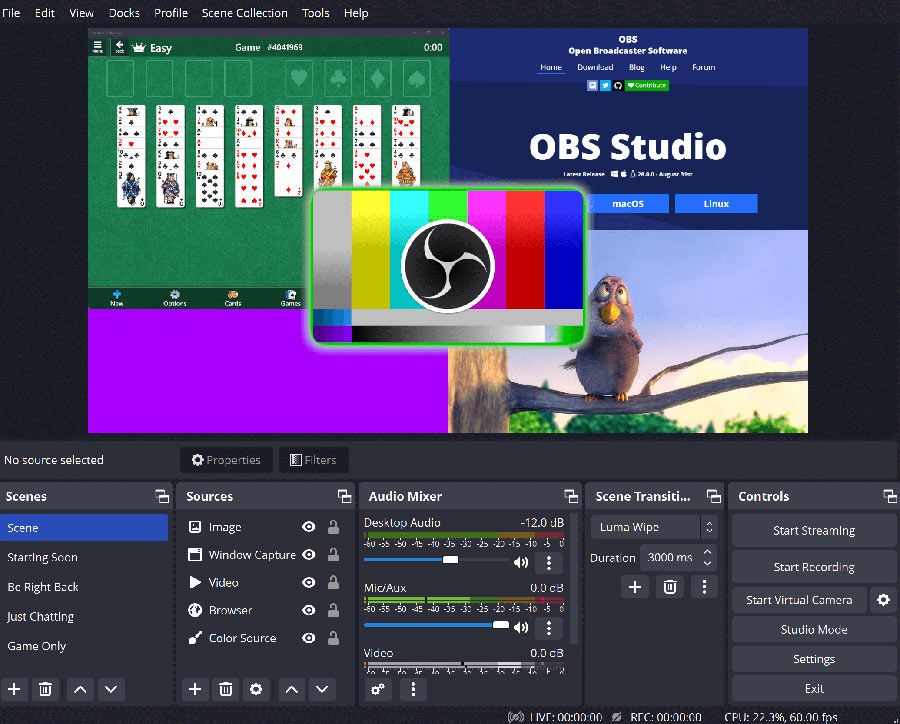
Recording video on macOS can be a great way to capture moments and memories, whether you are recording yourself or someone else. We hope that our tips have helped show you just how easy it is to record video on your Mac so that you can start capturing those special moments right away. With these four simple steps, you will be able to record high-quality videos with ease and share them with friends and family in no time!
Read Next: 65 Useful Chrome Keyboard Shortcuts for Mac & iPad
