In this digital age, most of our memories are stored in the form of digital media like photos and videos. The camera is one of the greatest discoveries in the past few decades considering its ability to capture a moment of our precious time. We’ve witnessed the rapid increase in storage technology which allows us to store these images but there is a risk of losing these photos either in the form of accidental deletion or unfortunate data corruption. Fortunately, we can recover deleted photos from SD cards on Windows 10 using the ZAR X recovery tool.
It’s quite a pain to lose all those memorable photos and you’d try to restore them in any of the possible ways. SD cards are one of the most accident-prone storage devices as you access them more often than your Hard disks. So, in this article, we will show you how to recover the lost photos in your SD card. While there are many ways to recover corrupted or deleted data from an SD card, we are picking suitable software for Windows PCs that can do this job just fine. If you want your Windows 10 PC to switch between the dark and light themes automatically, you can do it via Windows 10 auto-night mode.
Recover Deleted Photos from SD Card
- Download and install the software from the above download link.
- Connect your SD card to the PC using a card reader or if you are using your phone, connect it in USB mass storage mode.
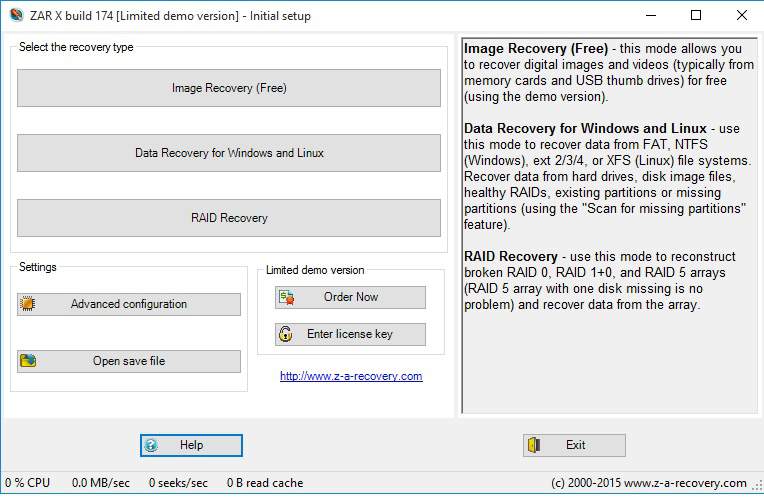
- Launch the application on your PC.
- Now click on “Image Recovery (Free)” option. The program will hang for a moment with the message “Enumerating Devices, please wait” as it checks for removable media and drives.
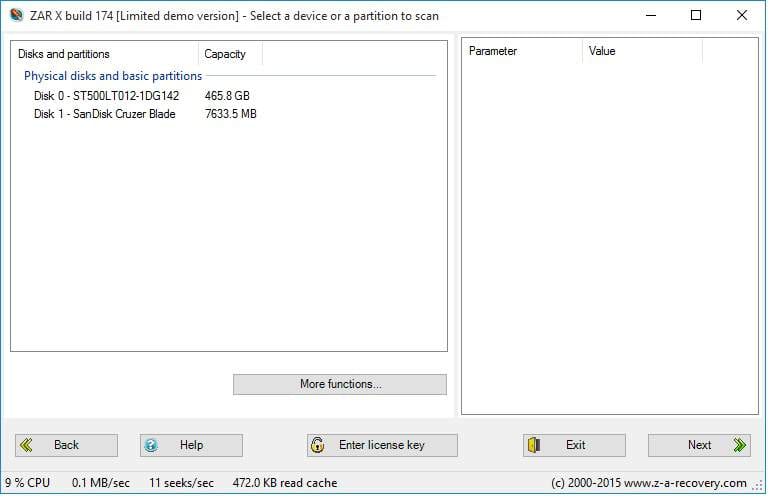
- Then a list of drives will appear on the windows. Select the removable media drive or your SD card and click on the “Next” button.
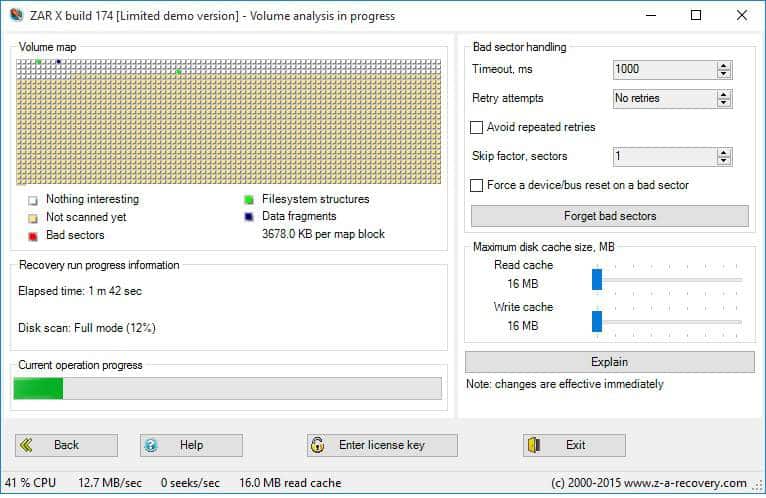
- Now sit back and relax, as it takes some time to scan the SD card and recover. The amount of time it takes depends on the size of your SD card. The larger the storage, more the time it takes.
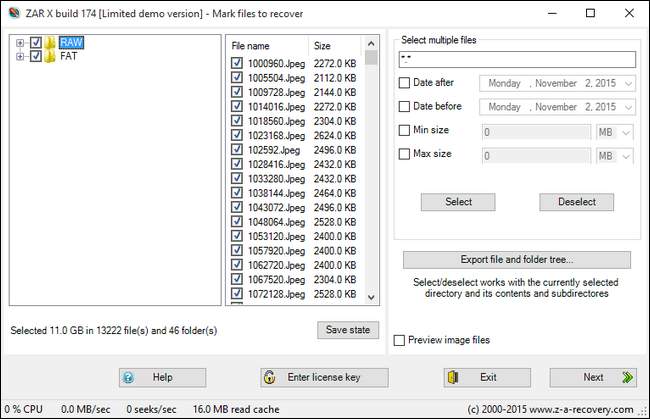
- Once the analysis is done a list of all the files will appear. Now select both the RAW and FAT checkboxes.
- Select the files which you need and click on the Next button to continue.
- Now set the destination path to copy these recovered files and click on Start copying option to save these recovered files in the destination folder.
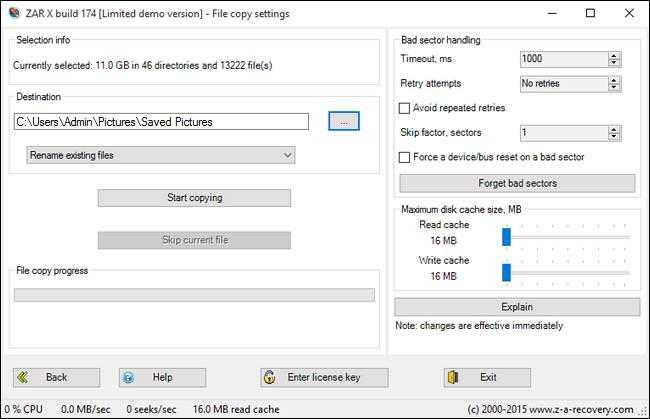
Once everything is copied, navigate to the destination folder to view the recovered photos. Depending on which files you’re attempting to recover and how they were recovered you may find your images are in different folders. That’s it. Isn’t it as simple as we said?
Read Next: Install Programs on External Storage on Windows 10