Many Windows users would know how to hide a file or a folder. It’s quite a common practice, and it makes sense. Some people also simply lock a folder or file that contains confidential data. It can be a real task, if you have several such files or folders that you’d want to prevent from being discovered. You can always create just one secret folder in which you keep all your secrets. Alternatively, you could instead dedicate an entire drive to the cause. Of course, then you’d have to hide the drive somehow. Yes, it’s possible, and we’re going to show you here how to hide a drive in Windows 11, 10, 8, and 7.
Why hide a drive?
As we just mentioned, you can create a hidden folder and hide all your files. However, as we also mentioned, this is a pretty common practice. Just as many people know how to view hidden files and folders on Windows as many know how to hide them. Thus, hiding an entire drive solves that problem. Not only does anyone suspect you to have a hidden drive, but there is also no way for others to check a box in the ribbon bar and view the drive. To access the drive, you can use the command prompt or type in the drive address in the address bar of the file explorer.
Since you can change the drive letter and not tell anybody about it, it would be difficult for any Sherlock to figure out if there is a hidden drive and how to access it.
How to hide a drive in Windows 11, 10, & 8
There are at least four ways to do this on Windows via Disk Management, Group Policy, Windows Registry, and Diskpart. Since Group Policy is not available on all versions of Windows 10, we’ll skip that for now. Furthermore, modifying the Windows registry is not recommended, especially when it can be done via other safer methods. Not to mention, this is just a tad bit more complicated than your general registry hacks.
Must read: How to Backup and Restore Drivers on Windows 10
Hide a drive using Disk Management
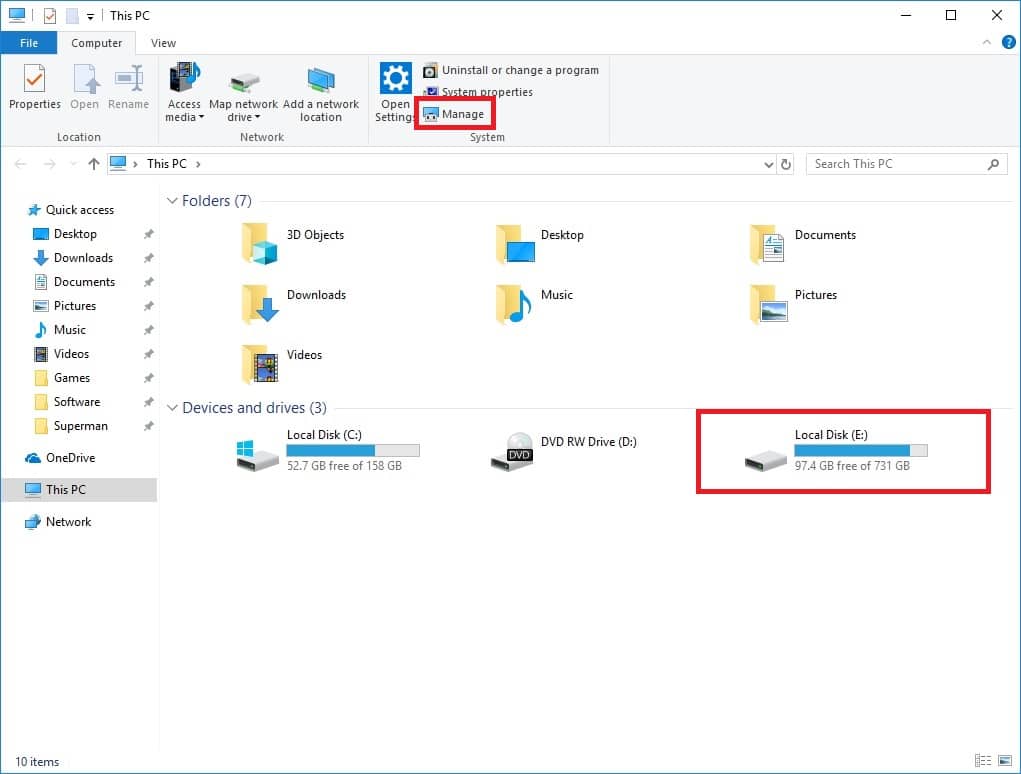
- Hit the Windows button and type computer management to search for and open it. Alternatively, launch the file explorer and click Manage in the ribbon bar at the top. Now, I don’t need to create a drive specifically for hiding files, therefore, I’ll hide my main storage drive for demonstration.
- In the Computer Management console, select Disk Management under Storage from the left column.
- The Disk Management console will now show you all the disk drives attached to your PC.

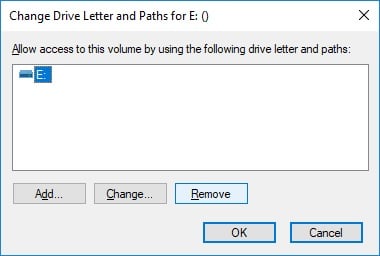
- Right-click the drive you wish to hide and select Change Letter and Paths. Make sure you don’t install programs on the C: drive. Also, ensure that any files you may have opened from the drive are saved and closed.

- In the pop-up window that opens up, click on Remove and then click OK. You may be warned now of the potential errors this may cause and the need to reboot your PC. Unless you install your programs on the drive you’re trying to hide, you should be good. Click Yes wherever asked, but read the warning carefully.
- Close the Computer Management console and open your file explorer again. You’ll notice your selected drive is no longer shown.
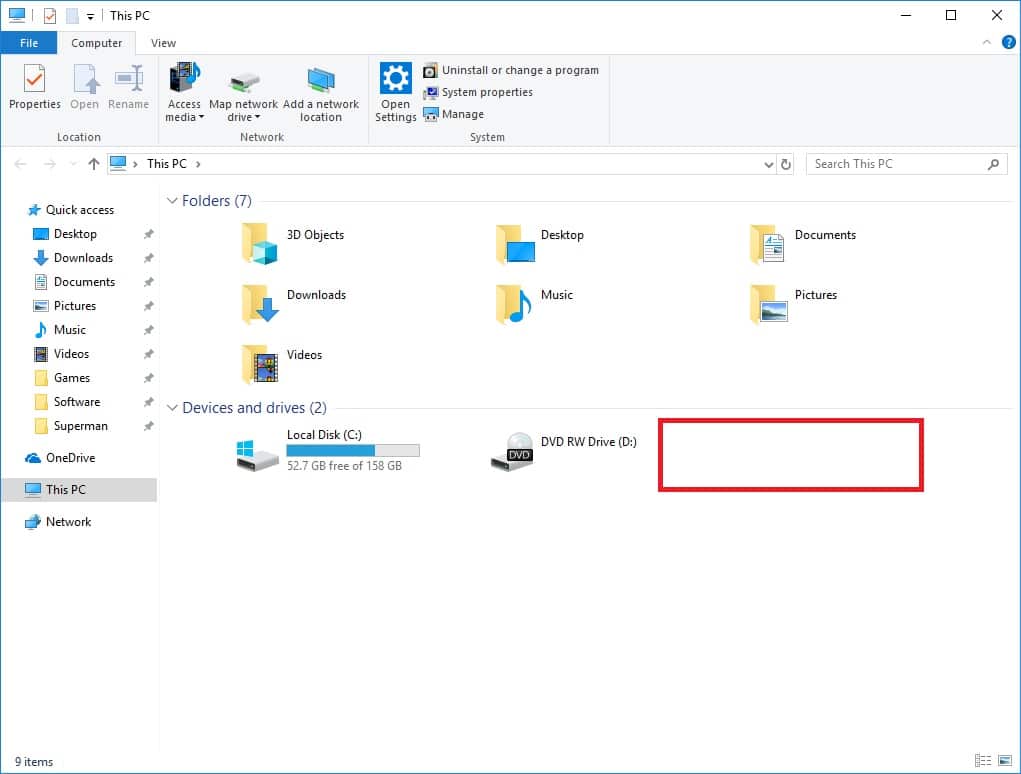
- If you need to access files in the hidden drive, enter the drive letter followed by :\ and you can still use it. The drive and all its files are safe but hidden. For example, E:\
- If you want to unhide the drive ever, repeat steps 1 to 4, and in the pop-up, click Add instead of Remove, and assign a letter to the drive.
Hide a drive using Diskpart
Diskpart, if you’re unaware, is a command-line-based tool. Therefore, to use it, you will need to launch the command prompt and type in commands. Some people are more comfortable with commands than others and might prefer this way.
- Open a command prompt window with elevated privileges (right-click > Run as administrator).
- Enter Diskpart to launch the command-line tool.
- Type in List Volume and hit Enter. This will list all of your drives.
- Type select and then after space, type the numeral shown against the letter of the drive you want to hide. For instance,
select volume 3
- Remove the drive letter as we did earlier using the Computer Management console. To do this, enter the following command.
remove letter E
- This will hide your drive, and you can see the result by opening the file explorer.
- In case you want to unhide the drive later, follow steps 1 to 4 and then enter this command:
assign letter E
You need not necessarily assign the letter E. You can assign any acceptable letter to the drive.
Don’t miss: How to Format a USB Drive on Windows 10 Using Command Prompt