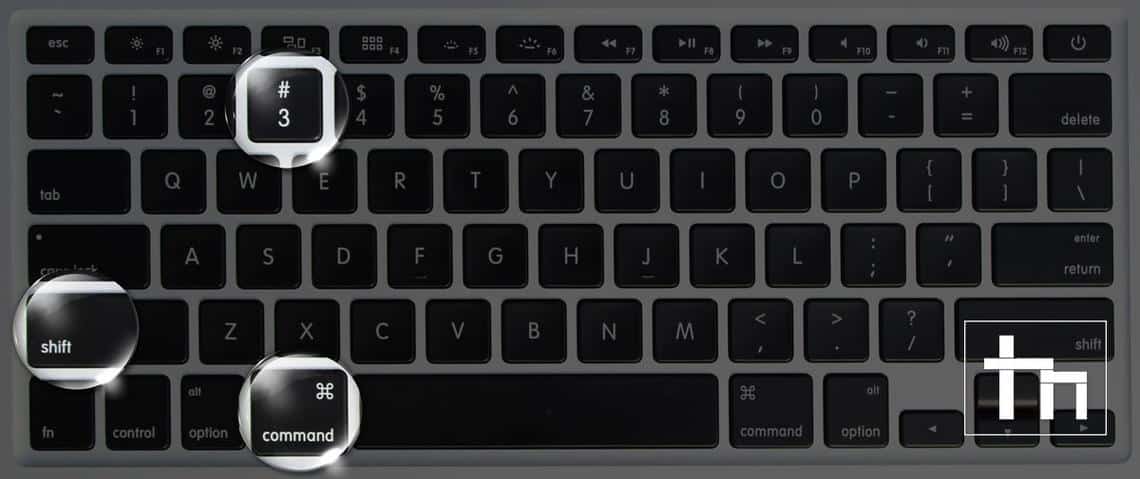
- Command+Shift+3: Takes a screenshot of the entire screen.
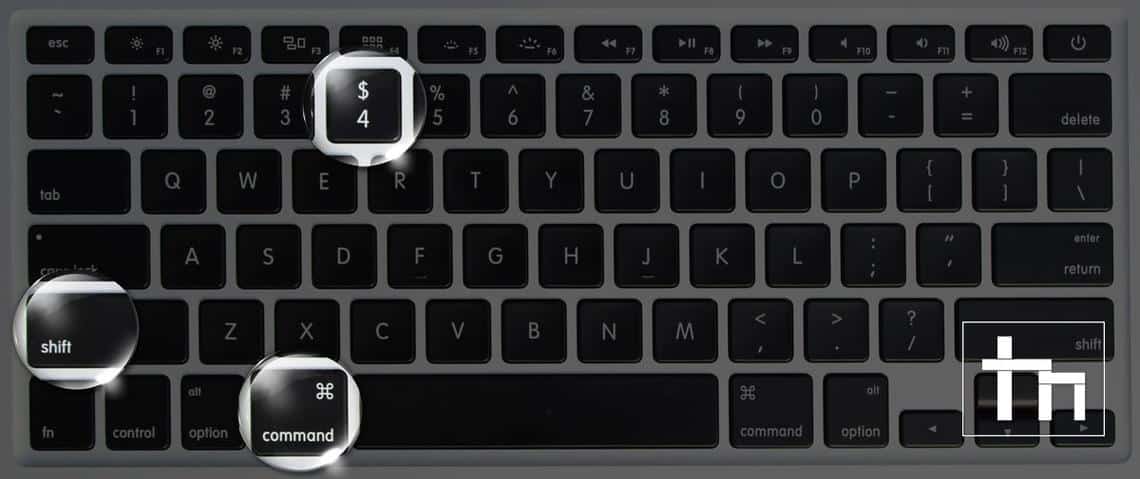
- Command+Shift+4: Takes a screenshot of a selected area or a cropped screenshot.
- Command+Shift+4+Spacebar+Click on a window: Takes a screenshot of a specific window.
At times we need to share a screenshot of your device’s screen for different purposes. When I got my Macbook Pro back in 2015, I didn’t have any idea as to how I could take screenshots on my Mac computer. Upon a little research, I came to know about 3 different ways to capture the screen on macOS. Using these methods, you can not only take a screenshot of the entire screen, a particular area, or a particular window. You can even copy a screenshot to the clipboard to use it later.
Apple offers numerous, easy-to-remember keyboard shortcuts for taking screenshots. Below, we’ll look at the different ways to take screenshots on devices like Mac, Macbook Pro, and Macbook Air running OS X El Capitan, OS X Yosemite, and older versions of the Mac OS. All captured screenshots are saved in PNG format on your desktop.
3 Methods to Take Screenshots on Mac
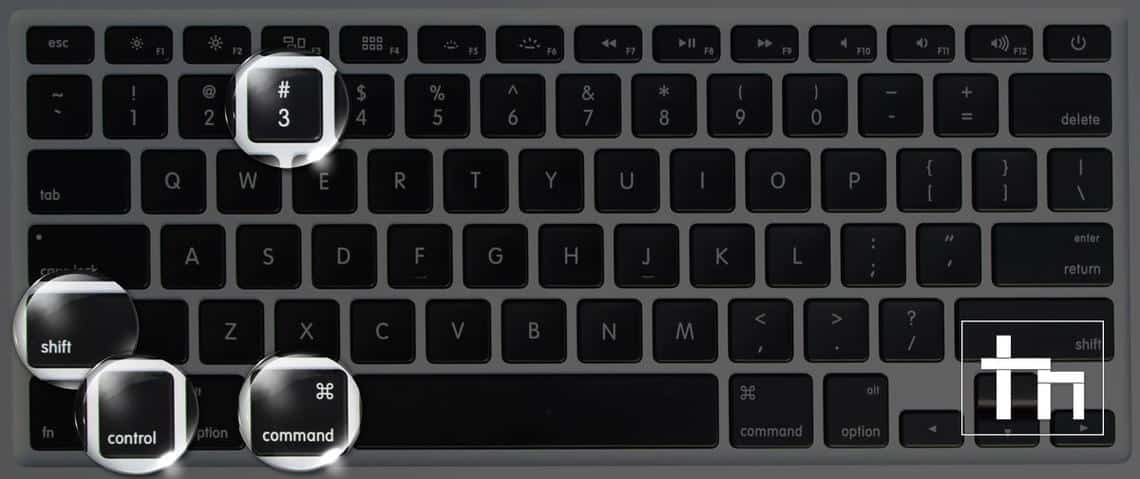
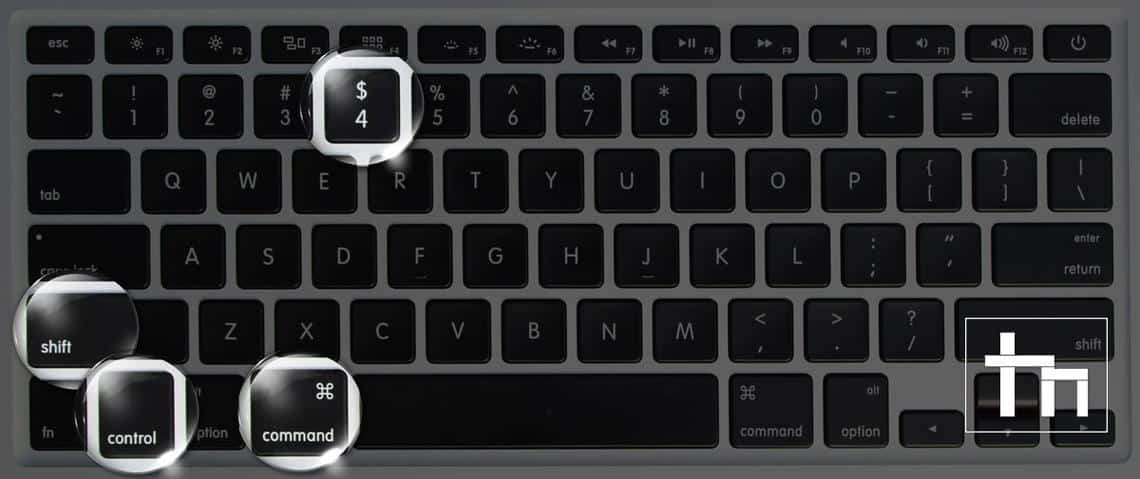
Note: Adding Control the key combinations below and the captured screenshot will be copied to the clipboard.
Take a Screenshot of the Entire Screen on a Mac
- Go to the UI or app screen you want to capture.
- Now press Command + Shift + 3 key combination simultaneously.
- When the screenshot is taken, you’ll hear a camera sound.
- The captured screenshot will automatically be saved to your Mac desktop.
Capture a Cropped Screenshot on Mac
- Go to the UI screen or app window you want to capture.
- Then press Command + Shift + 4 keys at the same time.
- Now move the crosshair cursor to the place you want to begin capturing the screen.
- Click and hold the cursor and drag the crosshair to select the area you want to capture.
- As you drag the cursor, the crosshairs will give you a precise pixel count to help you capture the screen with a specific pixel size.
- Having selected the area, release the mouse button or the trackpad.
- You’ll hear a camera click sound, to indicate that the screenshot has been captured and it will be saved to the desktop.
Capture a Specific Window
Note: By using this method, you can take a screenshot of an app window or a screenshot of a specific dropdown menu.
- Open the app or screen window you want to capture.
- Press Command + Shift + 4 all at the same time.
- Your cursor will turn into crosshairs.
- Now press the Spacebar on the keyboard and your cursor will turn into a camera.
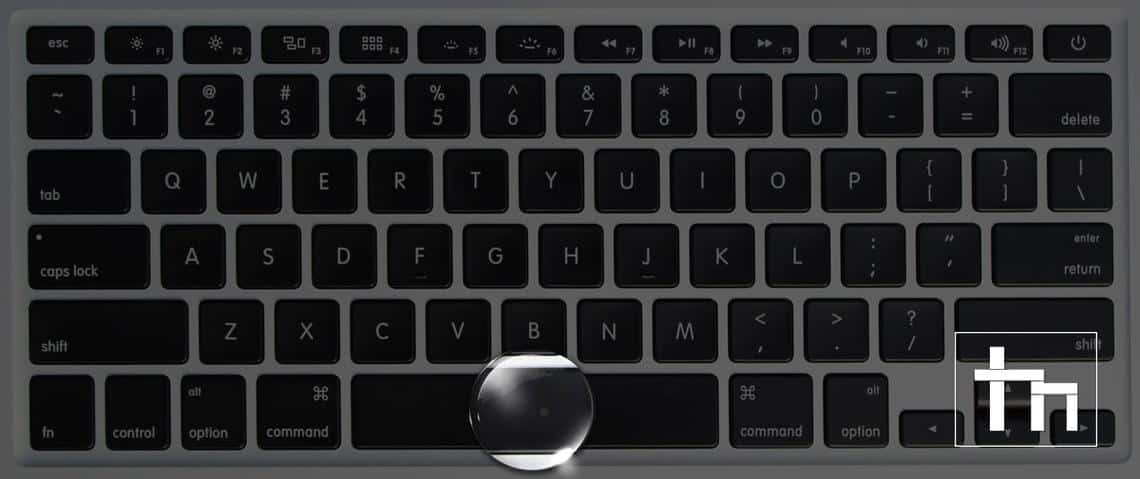
- Place the camera cursor on top of the window you want to capture.
- The selected window will be tinted blue.
- Now click to take the screenshot.
- You’ll hear a click sound indicating that the screenshot has been captured successfully and saved to your desktop.
Copy Mac Screenshot to Clipboard
While the methods described above will save your captured screenshots to the Mac desktop or your desired folder, you can also screenshot your Mac screen directly to the clipboard without saving it.
- Press Command + Shift + Control + 3 simultaneously to copy the whole screen to your Clipboard.
- Press Command + Shift + Control + 4 simultaneously to screenshot a specific of the screen. The captured screenshot will be copied directly to the clipboard. You can also press Command + Shift + Control + 4 followed by the Spacebar capture a specific window.
- Now go to the app, such as the image editor or document, where you want to use the captured screenshot, and then press Control + V keys or use the Paste option to get the screenshot there.
That’s it! I hope our detailed tutorial on taking screenshots on all Mac machines will have proved helpful to you! If you have any questions regarding the methods discussed above or want any help with your Mac, Macbook Pro, or Macbook Air, please drop a comment below.
Read Next: How to Enable SSH on Mac from the Terminal
