It is now even easier for Ubuntu users to cast media from their computer to their Chromecast-powered TV with Cast to TV GNOME extension. In this tutorial, we tell you how to get it set up and working.
Linux is a free and open-source platform which has resulted in a lot of fragmentation within the Linux desktop scene. However, the same open-source nature also brings a lot of benefits. For instance, Microsoft will probably never want to support casting media to your TV via Chromecast, not until it sees some profit for the company. On Linux though, most things are built and maintained by users, not a for-profit organization.
Ubuntu Cast to TV
When developers are also users, they’re more connected to what a user needs. Some of them probably use a Chromecast too which would explain the existence of Cast To TV. It is a GNOME Shell extension that allows users of GNOME desktop to cast any local media files stored on their computers to a nearby Chromecast device. For those unaware, GNOME shell extensions are small blocks of code that extend the GNOME desktop’s functionality and features. You can think of them as browser extensions for desktops.
Since GNOME is the default desktop environment on Ubuntu, this works on Ubuntu. Of course, it also works on any other Linux distro as long as you have the GNOME desktop installed. It lets users stream music, videos, and photos from the computer to a Chromecast device with options to:
- Encode media on the fly
- Set the position of on-screen player controls
- Bitrate settings
- See a music visualizer on the TV when playing music
Install Cast to TV
Although it is a GNOME shell extension, it isn’t quite as easy to install and set up. This extension has a lot of dependencies that are necessary for the tool to function properly. Fortunately, these are all readily available for installation in the official Ubuntu repositories. To install them, launch the Terminal and execute the following command.
sudo apt install nodejs npm ffmpeg
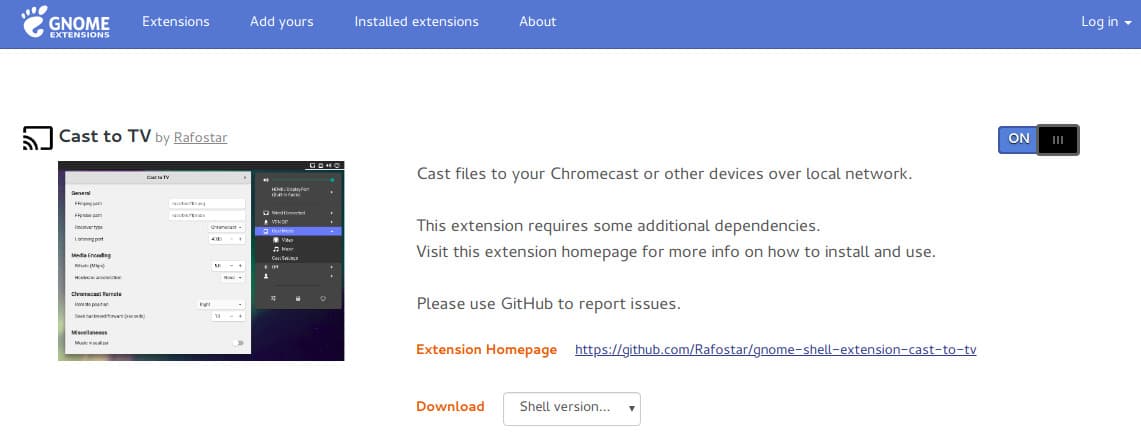
When the dependencies are installed, it is time to install the extension. You can find it at the link below where you’ll have to turn on a toggle and select Install. You can refer to this detailed guide on installing GNOME shell extensions if you somehow find it troubling to install the extension.
Install the ‘Cast to TV’ GNOME Shell Extension
Before you go ahead and try it out, some additional dependencies must now be installed. Launch the Terminal again and navigate to the extension directory with the following command.
cd ~/.local/share/gnome-shell/extensions/cast-to-tv@rafostar.github.com
Then, install the dependencies with this command.
npm install
A full list of packages is displayed in the Terminal as they’re installed, in case you care to know what packages exactly are getting installed.
Cast media to Chromecast
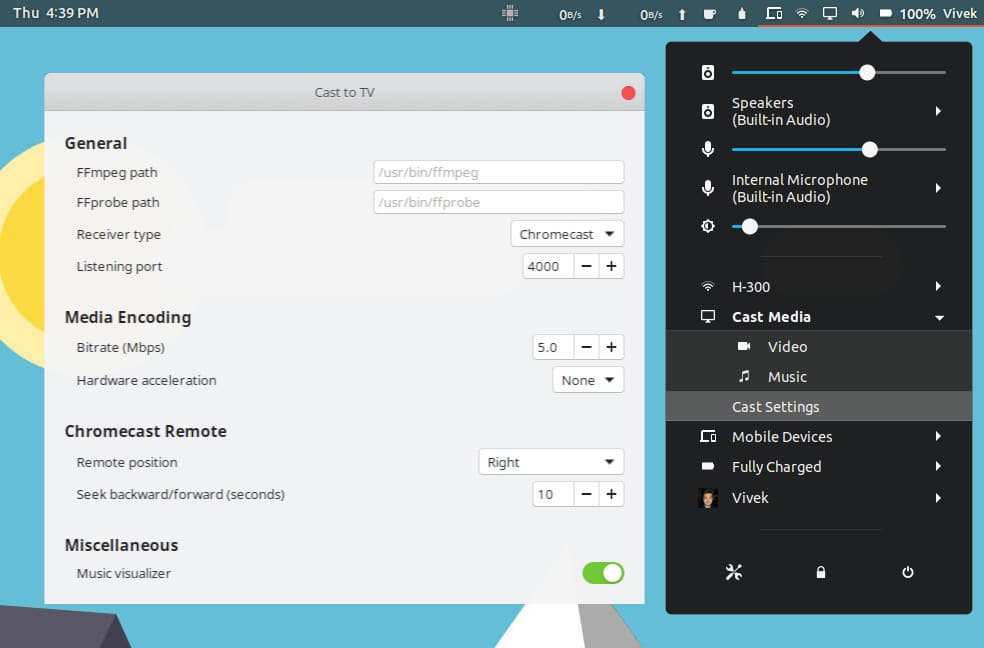
To cast media to a Chromecast, your Ubuntu computer and the Chromecast should be connected to the same Wi-Fi network. If they are, click on the system tray to bring up the GNOME shell status menu, and then click on Cast Media to expand it.
Select the type of media you want to cast and select a file. Then click on Cast Media and streaming will begin immediately. Depending on your Chromecast model, some videos may not play. You can choose the Transcode Video option during media selection to ensure playback.
In the Cast settings, you can also turn on the Music visualizer under Miscellaneous since it is disabled by default. There are other settings you can change here as well but if you don’t already know what they will do you probably shouldn’t mess with them.
Read Next: How to Use GNOME Screen Recorder in Ubuntu


