Most augmented reality apps serve little to no actual use apart from entertaining us for a few minutes. WiFi AR is a unique app that lets you check out the signal strength of Wi-Fi using augmented reality. That sounds cool, right? It is. Moreover, the app even lets you check out the cell coverage using Google’s ARCore.
If you’re a Windows user, you can also check out how to turn your Windows 10 PC into a Wi-Fi hotspot. Nevertheless, if you often find yourself in a spot with the weakest Wi-Fi signal, you should give WiFi AR a shot. The application is fairly easy to use and you should be able to find the perfect spot with a good Wi-Fi signal within no time. Thus, without wasting much time, let’s check how to use WiFi AR to check Wi-Fi signal strength.
Augmented Reality Wi-Fi Signal Strength
WiFi AR is a free-to-use application and comes in a small package of just under 5MB. Follow the steps below to get started with the application on your Android smartphone.
- Download and install WiFi AR via the Google Play Store.
- Launch the application after it has been installed.
- You would see two options — Wi-Fi and 3G/LTE.
- If you want to check out the Wi-Fi signal strength, select Wi-Fi. However, if you want to check out the cell coverage in an area, tap on 3G/LTE.
- After selecting the Wi-Fi or 3G/LTE option tap on START.
- Grant the app the necessary permissions by tapping on OK or Allow.
- You should now be in the augmented reality mode.
- Move around the area/room and try to cover all the spots where you can sit or use the Wi-Fi comfortably.
- Now look at the signal strength in each spot by pointing the camera towards the area you have covered.
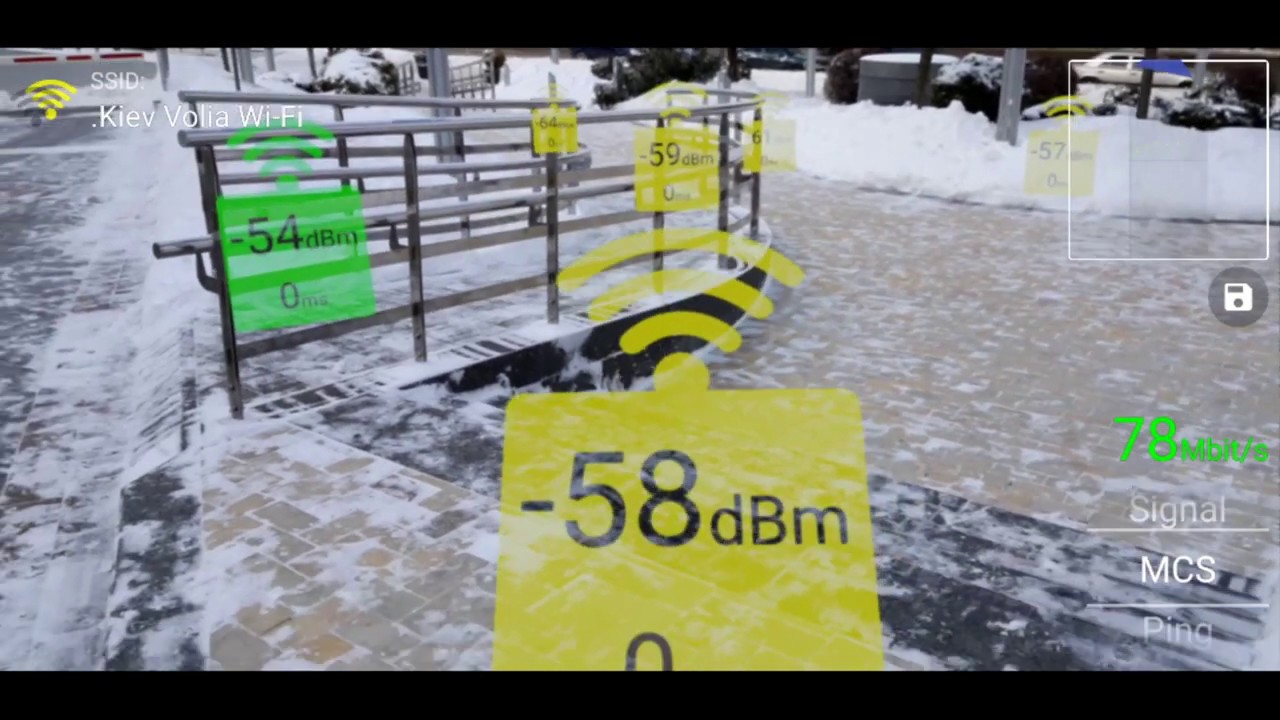
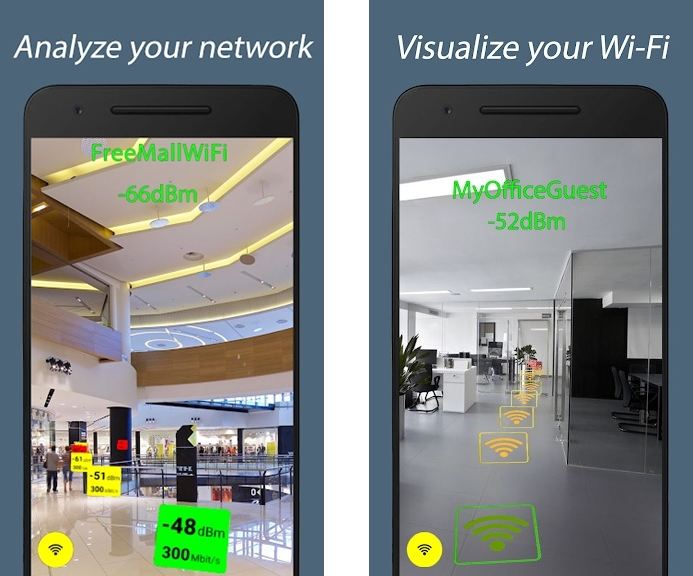
- You would be able to see the Wi-Fi or Cell signal strength measured in dBm in the area you have covered.
Once you’ve covered the area and the WiFi AR application displays the signal strength in each spot in the room or area, you have to find the spot with the best signal. If you don’t know how to read the results, don’t fret.
Check out: 6 Reasons Why Your Broadband Speed is Less than Advertised
How to read and understand the signal strength
The app has color-coded boxes to display the signal strength in each spot. The yellow areas are spots with average signal strength, and the red spots are areas that have the weakest signal strength. And you guessed it, the green areas or spots have the best signal strength.
Thus, pick the spot where the results are marked in green to get the best Wi-Fi or cell coverage on your device. To elaborate a bit further, dBm stands for Decibels about a milliwatt. It is usually measured between -30 to -100. This is arguably one of the easiest and most consistent ways to show signal strength. The lower the dBm the better. For example, -30 dBm is far better than -80 dBm. Hence, the lower the dBm, the better the signal strength generally.
We hope this guide along with the WiFi AR app helps you find an ideal spot to use the Wi-Fi or get better cell coverage.
Read next: 10 Cool and Funny Websites to Check Out When You’re Bored


