With the recent Windows 10 updates, Microsoft has been focusing more and more on the creators among its user base. This is a demographic that over the past few years has turned away from the platform. With the Windows 10 Creator’s update, and now the Fall Creator’s update, Redmond is making sure to make Windows a lucrative option for them. Like the 3D Objects folder which was placed right under This PC. The folder has been included as a Library and is the default storage location for 3D objects on your PC.
This was added to Windows with the Fall Creator’s update, i.e. in Windows v1709. The company is trying to promote Paint 3D and other 3D features of Windows 10. Most Windows users don’t create or deal with 3D objects at all, however. And while the presence of a folder you don’t want is not bothersome (that is so not true), some of you might want to get rid of it anyway. There is no official way to remove the folder from your Library but with a simple Registry tweak.
Before we go there though, we must tell you that fiddling around with the Windows registry is not a good idea when you don’t know what you’re doing. It’s a powerful tool but it can also make or break your system. As long as you stick to this tutorial there should not be any problems. Just try not to get adventurous.
Remove the 3D Objects folder via Registry Editor
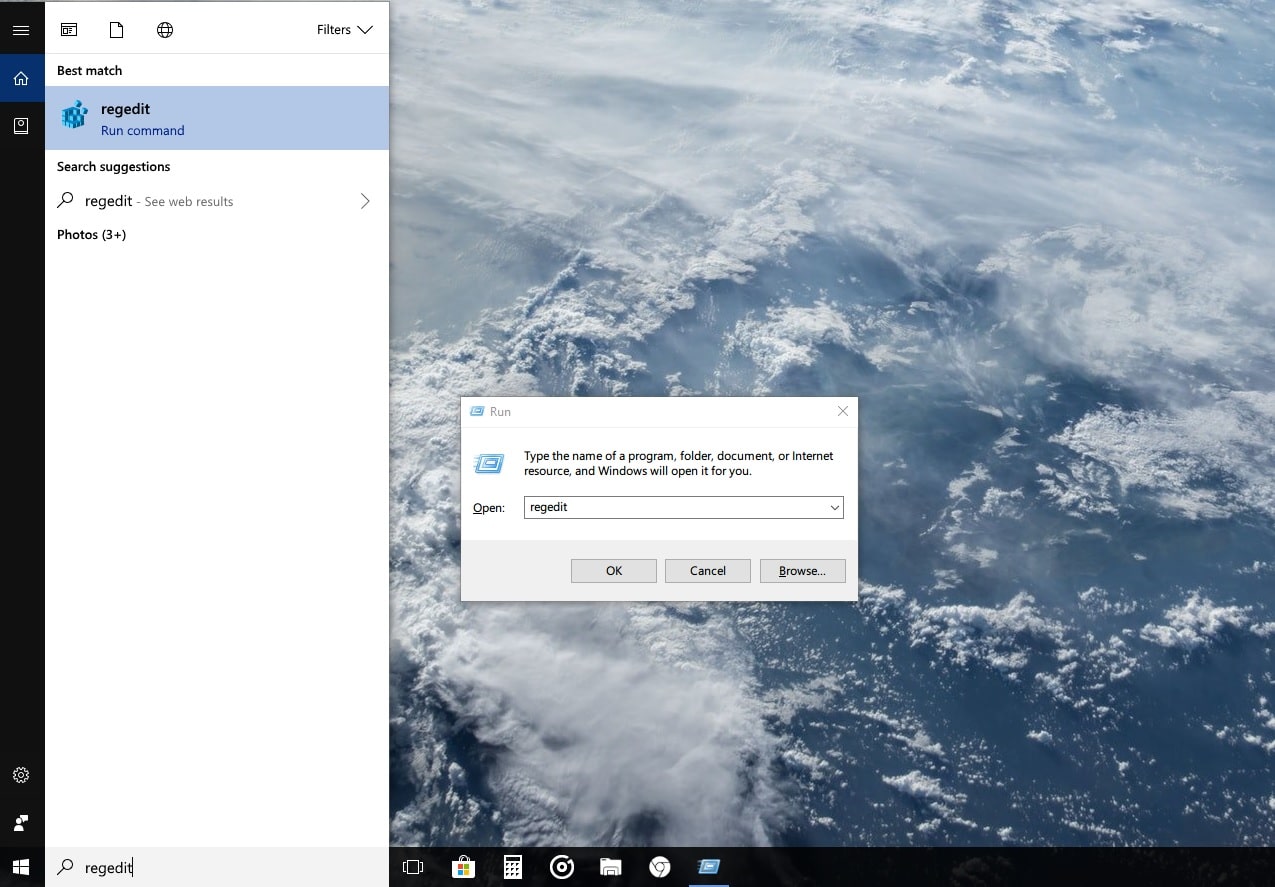
- Open registry editor. Hit Windows + R and type regedit in the Run dialog that appears, then hit Enter. Alternatively, you can click the search bar in the taskbar or hit the Windows key and type regedit to find Registry Editor. Then click it to launch the program.
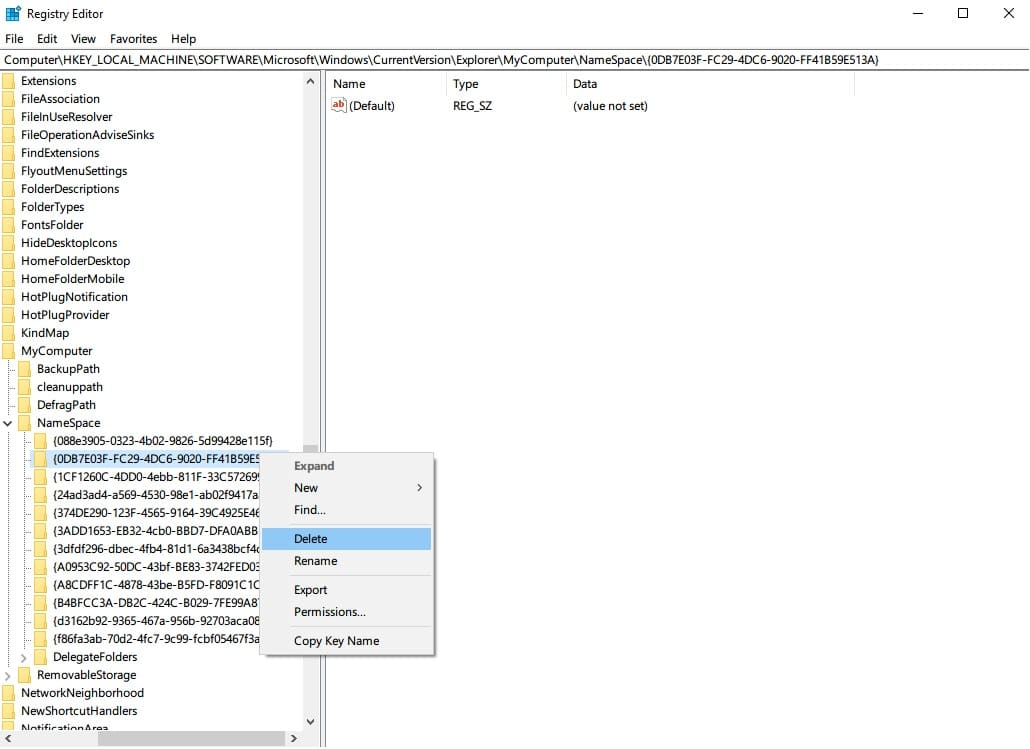
- Navigate to the following key in the Registry Editor window. You can navigate via the sidebar or copy and paste the address into the address bar and hit Enter.
HKEY_LOCAL_MACHINE\SOFTWARE\Microsoft\Windows\CurrentVersion\Explorer\MyComputer\NameSpace
- Under the NameSpace key, locate the subkey {0DB7E03F-FC29-4DC6-9020-FF41B59E513A}.
- Right-click it, select Delete, and click Yes on the confirmation dialog to confirm the action.
- If you’re using a 32-bit version of Windows 10, you can stop right now and close the registry editor. However, if you’re using a 64-bit version of Windows 10, there’s another NameSpace key you should check out now. This one is located on the following path.
HKEY_LOCAL_MACHINE\SOFTWARE\Wow6432Node\Microsoft\Windows\CurrentVersion\Explorer\MyComputer\NameSpace
- Locate the {0DB7E03F-FC29-4DC6-9020-FF41B59E513A} subkey again and delete it as you did earlier.

You’re all done now. Open This PC and you should no longer see the 3D Objects folder there. This does not usually require restarting your PC. If the folder does not immediately disappear for you, a restart should fix the problem. Remember, this registry tweak only removes the folder from This PC, it does not entirely delete the folder. You can manually delete it by going to C:\Users\NAME\ and deleting the 3D Objects folder.