Linux may be everything, but it is not the most user-friendly operating system. Linux has room to improve as well. For instance, macOS and Windows automatically switch to an HDMI output when available, but Linux, on the other hand, does not. If you’ve tried to connect any HDMI audio devices to your Linux system, you’d know that HDMI audio management can get tricky at times. This is true even on Ubuntu, which is widely pushed forward as the Linux distro for beginners. Below is a quick guide describing the steps to switch to HDMI audio output on Ubuntu.
Users have to switch the audio output to an HDMI device on Linux. Until then, the audio keeps playing from the same device. This even happens when you’ve connected your Linux system to another display, such as your TV, and the video feed does get displayed automatically.
Enable GNOME extensions
Ubuntu ships with the GNOME desktop. GNOME does not provide an option to switch between different audio devices from the desktop. Luckily, we have GNOME extensions that help extend the desktop’s functionality. First, you need to enable GNOME extensions on your system if you haven’t already. For this, the gnome-shell-extensions package needs to be installed. To install it, launch a Terminal window and enter the following command.
sudo apt install gnome-shell-extensions
Enter your password when asked to proceed with the installation.
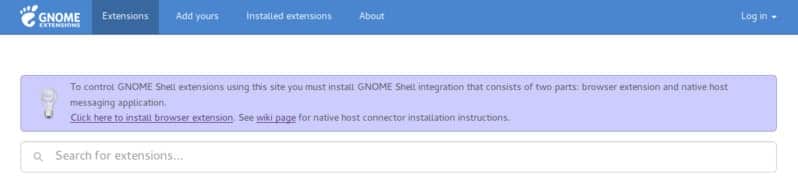
After this, you have to install the GNOME shell extension for your browser. For this, go to extensions.gnome.org and click the link that says “Click here to install browser extension”. We’ve linked the extensions for Chrome and Firefox below for your convenience.
You should read our tutorial about what GNOME shell extensions are and how you can install extensions on GNOME.
Switch Audio Output Device to HDMI on Ubuntu (GNOME)
Now that the GNOME shell extension is enabled, install the Sound Input & Output Device Chooser extension by kgshank from the GNOME shell extensions website. You can use the link provided below.
Sound Input & Output Device Chooser
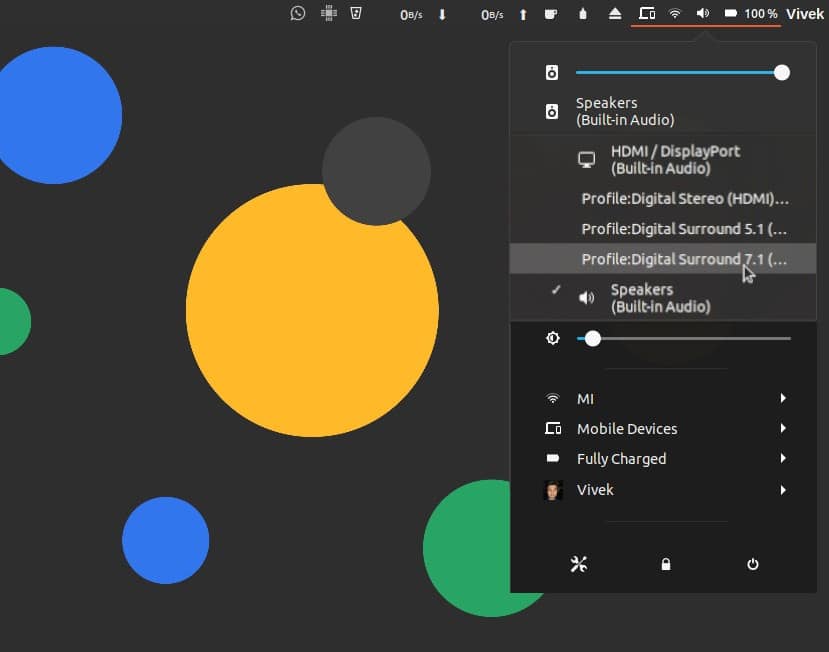
When you connect an HDMI audio device to your PC, you should be able to select it directly from the GNOME system menu. By default, the Sound Input & Output Device Chooser extension displays output and input devices. You can change this in the configuration and a few other things, such as the icon.
Configure Sound Input & Output Device Chooser
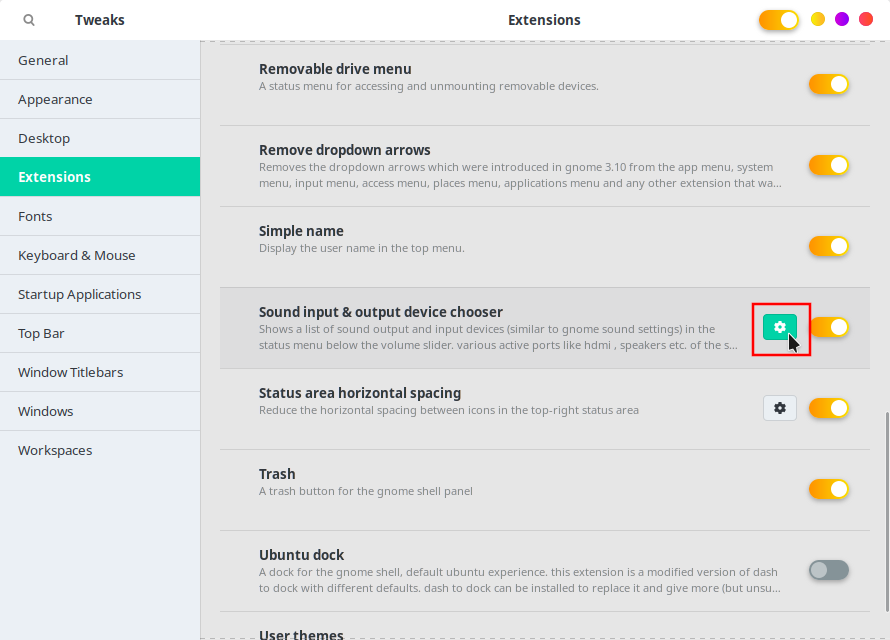
If you have the GNOME Tweak Tool installed, you can access the configuration settings for the Sound Input & Output Device Chooser extension from the Extensions section.
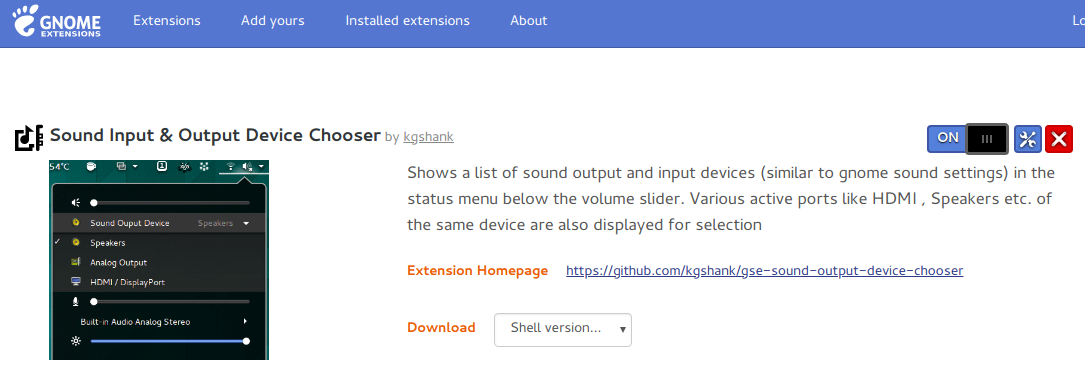
If you don’t have the Tweak Tool, first of all, you should, and second, you can click on the settings icon on the Sound Input & Output Device Chooser extension web page to access them.
Don’t miss: 5 Best Linux Desktop Environments