As you install more software applications on your PC, it takes longer and longer for your computer to start. Many applications these days get hooked into your Windows Startup process and automatically start when your computer starts. It’s a good option for important applications to start along with your computer startup. However, some applications that are not that useful occupy your PC memory and increase the time taken to startup.
Don’t worry about it, you don’t need to be an IT geek to manage such startup programs. Microsoft Configuration tool comes to your rescue and helps you to enable or disable the programs that you want to load during your computer startup. Let’s see how to use this MSConfig tool on your Windows PC.
Manage Startup Programs in Windows
Just follow the below steps to manage startup programs on a Windows PC.
- Launch the Start menu using the start button on the bottom-left corner of the screen or by pressing the Windows key on your keyboard.
- Search for the MSConfig application in the start menu.
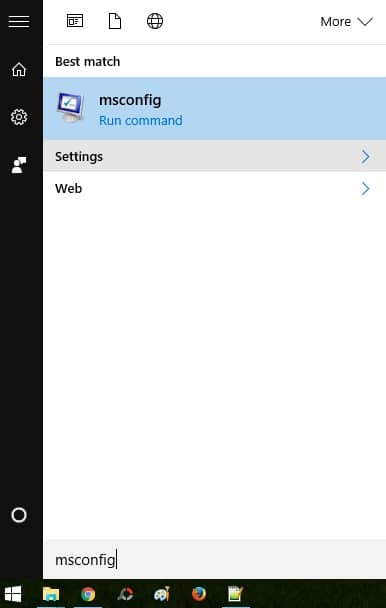
- Select the msconfig.exe application and hit the enter key to launch it.
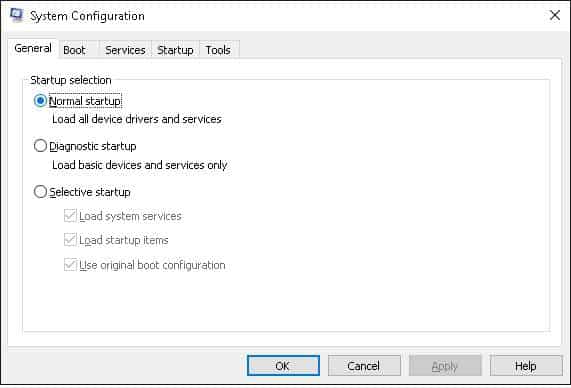
- The System Configuration window will appear on the screen with various tabs like Services, Boot, Startup etc.
- Select the Services tab and click on the Hide all Microsoft services check box.
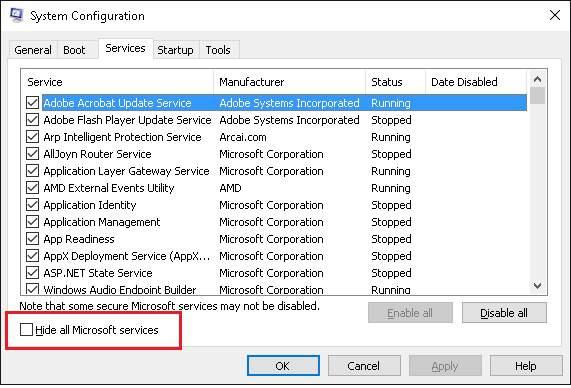
- Select the Startup tab to view the list of programs that start automatically during your computer startup.
- Uncheck the boxes next to the programs which you want to prevent from starting automatically during your computer startup. If you Windows 8 or 10 user, then you can use the Startup tab in the Task manager to enable or disable the startup programs.
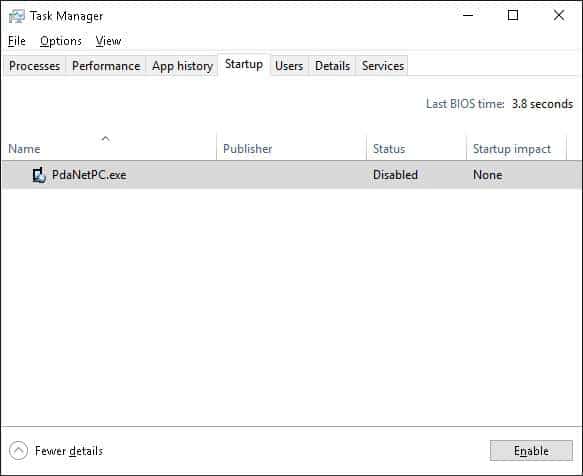
- Click on the Apply and ok button to save your settings. Now restart your PC for the settings to reflect.
That’s it. Isn’t it simple to manage startup programs in Windows?
If you find this tutorial useful, do share it with your friends. Let us know your suggestions in the below comments section.