Usually, the DNS servers are maintained by your local Internet Service Provider (ISP) but you’re not required you use them. Most of the time, the ISP-provided DNS servers are the root cause for many Internet-related issues like slow DNS resolution time, prone to phishing attacks, etc. By default, your ISP DNS servers are used as the primary and secondary DNS servers for your Internet. However, you can opt for many third-party DNS servers which are maintained by reputed organizations.
Local ISPs don’t have faster DNS response time and they are more prone to spam websites and phishing attacks. Switching your DNS servers to either Google or Open DNS will help you have a better browsing experience. Before we start, it’s a good idea to note down the current DNS settings as you can use them to revert, in case you are not interested in the new settings. So let’s start our guide on how to change DNS servers in Windows.
How To Change DNS Servers in Windows
Well, changing DNS servers in Windows is pretty easy and takes very little time. Just follow the below simply outlined step-by-step process.
- Open the Control Panel on your PC. You can open the Control panel easily on your PC by searching it in the Start Menu.

- Now click on Network and Internet category. If you are viewing icons, then click on Network and Sharing Center icon and skip step 3.
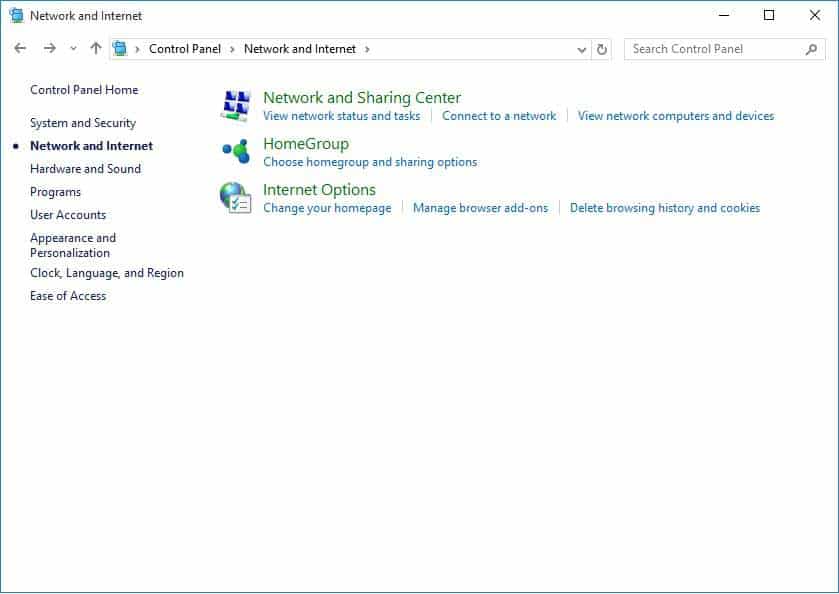
- Network and Internet window will appear on the screen. Click on the Network and Sharing Center option.
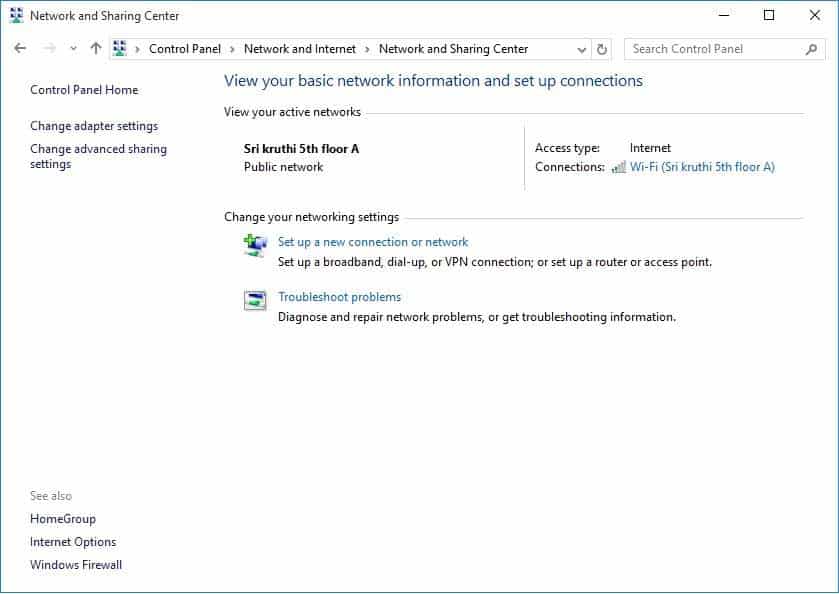
- Network and Sharing window will appear right away on the screen once you click Network and sharing. Now click on the Change adapter settings link.
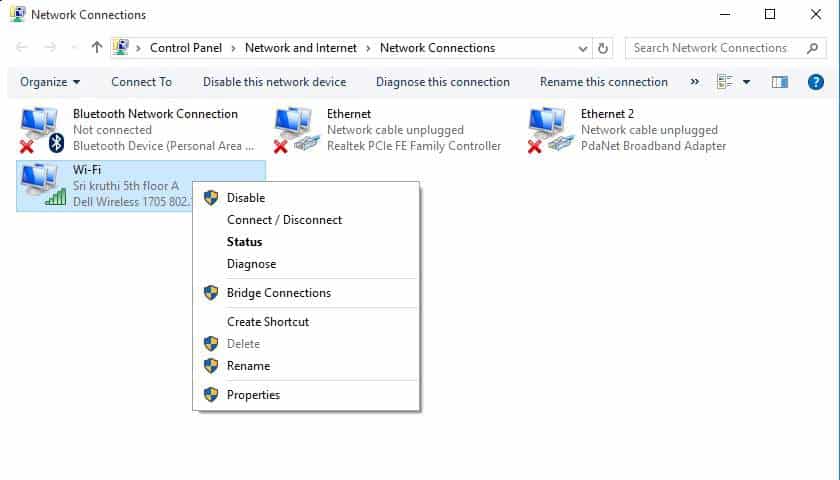
- You can view the list of connections appearing on the Network connections window. Right-click on the network connection for which you want to change. Select the Properties option. Then Wi-Fi Properties window will appear.
- Click on Internet Protocol Version 4 (TCP/IPv4) item in the list. The Properties button will be enabled.
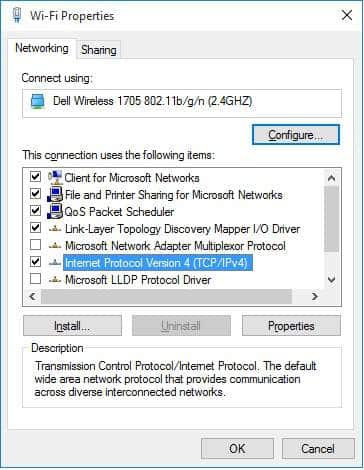
- Now click on the Properties button and choose the Use the following DNS server addresses radio button.
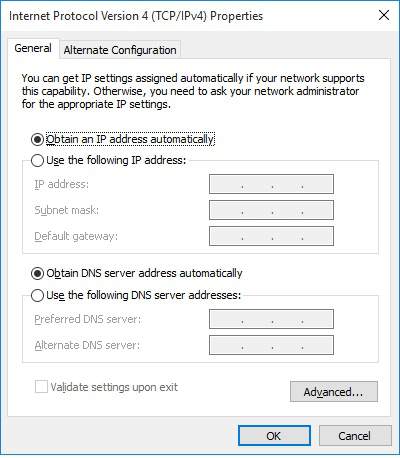
- Enter a Preferred DNS server and Alternate DNS server in the respective areas. If you wish to enter more than two DNS server addresses, then click on the Advanced button and click on the Add button under the DNS tab to enter the DNS server address. Here are the most commonly used DNS server addresses.
Provider Primary DNS Server Secondary DNS Server Google 8.8.8.8 8.8.4.4 Open DNS 208.67.222.222 208.67.220.220 - Now click on OK button to save it and close the Properties window.
You can now see that pages load faster than before. That’s simple. Isn’t this a piece of cake?
Did you like this tip? Let us know through your comments in the below comments section.