Windows 10 operating system comes with many recovery features that help you to solve most of the problems you come across. You may not know when your PC starts working improperly. If you don’t want to create a restore point to fix your PC, you can also try Advanced Startup options to address the issue. A system restore point is one of them that comes in handy when you want to move back to the point in time at which everything on your PC was working correctly. By creating a system restore shortcut in Windows 10, you can easily access it in no time.
Generally, an operating system creates a new restore point before changes are made to your computer and even you can create system restore points manually. In this article, we will help you to create a system restore point shortcut on the desktop that allows you to create new restore points with a simple button click.
Is System Restore Point enabled on your PC?
Well, before moving further first you need to make sure that System Restore Point is enabled on your PC or not.
- Launch the Start menu either by clicking the Windows icon on the bottom-left of the screen or by pressing the Windows key on your keyboard.
- Type “Create a restore point” in the search bar and hit enter.
- The System Properties window will appear on the screen. Click the “System Protection” tab.
- Under Protection Settings, verify whether Protection is turned ON or not. If it is already ON then, skip the below steps else select the PC system drive and click on the Configure button.

- Select the Turn on system protection option and click the Apply button. Finally, click the OK button.

System Restore Point is now enabled on your PC. Let’s see how to create a system restore point shortcut.
Create a System Restore shortcut in Windows 10
Follow the below simple steps:
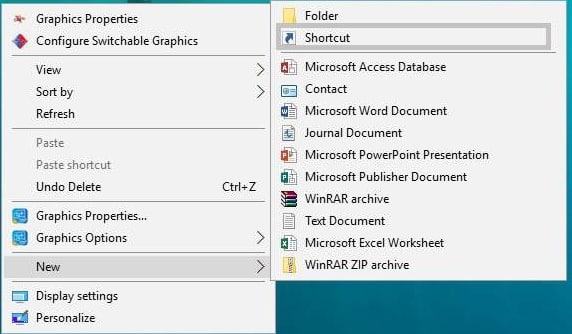
- Right-click the desktop screen, click New, and select Shortcut.
- Type the below command in the text box under Type the location of the item: and click the Next button.
cmd.exe /k "wmic.exe /Namespace:\\root\default Path SystemRestore Call CreateRestorePoint "My Shortcut Restore Point", 100, 7"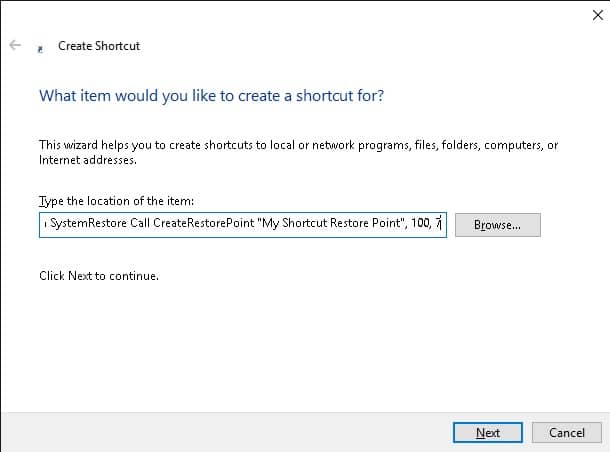
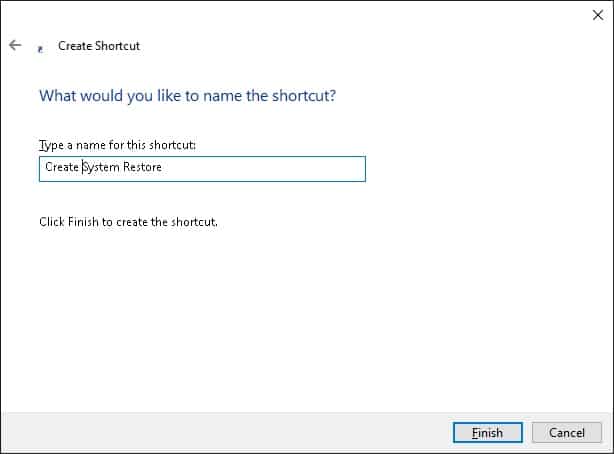
- Now enter the name of the shortcut in the text box and click the Finish button.
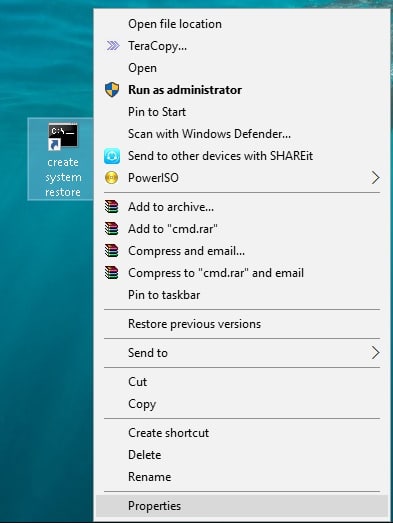
- Right-click the shortcut and select Properties.
- If you want to add an icon to the system restore shortcut key, click the Change icon button.
- Browse to the below path, select your icon, and click the OK button.
C:\Windows\System32\imageres.dll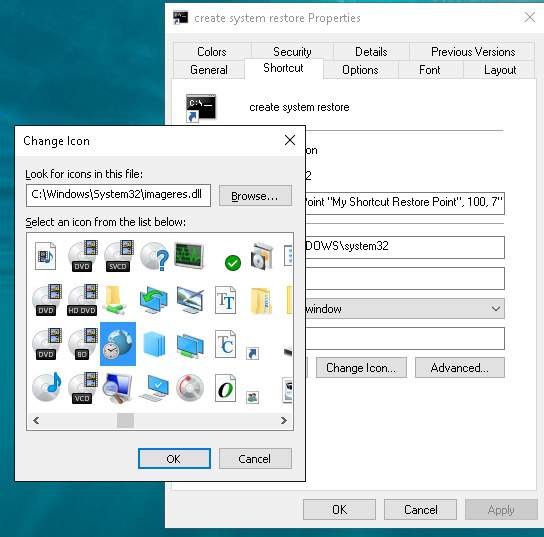
- Click the Advanced tab and select the Run as administrator option. Then, click the OK button.

- Click on the Apply button and then on the OK button.
That’s it. You have successfully created a system restore shortcut. Just double-click the shortcut icon and verify if the system restore point is created or not by cross-checking with the below screenshot.
You can now create a system restore point with just a simple button click instead of going through many steps.