A network location identifies the type of network that a PC is connected to with a network adapter. Whenever you connect your Windows 10 PC to a new Wi-Fi network, it asks you whether you want your PC to be discoverable by other PCs on the same network. Selecting Yes or No helps Windows understand whether you want your network type to be Public or Private. It can then select the correct settings automatically. Below is a detailed guide to help you change the network from public to private in your Windows 10 PC.
The operating system will behave much more conservatively on a public network than on a home or private network. For instance, selecting Yes prepares your PC for sharing files and devices on a network. Windows will automatically assign a network discovery state to the network and set the appropriate Windows Firewall and security settings for the type of network you are connected to.
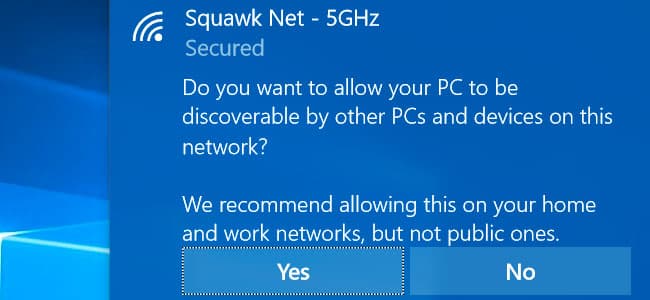
But say you’re sitting at a coffee shop and connected to a public Wi-Fi. You’re strongly advised to select No when you connect to the network and are asked the same question. Selecting No will turn off these discovery features. Your computer won’t appear on other devices on the network and won’t try to discover them. Even if you’ve set up a Homegroup on your PC it will be disabled while connected to a public network. You can change how Windows treats the public and private networks but this is how it is by default. Private networks are treated as trusted networks that contain more devices that you might want to connect to, like Miracast.
Enabling the same settings on a Public network can be a huge security risk. But if you’ve set a Network’s location to Private or Public and want to change it, you can. You will need access to an admin account to make this change.
Set Public Network to Private in Windows 10
Method 1
Once you change the network from public to private in Windows 10, your PC won’t be discoverable by other devices.
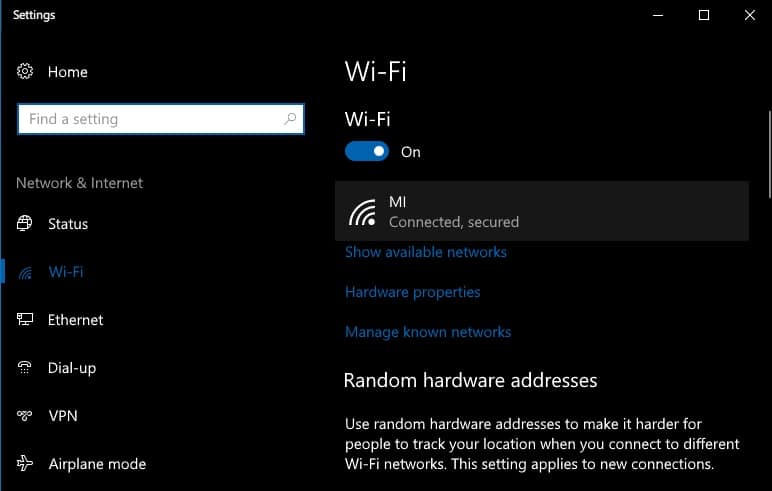
- Open the Settings app and navigate to Network & Internet > Wi-Fi. If your PC is connected via an Ethernet connection, go to Network & Internet > Ethernet instead.
- Select the Network that your PC is currently connected to.
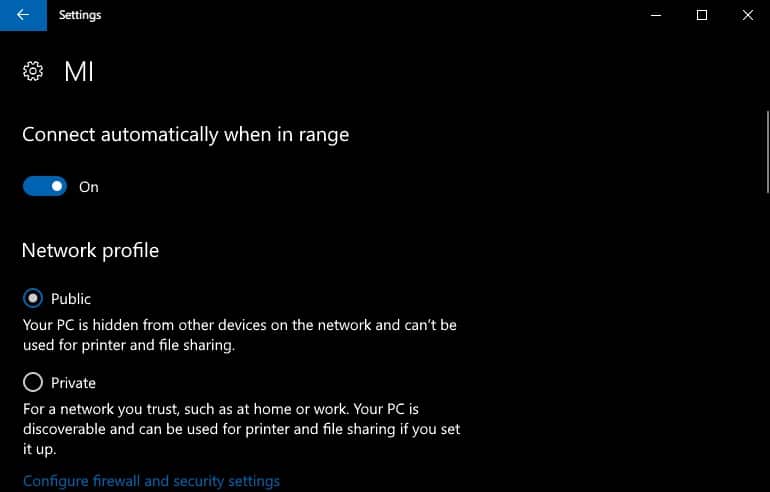
- On the network profile page, select Public to set your network location to Public. Likewise, select Private to set the network profile to Private.
Method 2
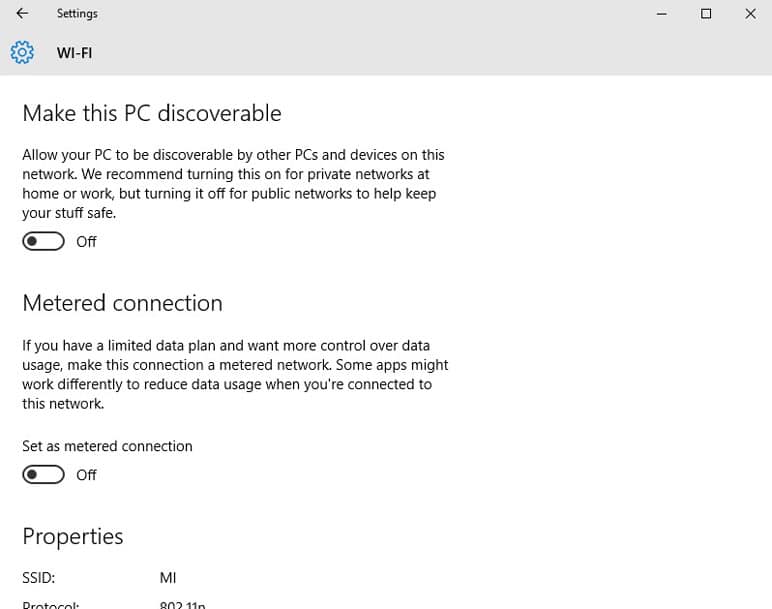
- If you’re using an older version of Windows 10, you may see something different when you go to Network & Internet > Wi-Fi. Clicking on the connected network won’t do much in this case and you’ll have to click Advanced options.
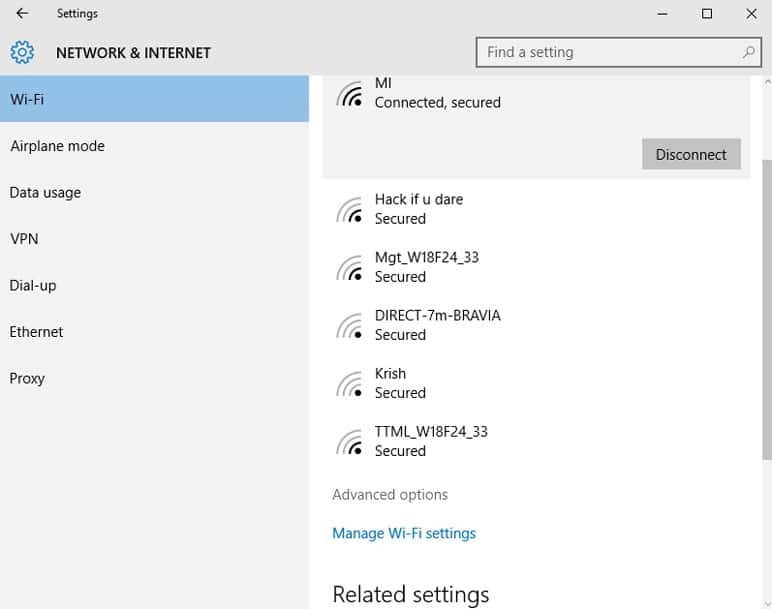
- Instead of selecting a Public or Private Network location you only get the option to Make this PC discoverable. Toggling it on will make Windows treat the connected network as a Private Network. Turning it off would make Windows treat the connected Network as a Public network.
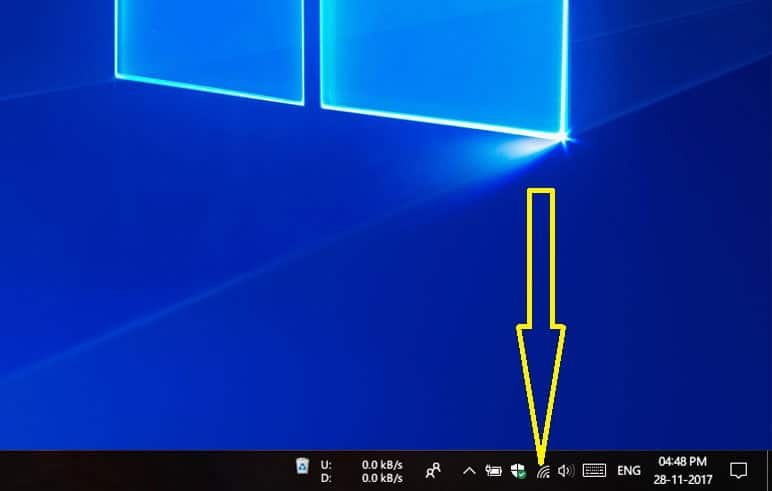
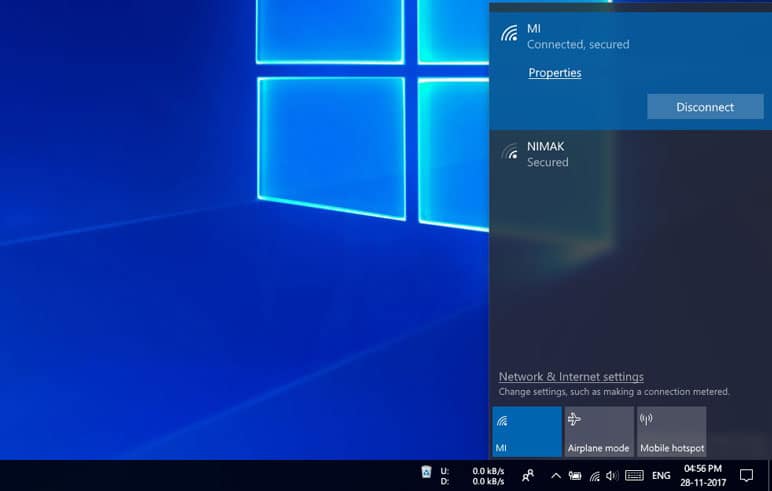
- On newer Windows 10 versions you can also access the Network Profile page more directly. Click the wireless/network icon in the system tray to bring up a list of all available networks and the network to which your PC is currently connected.
- The network your PC is currently connected to is listed at the top and you’ll notice a link right below its name: Properties. Clicking it will take you directly to the page where you can set the Network Location to Private or Public.
That’s it! You have changed the network from public to private on your Windows 10 device. If you care about security, you must read our guide describing how to enable the secure sign-in feature on Windows 10.
Once again, entrusting a Public network as Private in the Windows settings can be dangerous. On a Public network, there can be any number of other PCs. There can also be other devices that you’d have no idea about. A potential attacker can then discover your PC on the network and try to gain access. Still, making Windows treat a Public network as Private sure does let down one of the security walls the attacker will have to bypass. To secure your privacy while browsing the Internet, you should also use a VPN service.