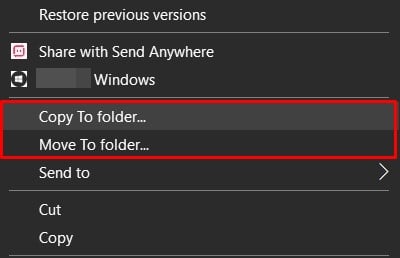
The context menu in Windows offers useful options and functions relevant to specific apps or interfaces. It is convenient to have the options we use most often in the right-click menu. Surprisingly, the ‘Copy to’ and ‘Move to’ options are somehow missing in the Windows 10 context menu. Thankfully, there is a hack to enable the same, and it’s been around since the launch of Windows XP. However, Microsoft has yet to incorporate these functionalities. If you can’t wait, you can use a Registry Editor hack to add the ‘Move to’ and ‘Copy to’ features to the Windows 10 context menu.
Dealing with the Registry editor involves risks. Even the slightest mistake, and you might mess up big time. Therefore, it is always recommended to have a backup and a restore point for your PC. Please follow every step very carefully. With that said, here are the instructions to add the ‘Move to’ and ‘Copy to’ features in the Windows 10 context menu.
Adding ‘Move to’ in the Context Menu
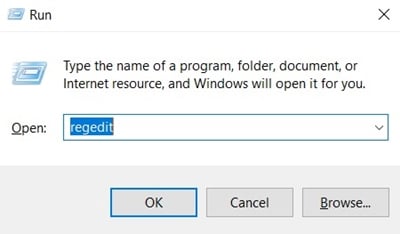
- Launch the Start menu and use the Windows+R shortcut to open the Run dialog box. Type regedit and hit OK.
- Now copy-paste the below location to the Registry Editor’s address bar.
HKEY_CLASSES_ROOT\AllFilesystemObjects\shellex\ContextMenuHandlers

- Right-click the ContextMenuHandlers and select New > Key.
- Name this key Move to, and hit Enter.
- Now, open the (Default) file and type in the below command in the Value Data field:
{C2FBB631-2971-11D1-A18C-00C04FD75D13}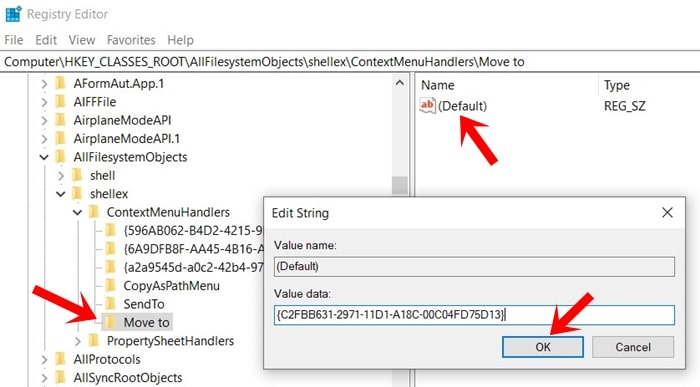
Finally, click OK and close the dialog box. ‘Move to‘ has now been added, and we will now see how to add the ‘Copy to‘ option in the Context menu.
Adding ‘Copy to’ Option
- Again, open the Registry Editor via the Run dialog box (Win+R).
- Navigate to the address below in the Registry Editor. Or you could directly copy-paste it into its address box. Similar to where you have added the ‘Move to’ option, ‘Copy to’ is also to be added in the same location, i.e.:
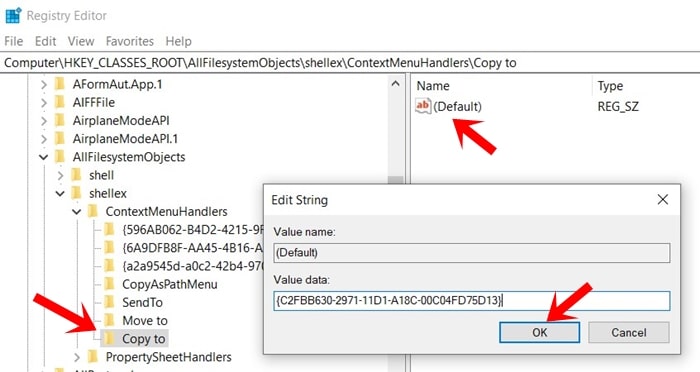
HKEY_CLASSES_ROOT\AllFilesystemObjects\shellex\ContextMenuHandlers
- Again, right-click on the ContextMenuHandlers and select New > Key.
- Name this key Copy to and press Enter.
- Double-click the (Default) file and enter the below string in the Value Data field:
{C2FBB630-2971-11D1-A18C-00C04FD75D13} - That’s it. Hit OK and close the dialog box. The said option would have been added to the right-click menu.
So with that, we conclude the guide on how to add the Move to and Copy to options to the context menu on Windows 10.
Read next: 8 Mouse Tricks for Windows to Increase Your Productivity