For quite some time now, Apple’s MacBooks have been known to have the best touchpads around. This is another area where Windows laptops have lagged for over a decade. Things are changing slowly, and some manufacturers are bringing their A-game to touchpads. However, there’s no consistency and no telling what you’ll get unless you try it first. This makes a mouse necessary for some users who can’t adjust to life with a touchpad that’s not great. On Windows, at least the OS can automatically disable the touchpad when a mouse is connected.
It makes sense to turn it off when you have the mouse connected because you’re not going to use the touchpad. Sometimes, it can get in the way of doing things, as, for instance, moving the cursor around while you’re typing because it can’t differentiate between your fingers and your palm. Disabling it gives you more space on your laptop without worrying about accidentally touching the pad.
Most Windows laptops already come with a key combination, mostly one of the function keys, to turn off the touchpad. But this is done manually, and if you’re someone who travels with their laptop, you can’t use the mouse at all times. Turning the touchpad off and on constantly can be a hassle. This is why letting the operating system do it automatically for you is a smart idea. You can also disable the Touchpad while typing on your Windows PC.
Disabling Touchpad from Settings (Windows 10)
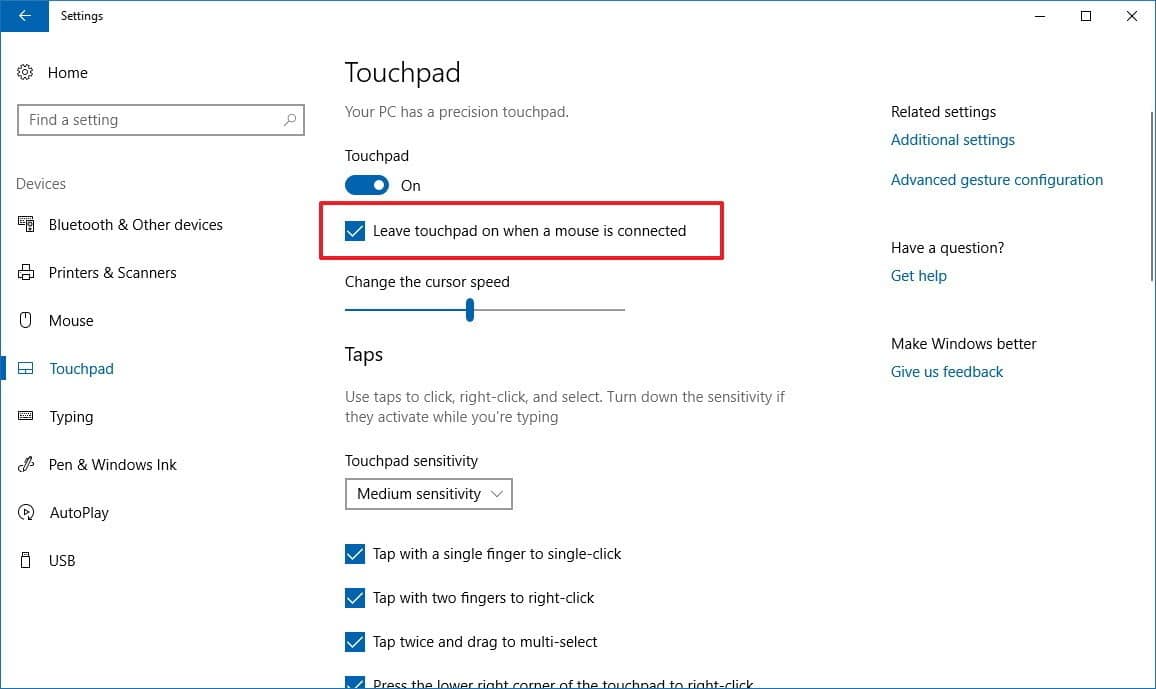
- Open the Settings app on Windows 10 and head to Devices > Touchpad.
- Under the toggle to turn the touchpad on or off is an option labeled Leave touchpad on when a mouse is connected.

- Simply check the box next to it and you’re done.
Don’t Miss: How to Check MD5 and SHA Hash on Windows 10
Turn off the Touchpad from the Control Panel
(Windows 10, Windows 8/8.1, Windows 7)
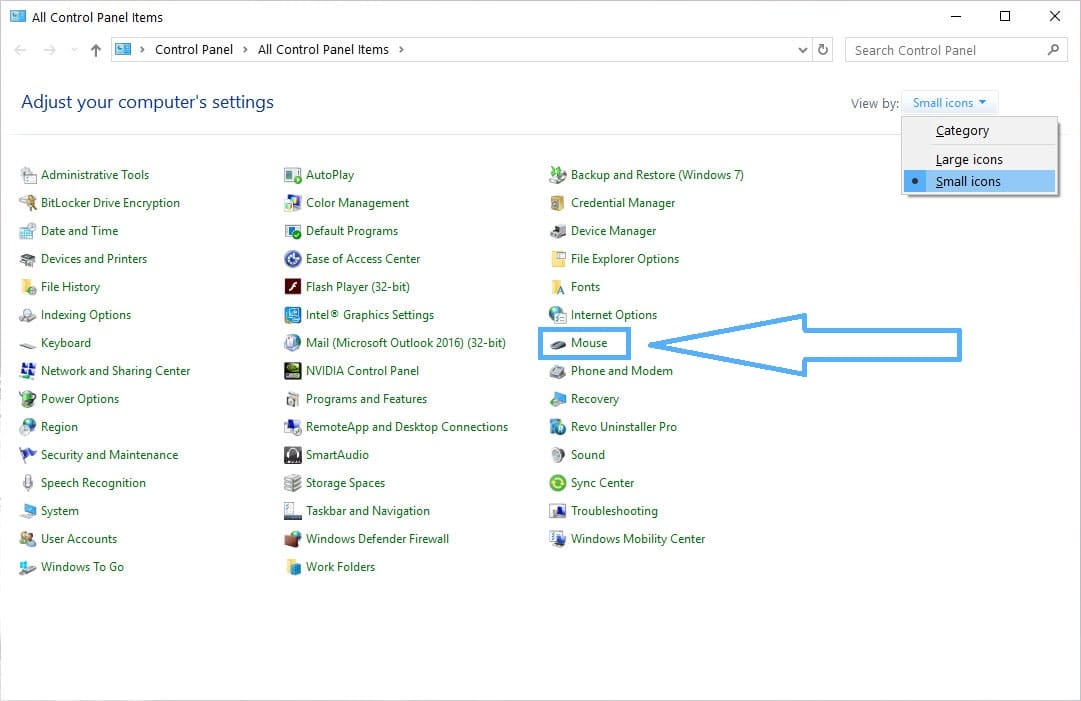
- Open the Control Panel from the Start menu. On Windows 10 and Windows 8/8.1, Control Panel isn’t listed here, so you’ll have to search for it.
- In the Control Panel, change the view to Small icons and click the entry labeled Mouse.

- This will open up the Mouse Properties window. Click on the ELAN or Device Settings tab and check the option that says Disable when external USB pointing device plug in or Disable internal pointing device when the external USB pointing device is attached.
- Click the Apply button and then close the Window.
Enable the option for Synaptic touchpads
Synaptics touchpads are one of the more popular ones used on so many Windows laptops. If you’re using the Synaptics touchpad drivers, you probably won’t find any of the options mentioned above. There won’t be an option to Leave touchpad on when a mouse is connected in the Windows 10 Settings. There will be neither an option to Disable when external USB pointing device plug in/Disable internal pointing device when external USB pointing device is attached in the Mouse properties. But there will always be the Windows Registry, which lets you do things otherwise not allowed by Windows.
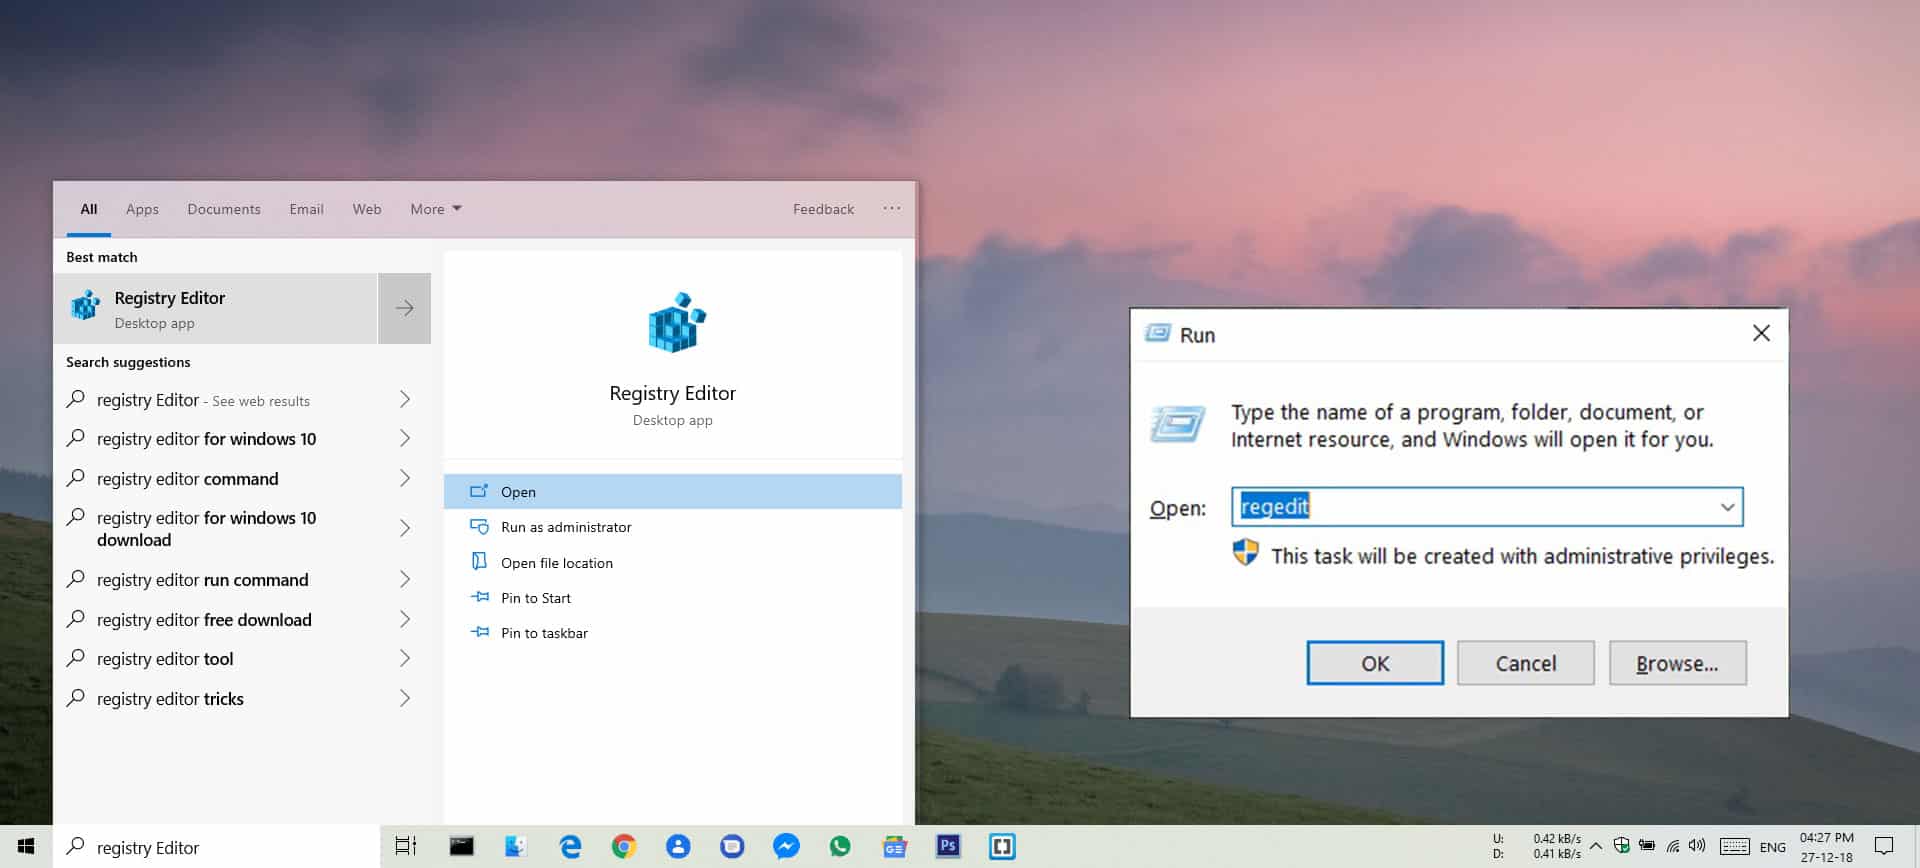
- Open the Registry Editor by searching for it or typing regedit in a Run dialog.

- In the Registry Editor, navigate to the following key:
HKEY_LOCAL_MACHINE\SOFTWARE\Synaptics\SynTPEnh
You can navigate using the left column or copy and paste the above address in the address bar.
- On the right side, right-click an empty area, select New > DWORD value, and give it the name DisableIntPDFeature.

- Double-click the newly created key and assign the value 33 with a Hexadecimal Base.
When you’re done, close the Registry Editor and reboot your computer. When your Windows PC is on again, you should be able to see the Disable when external USB pointing device plug in/Disable internal pointing device when the external USB pointing device is attached option in the Mouse Properties. This also enables the Leave touchpad on when a mouse is connected in the Windows 10 Settings app.
Read Next: How to Copy File and Folder Path on Windows 10
