Windows has had an image attached to itself of an Operating system that tends to crash frequently. That’s not true anymore, still, it is but a piece of software. Things could go wrong at times. Maybe you were tinkering and it didn’t turn out right, it was an app you installed. Most Windows users don’t bother creating backups which can lead to bad situations in such cases. This is why Windows also has a System Restore which is enabled by default on newer versions of Windows 10. It detects system changes, such as in system files and settings, Registry, applications, and drivers, and saves a working state as a “restore point.”
If as a result of misconfiguration or whatever other reason your device experiences any issues, you can then use a restore point to undo the changes to fix problems. Under the default settings, Windows creates a System Restore point on Windows 10 once per week. It also creates a restore point before major events like an app, driver, or Windows update installation. As mentioned above, System Restore should be enabled on your Windows 10 PC if you’ve not manually disabled it.
Create System Restore Point on Windows 10
Although a system restore point is automatically created before a big change, there are times when you’d probably want to create one. Such as when you’re trying to mess with any system files and you’re not sure of the effects or maybe just for peace of mind.
- Open the Start menu or click the Cortana icon/search bar on the taskbar and type “Restore“.
- Click the very first result: Create a restore point.
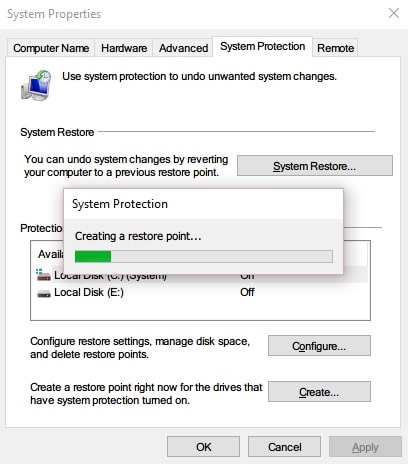
- Select the main system drive under Protection Settings and click the Create button.

- You’ll be asked to type a description to identify the system restore point you’re about to create. Type the description and click Create.

- It only takes less than a minute to create a restore point. You’ll see a dialog box letting you know when the restore point has been created.
Use System Restore to undo changes
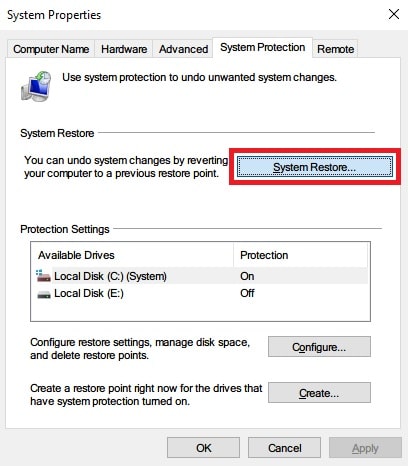
- Similarly, search for Create a restore point and click on it.
- Click the System Restore button.

- Then click Next on the new window that opens.

- Select the restore point you want to use from the list of available restore points.

- Clicking the Scan for affected programs button will open up another Window. Here you can see the applications that will be removed. An application will only be removed if it was installed after the restore point was created. Click Close to close the window.
- When you’re ready, click Next again.
- Click Finish when your system has been restored.
Use System Restore when your device won’t boot
A system restore point is useless if you can’t restore it when your system doesn’t boot. This is the exact situation when you need tools like these the most. So you can use system restore even if you can’t get your PC to boot up.
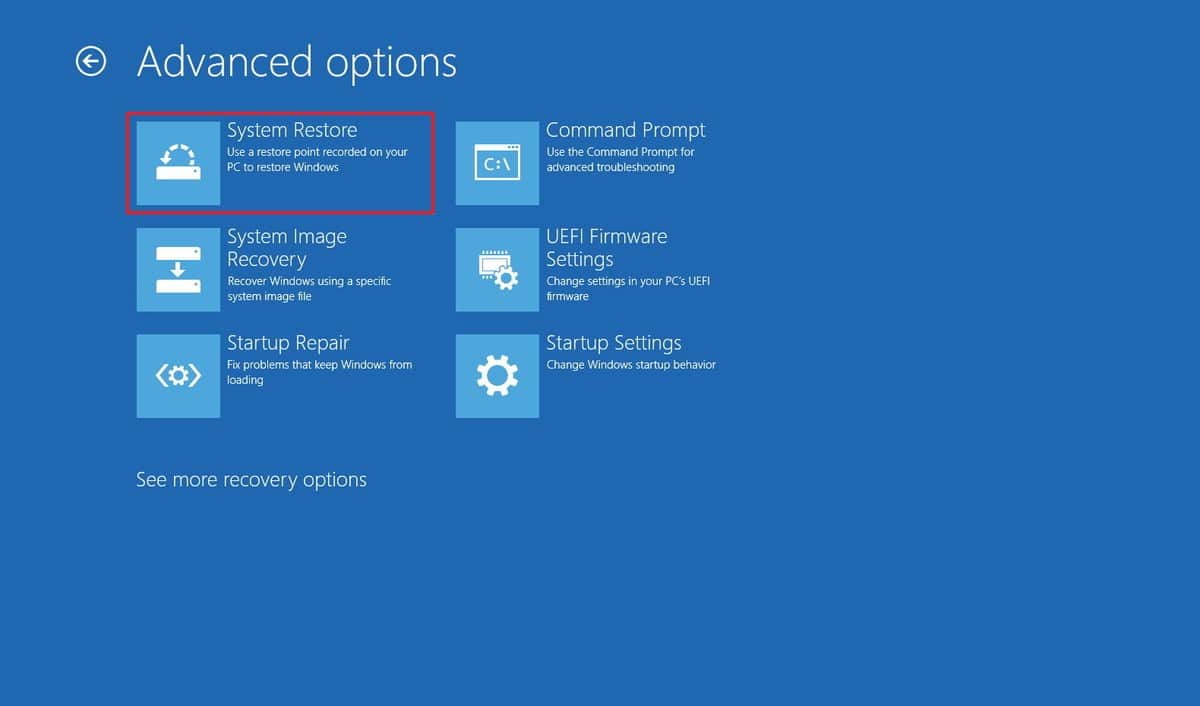
- Try starting your PC three times to let Automatic Repair kick in. From here, click on Advanced Startup. You can also access Advanced Startup using a bootable Windows disc or flash drive. It need not be yours. Boot from the disk or drive and on the Windows Setup screen, click Next. Now click on the Repair your computer link at the bottom of the window and Advanced Startup will immediately start. Another way to access it would be through your device’s boot menu but that is dependent on the manufacturer of your PC hardware.
- Navigate to Troubleshoot > Advanced options > System Restore.
- From here, restoring is pretty much the same as above, click Next and you’ll know what to do.
If you find yourself manually creating restore points often, you might want to consider adding the Create system restore point shortcut to your desktop.


