The PrtSc key in the Windows keyboard copies a screenshot of your screen to the Windows clipboard. It does not save this anywhere. If you were to copy something else the screenshot would be gone. While it is not ideal, it makes sense for Microsoft to keep this functionality instead of capturing and saving a screenshot when the button is pressed. Thankfully, you can capture screenshots in Windows in 5 ways and we’ll discuss them below.
If you’re talking to someone over Facebook, sending an email, skype chat, or just about anything else and quickly want to share your screen. You can press the print screen key (PrtSc) and then in the Facebook chat press Ctrl+V to paste it. Now you don’t have to worry about deleting a screenshot you only wanted to send to someone.
1. Take a screenshot of the entire screen
Using Paint
This is perhaps the most common way of taking screenshots on Windows 10 because this has been around on Windows for the longest time. Back when screenshots weren’t as important, and Windows hardly had any built-in screenshot tools this was how we did it.
- Press the PrtSc key so that an image of your screen is copied to the clipboard.
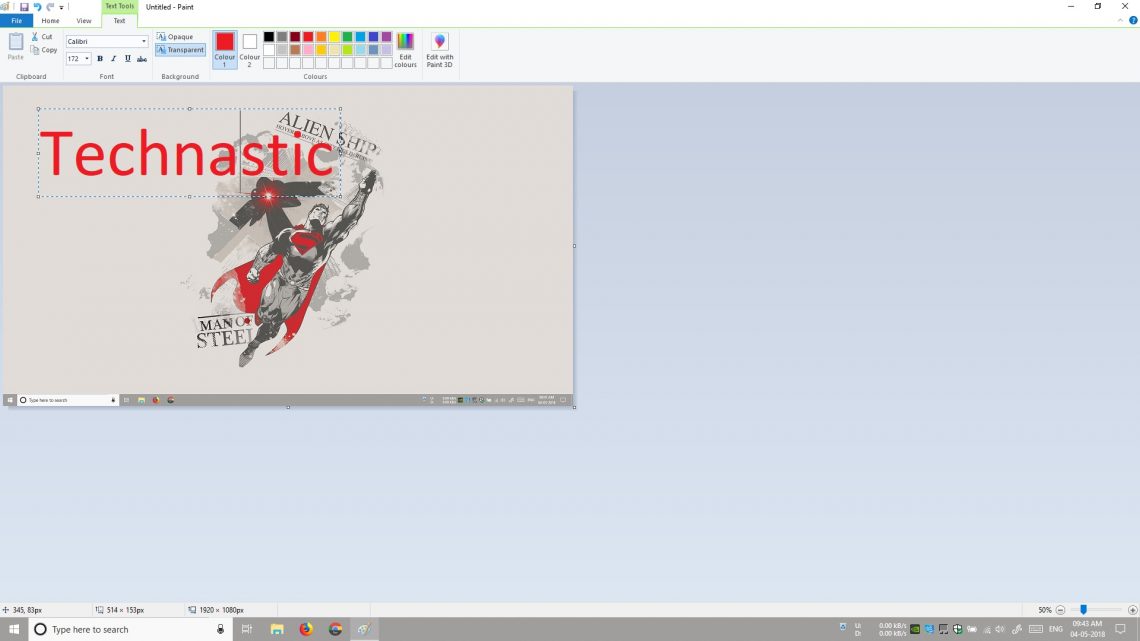
- Launch MS Paint. On Windows 10, you can hit the window key and type paint to search for it.
- Here, all you need to do is make sure the page in Paint is not larger than your screenshot and hit Ctrl+V on your keyboard.
- Your screenshot will be pasted, and unless your page was larger than your screenshot the size will be adjusted too. You can edit it here if you want to use the available tools.
- Click the Save button to save it as a PNG or go to File > Save as and save it as any available image format.
Windows+PrtSc
With Windows 10, Microsoft made it a little easier to capture screenshots. As you can already guess this can be done by pressing and holding the Window key and then pressing the PrtSc key. On some laptops, you may need to press Windows + Ctrl +PrtSc or Windows + Fn + PrtSc.
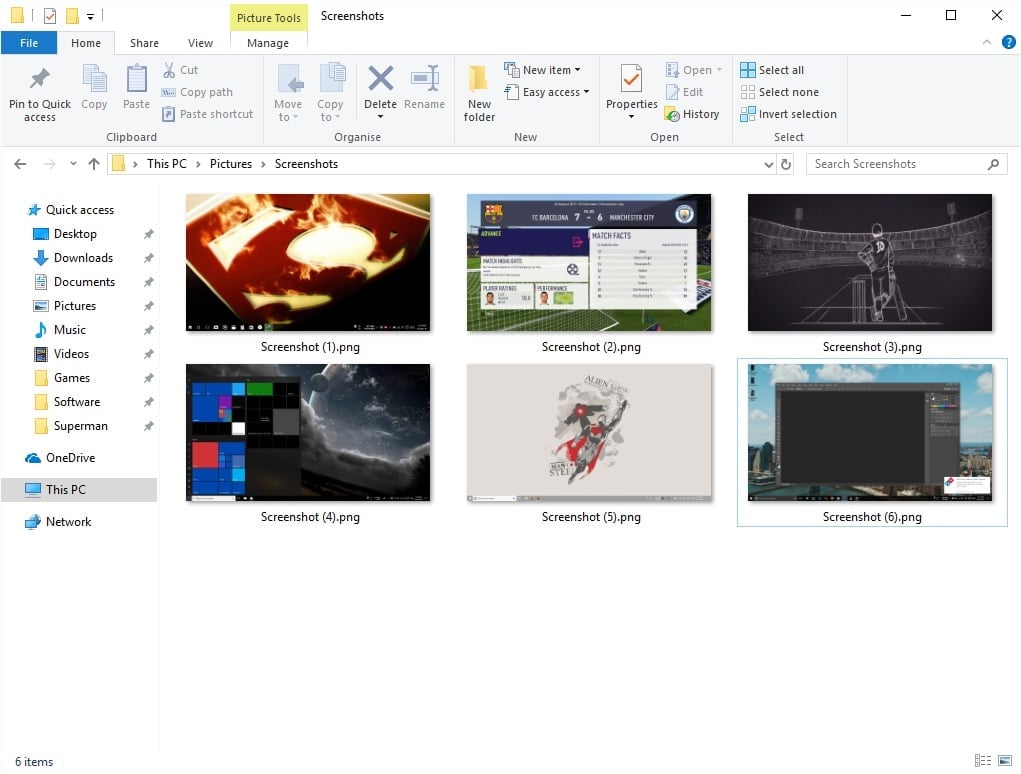
As long as you have the window minimizing and maximizing animations turned on, the screen becomes dim for a moment. This signifies that a screenshot has been taken. The screenshots are saved in Pictures > Screenshots and they’re all numbered. So as long as you don’t format your PC, you’ll know just how many screenshots you’ve ever taken even if you delete all the previous ones.
2. Take screenshots of the current window
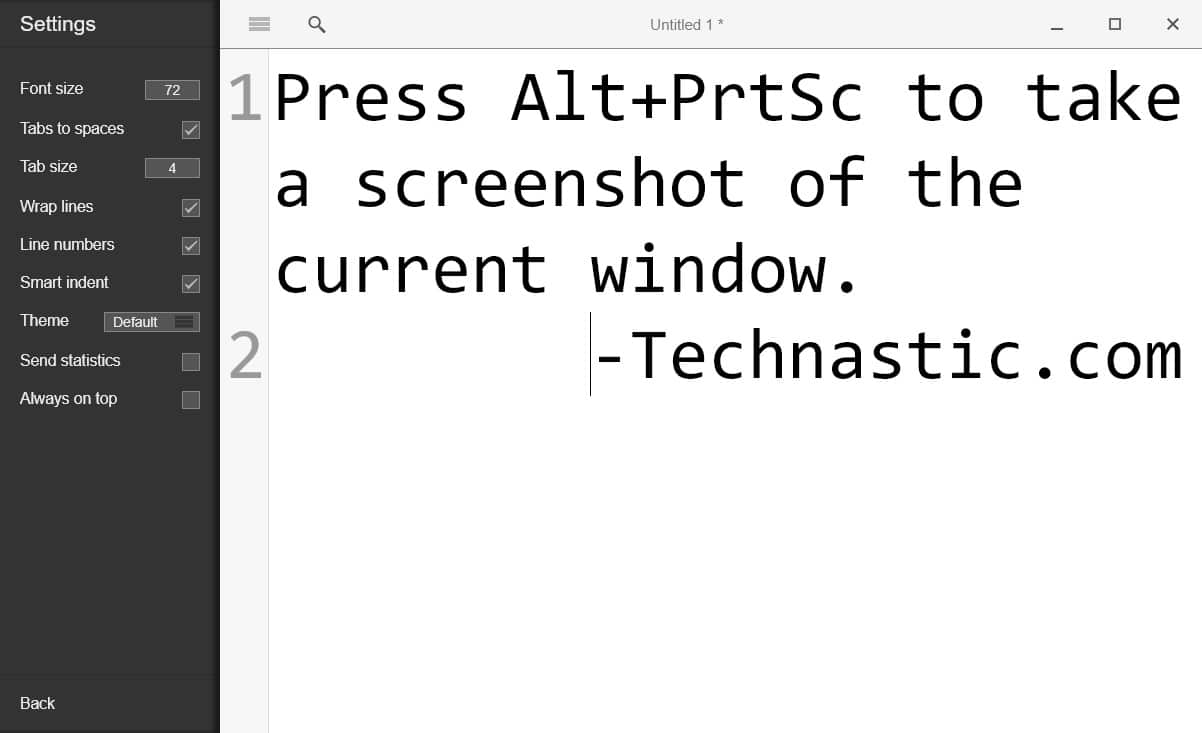
Both the above methods will take a screenshot of the entire screen. Sometimes all you need is a screenshot of the current window without letting people a peek into other things you may have on your screen. Pressing Alt+PrtSc copies an image of the currently in-focus window to the clipboard. Then you have to use MS Paint as before if you want to save it or paste it wherever you want to send it. If you think pressing Window+Alt+PrtSc would directly save a screenshot, it won’t.
3. Take screenshots of a part of your screen
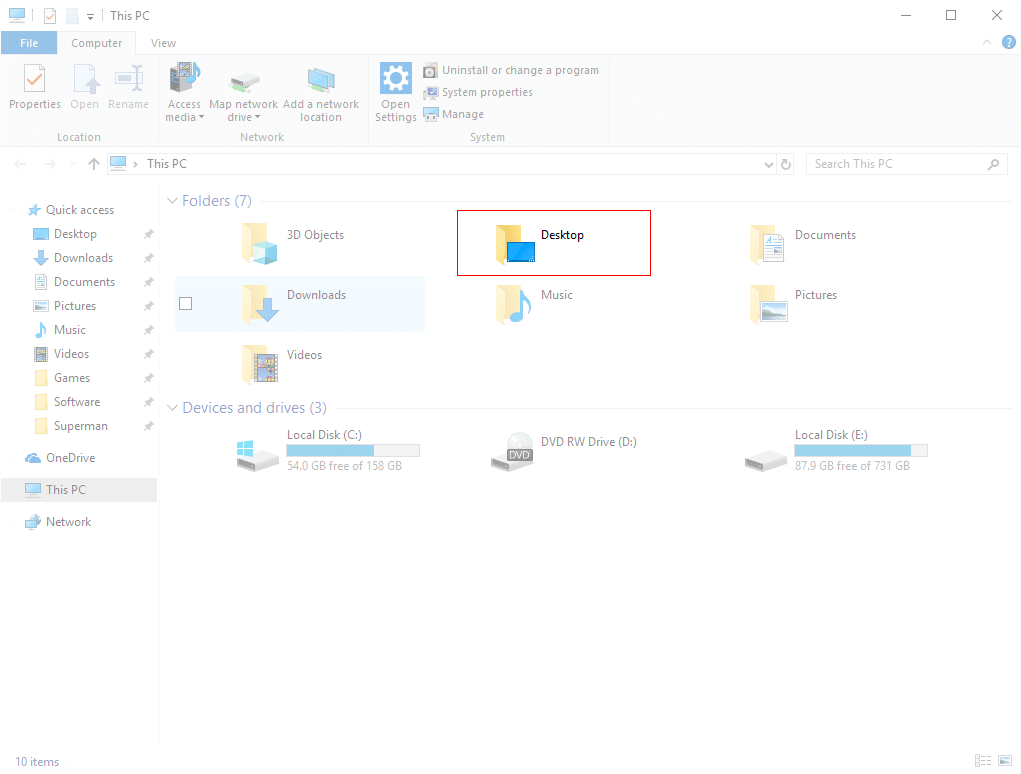
On Windows 10, if you want to take a screenshot of only a specific part of your screen, you can do this by simply pressing Window+Shift+S. This will cast a translucent white overlay over your screen with a cursor. You can use the cursor to select a rectangular area on your screen. The screenshot is then copied to your clipboard, after which you can paste it anywhere to send it. There’s always MS Paint if you want to save it. This shortcut only works on Windows 10 Creator’s update and later versions.
4. Snipping tool
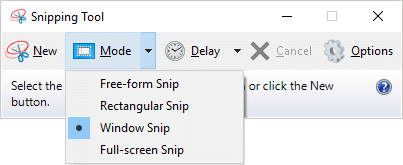
The snipping tool has been a part of Microsoft’s OS since the Windows Vista days. It’s one of the most flexible ways to take screenshots in Windows 10 without using a third-party tool. Yet, somehow it has passed by unnoticed. Probably because it hasn’t been granted any new features since its introduction. Microsoft seems to have forgotten about it too. Regardless, it is still a pretty useful tool. Not only can you take full-screen screenshots, screenshots of the current Window and a specific part of your screen, but you can also take delayed screenshots.
For instance, when you press down a keyboard shortcut or button to produce a desired effect on the screen. None of the keyboard shortcuts will work. With the snipping tool, you can set a delayed screenshot, press the buttons, and produce the desired effect within the set amount of time a screenshot is taken. You will be allowed to edit or save it, without needing another tool to do so. A good example of this would be the screenshot under the ‘Take screenshots of a part of your screen‘ above. The snipping tool helped take a screenshot of a screenshot process.
Currently, it only allows for 5 seconds delay which isn’t ideal but that’s what you get. Under Mode, you can select between Free-form Snip, Rectangular Snip, Window Snip, and Full-screen Snip.
5. Screensketch
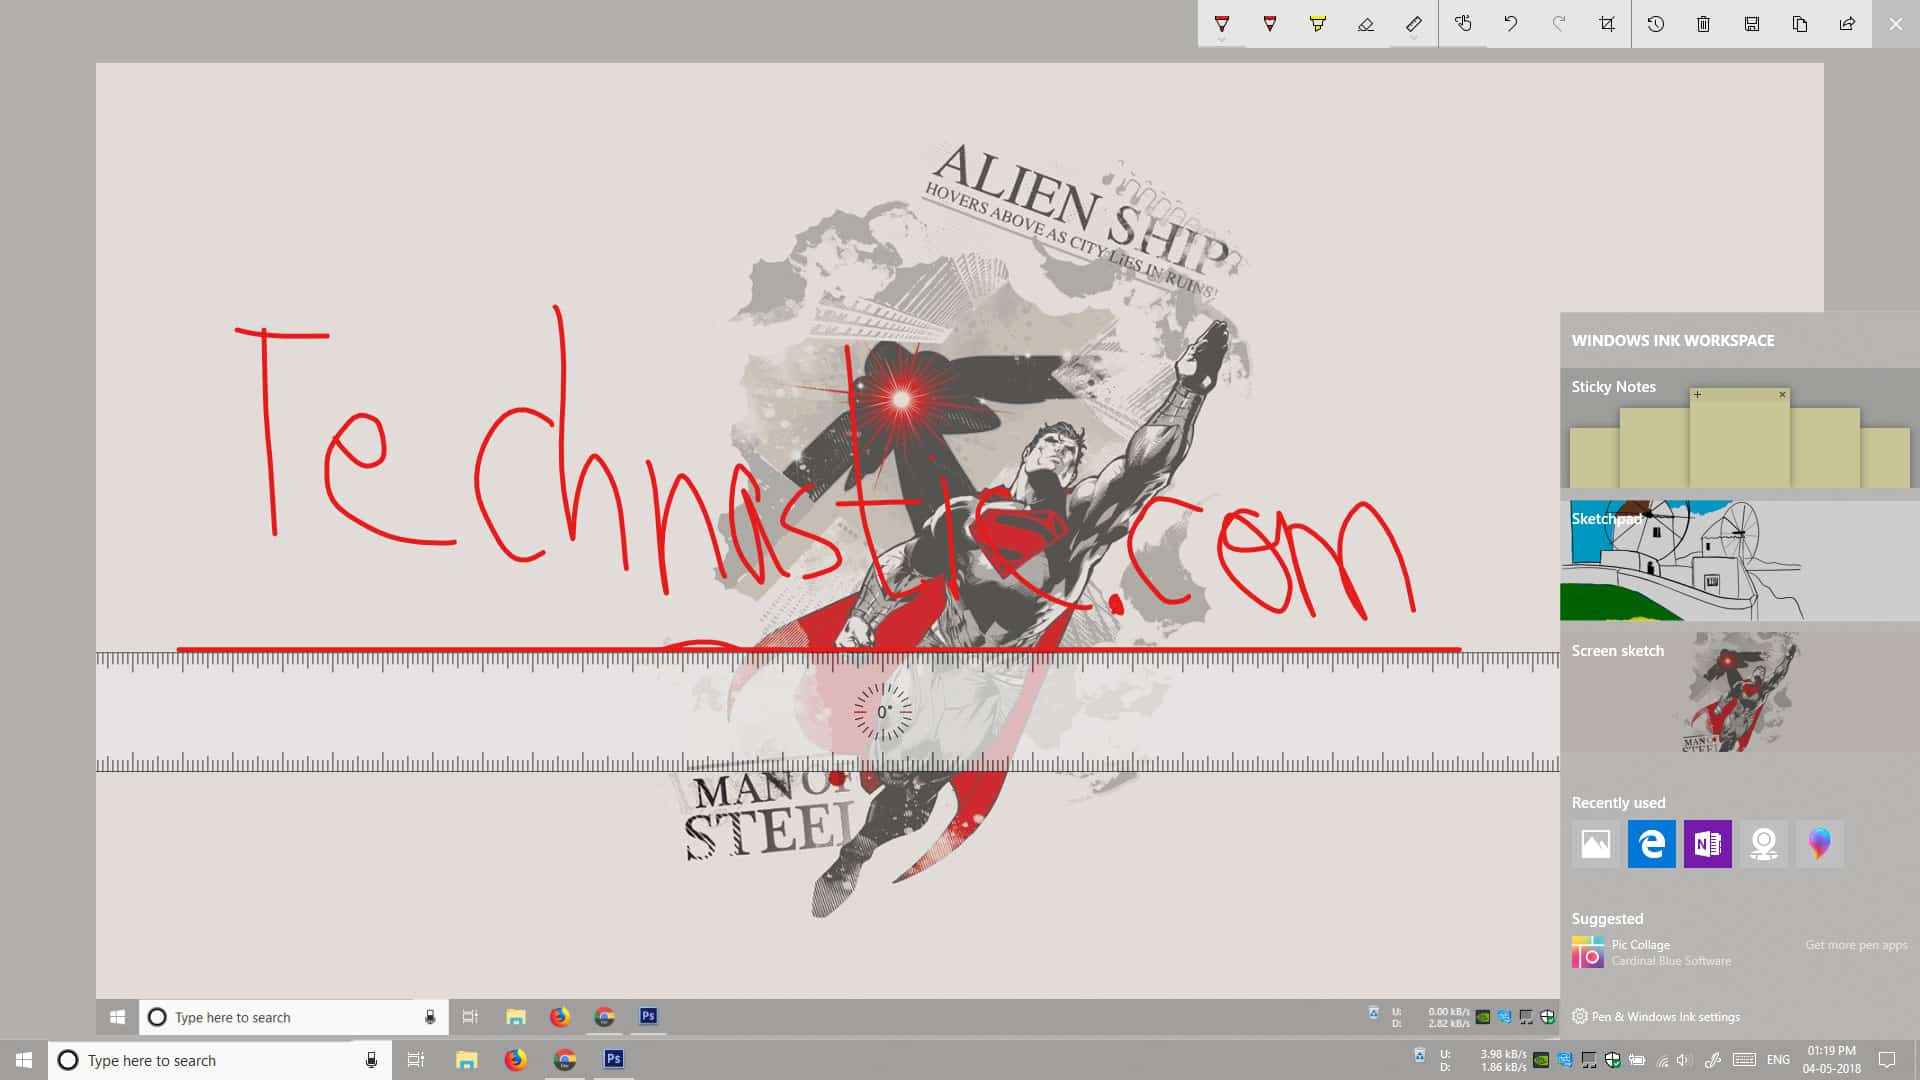
Screensketch is another new tool introduced in Windows 10 as a part of its touch-focused tools. To use Screensketch you’ll first have to enable Windows Ink Workspace. It’s not very hard, fortunately. Right-click on the taskbar and select the Show Windows Ink Workspace button. Then you can click the new pen icon on the Taskbar and select Screensketch anytime you want to take screenshots in Windows 10. You can sketch on it, annotate the screenshot, crop it, save it, copy it to the clipboard, or directly share it.
