Hardware manufacturers, such as Nvidia use proprietary drivers for their products. Many of these don’t even provide drivers for Linux-based operating systems. As a result, Linux uses its community-maintained drivers for hardware components such as Nvidia graphics cards. Nvidia does provide proprietary drivers for Linux systems though. We’ll show you how to install Nvidia graphics card drivers on Ubuntu 18.04.
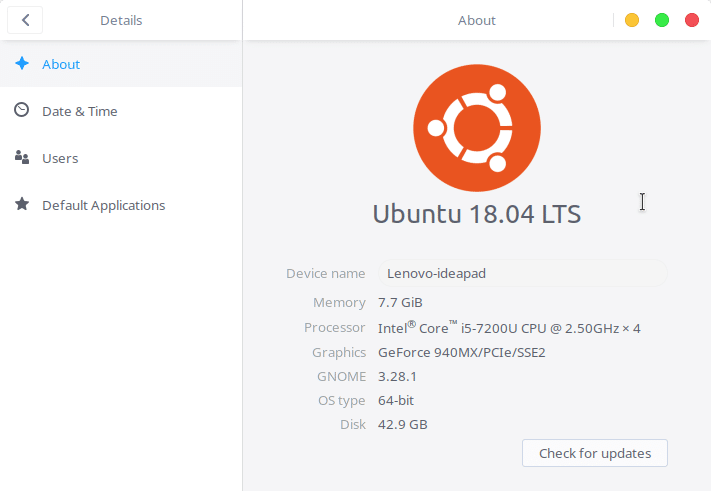
Even if you don’t install the proprietary Nvidia drivers, Ubuntu already uses an open-source community-maintained Nouveau driver for your graphics card. This driver is included in the Linux kernel for the Nvidia graphics card. However, this driver lacks 3D acceleration support and is thus not ideal. If you’re a gamer or a graphic designer, video editor, etc. you’ll probably benefit from using the proprietary Nvidia drivers. If you go to System Settings > Details, you’ll find the graphics card being used is the integrated graphics card, if you have one.
There are two ways you can install Nvidia graphics card drivers on Ubuntu 18.04. You can do this via the GUI, using a software program where you click things and have a command line.
Via GUI
If you’re using Ubuntu with GNOME, you’ll have a Software & Updates app pre-installed. If you’re using one of the official Ubuntu flavors such as Kubuntu, you’ll need to install Software & Updates from Discover, or whatever Software Center is installed on your system. Most of these desktop environments do provide other ways of doing this. For instance, KDE Plasma on Kubuntu lets you do this via the System settings. It will not be possible to cover every one of those methods though. Hence, we will use the Software & Updates app which is pre-installed on Ubuntu GNOME and can be installed on other Ubuntu flavors.
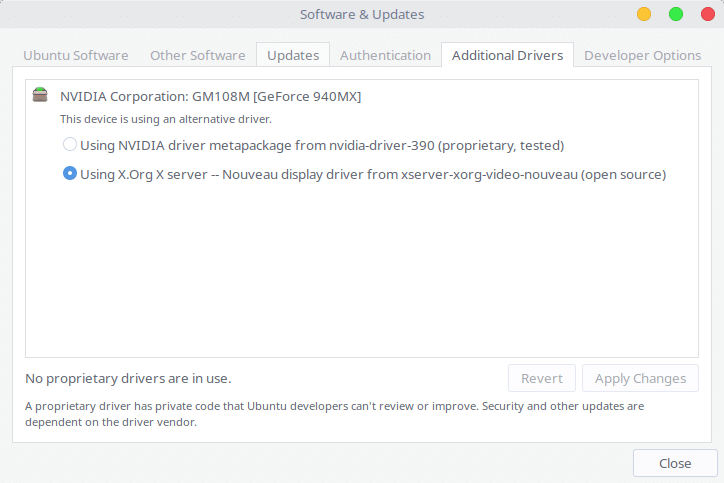
- Launch the Software & Updates app and head to the Addition Drivers tab. You’ll notice that the Nouveau display driver from xserver-xorg-video-nouveau (open source) is already selected. You’ll also see a list of available proprietary drivers, usually, there’s only one.

- Select NVIDIA driver metapackage and click the Apply button. Depending on your internet speeds and hardware specs, the application can take anywhere from a few minutes to half an hour.
- Once the drivers are installed, reboot your computer for the changes to take effect.
You may also like: How to Use and Uninstall Emoji on Ubuntu 18.04
Via Command line
- Launch a Terminal window and enter this command to see a list of available drivers for your system. You’ll be asked to enter your password. You’ll most probably see two drivers listed here, one of which will be the open-source driver and one will be the proprietary Nvidia driver.
sudo ubuntu-drivers devices

- Now use the following command to install the available Nvidia driver.
sudo apt install nvidia-driver-version-numberHere, replace the version-number with the version number you’re shown after you enter the first command. For instance, since the Nvidia driver version for me was 390, the command I’ll use will be
sudo apt install nvidia-driver-390
- After this, reboot the computer using this command.
sudo shutdown -r now
When your computer boots up again the Nvidia drivers will be active. You can check this by checking the system details again.
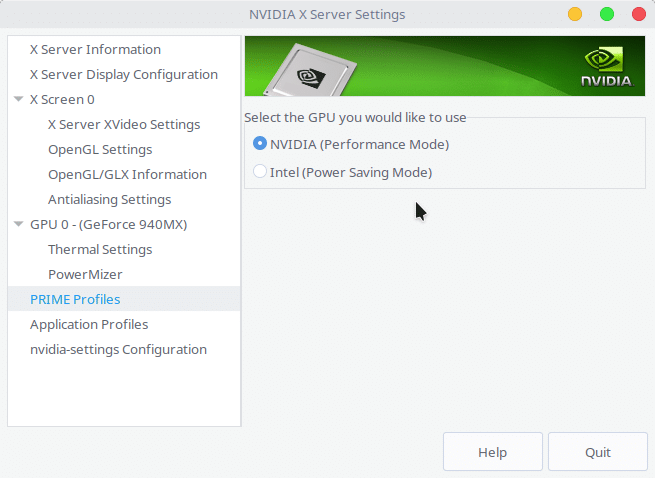
If you go to System Settings > Details now, you’ll notice that your Nvidia Graphics card is listed. You’ll also now have a Nvidia X Server Settings app installed on your computer. In case you wish to use the Intel Drivers to save power or for other reasons, you can do so from here. Just head to PRIME Profiles and select your Intel card.


