If there’s one Windows 10 feature I love over previous versions, it is search. Not that previous Windows versions didn’t have it, but simply having the Search bar on the taskbar, not inside the start menu, makes it more accessible. Furthermore, it’s much more accurate in predicting what I’m looking for. However, Windows 10 search is not optimized for speed. There are a couple of reasons, one being that the Windows 10 search is trying to find web results and local files and folders. This wasn’t the case on previous versions of Windows.
I don’t know many people who use Cortana to make internet searches since it uses Bing and Edge. That’s not the dream combination of a search engine and web browser most people use. If that sounds like you, you can index files on Windows 10 for a faster search.
The search index is a feature that has been present on previous versions of Windows as well. It is a service that creates an index of all files on your Windows 10 computer. This is similar to a database index and greatly improves lookup speed. If the files you are looking for are indexed, they can be quickly looked up rather than making the computer sort through hundreds of files right when you search. Indexing files impacts performance, specifically if you have a lower-end PC. This is because resources will be utilized in the background to keep the index up to date. This is why not all files on your computer are indexed by default.
If you have a folder with a ton of files that you routinely access and search for files in, indexing can greatly reduce the time it takes to search for these files.
Index files on Windows 10
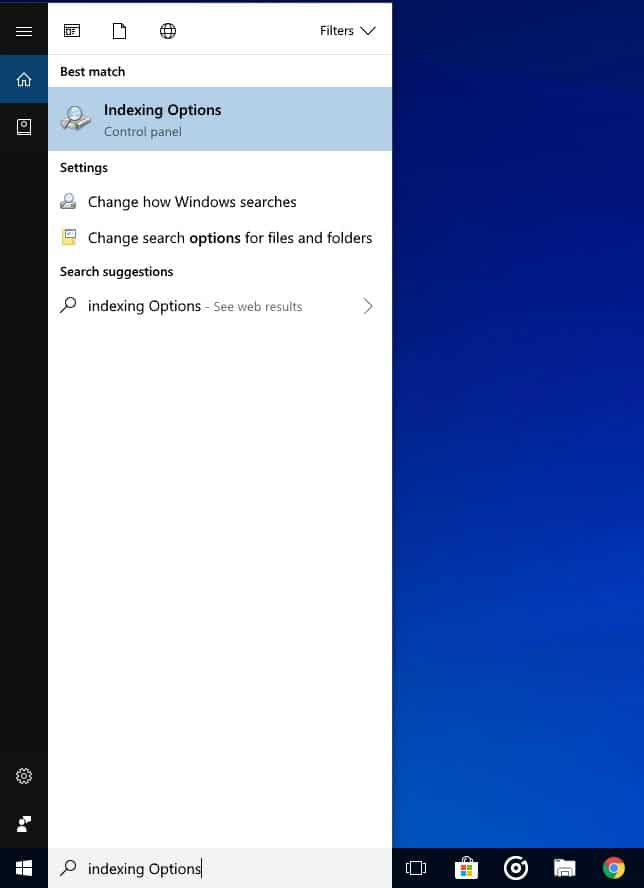
To index files for faster search results, you’ll need to search. Hit the Windows key on your keyboard and type “indexing,” and you’re more than likely to see Indexing Options listed as the first search result. Hit Enter or click on it to open the search result. 
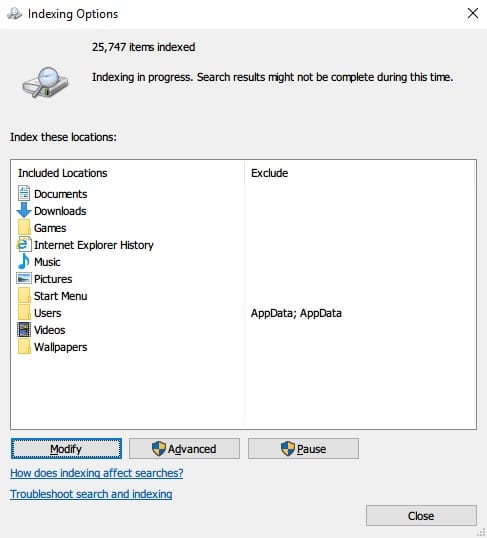
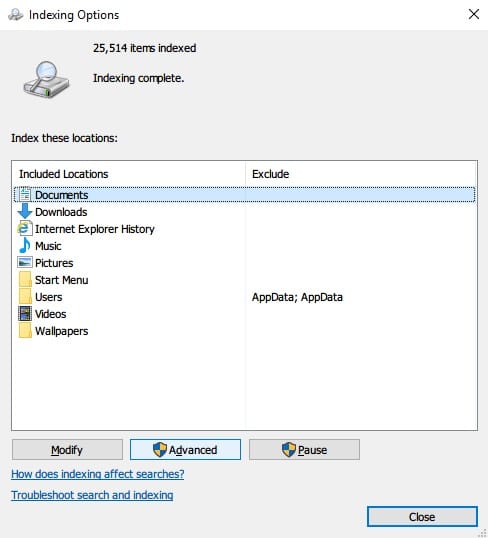
As mentioned, you’ll find that not too many folders are added by default. In the screenshot below, you may notice more folders in the Included Locations list than you might find on your computer.
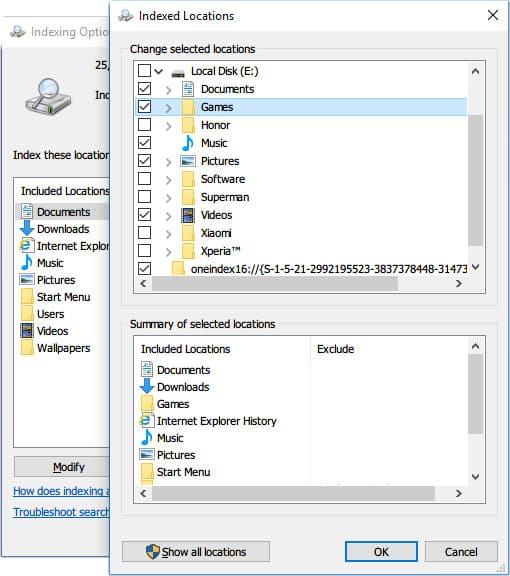
To add a folder for indexing, click the Modify button, then select the folder you’d like to be indexed. For example, I want to index my games folder for some odd reason. As soon as I tick the checkbox next to the Games folder, it immediately appears in the summary. Clicking OK will close the current window, and you can see that the Games folder has been added to Included Locations. Indexing of files inside the folder automatically starts, but is slow while the computer is being used. 
The indexer lacks a search option to find locations quickly, which means that you need to click your way through the structure to include new locations. There can also be folders that you might want to exclude. Any folders not included are already excluded, sure. What if you don’t want search results from a certain folder inside an included folder? That’s when the exclude function comes in handy. When you include a folder, all subdirectories inside it are included automatically. You can exclude folders by clicking the little arrow icon to open a list of subfolders. Then remove the tick from the checkbox next to the subfolder you want to be excluded.
Tips
By default, your indexing database is located in C:\ProgramData\Microsoft\Search, but you can easily change it under Advanced options. If you have some portable software on your PC, it might not show in Windows search results unless you have placed the programs in the user folder. To add your portable software to Windows search, include the folder containing it. You can also place all your portable software into a single folder and then include that folder. That would be easier than including several folders if you have a lot of portable software.


