Many-a-times, you might have noticed that no matter what you do, you cannot edit or delete files from a specific pen drive on your Windows PC. This is due to a form of security called ‘Write Protection‘. Just as its name applies, it disables any user to allow any sort of modification, let it be just renaming a file, or as big as deletion of multiple folders. In such a situation, where you need to quickly modify something in that pen drive, it can drive you nuts. So, how do you access your files and folders with administrator-like rights again? This simple answer is to just disable Write Protection. 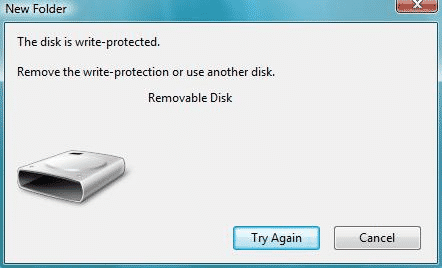
The process, however, isn’t as simple and basic as you might think. As it isn’t a laid out option in some setting, you will manually have to open the registry, and apply minor changes. In this comprehensive guide, we’ll be taking a look on how you can disable write protection from pen drives and hard drives on your Windows PC. Without any further ado, let’s get started.
Disable Write Protection From Pen Drives On Windows
- To start off, open up your Start Menu, and type in ‘Run‘, and launch the first search result. From the little box, type in ‘regedit‘, and press enter. This will hop you directly into the registry editor in Windows, which you otherwise cannot access using the file-folder system.
- Once in the registry editor, navigate to the following path :
HKEY_LOCAL_MACHINE\SYSTEM\CurrentControlSet\Control\StorageDevicePolicies
- From the right side panel, double-click on the option which reads ‘Write Protection‘, and set it’s value to a ‘0‘ (zero).
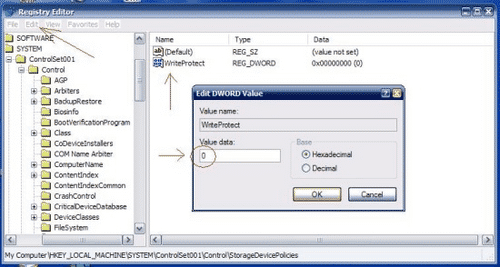
- Click on ‘Ok‘, and then reboot your Windows computer for optimal results.
- Now, try connecting your pen drive, and check for any ‘Write Protection’ errors you get. If not, you’ve done everything the right way, so props to you!
If you still have the same error, try rebooting into the Safe Mode, and follow the same procedure once again. If you think our guide has helped you, sure do hang around our little space for more content as such!