If you are a regular internet surfer or a browsing addict you may have come across various articles, pictures, or a page of whom you wanted to take a screenshot for further use. Windows have its own Snipping Tool for taking screenshots but it’s not one of the best in business. There are many screenshot tools available for taking screenshots on Windows 10. Some of these tools are free while others are paid. Some are good while others are not. In this article, I will tell you about 5 awesome tools for taking screenshots on PC along with their pros and cons.
Before we check out these tools I would like to tell you the basic features that you should look for in a screenshot tool:
- Take screenshots of specific resolutions
- Easy share to cloud services
- Fast-loading and lightweight
- Basic image editing features
- Full-screen capture
- Annotations (Arrows, Highlight, Tags, Blue, Text)
- Save images in multiple formats
- Support for shortcut keys
While some of these screenshot tools are available for Windows and macOS both, you should also look at these 3 methods to capture a screenshot on Mac.
FastStone Capture
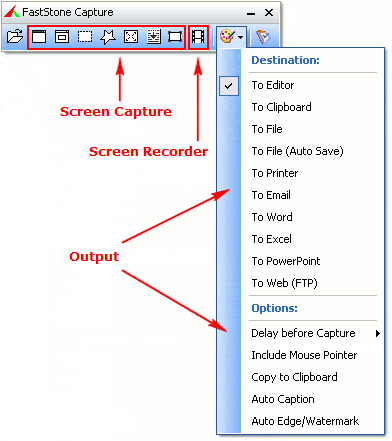
FastStone Capture is one of the best tools available for taking screenshots. Some of its features are:
- Capture with keyboard shortcuts
- Multi-output window
- Screen recording support
- Touch screen support
- Multi-tab support
- Annotation support
- Join side-by-side images
- Crosshair, magnifier, and color picker
- Saving your image in multiple formats
One of the most amazing features that FastStone boasts of is it allows you to capture multiple areas of the screen in a single screenshot.
Pricing
FastStone Capture gives 30-day free trial and then you can buy it at $19.95
Pros of FastStone Capture
- Video support
- Multiple format support
- Feature-rich
- Best editing tools
- Different options for screen capture
Cons of FastStone Capture
- Price
Download and Install FastStone Capture
PicPick
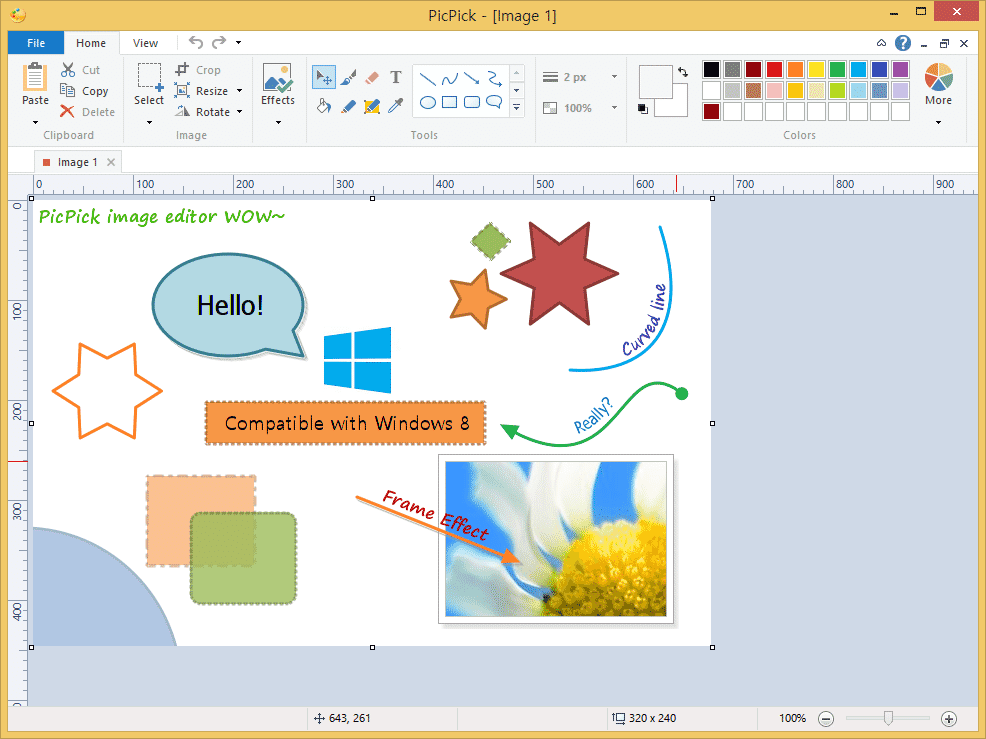
PicPick is a smaller and more developed version of FastStone Capture. It is lightweight and has most of the features in common with FastStone Capture like Capture with keyboard shortcuts, multi-output support, annotation support, multi-tab support, image editing tools, Image saving in multiple formats, etc.
However, you should note that PicPick doesn’t have the option of recording your screen. So if you are looking for video capture FastStone Capture is the one for you. But PicPick has the additional functionality of sharing the captured images directly to Evernote, Facebook, Twitter, drive, and many other top websites.
The user interface of PicPick is clean and looks similar to Microsoft Paint. You can see most of the editing options on the right of the top menu. PicPick has some of the awesome drawing options. Let us give a brief view of some of these options:
- Crosshair: This is one of the coolest features PicPick has got. It is used to identify the dimensions of an on-screen object. Just set up 2 reference points and the crosshair will determine the dimensions between these reference points.
- Protractor: This is similar to the “dee” that we used in school. It is used to measure angles. This tool sets up a virtual protractor on the screen to measure angles.
- Pixel Ruler: The name says everything. This tool puts a ruler on the screen to measure your screen in pixels.
Download and Install PicPick
Price
PicPick is free for personal use and it is priced at $24.99 for the commercial license.
Pros of PicPick
- Excellent and unique features like Pixel Ruler, Protractor, and crosshair
- Simple and modern user interface
- Good capture options and feature list
Cons of PicPick
- No screen recording support
- The scrolling of the screenshot has to be configured.
Skitch
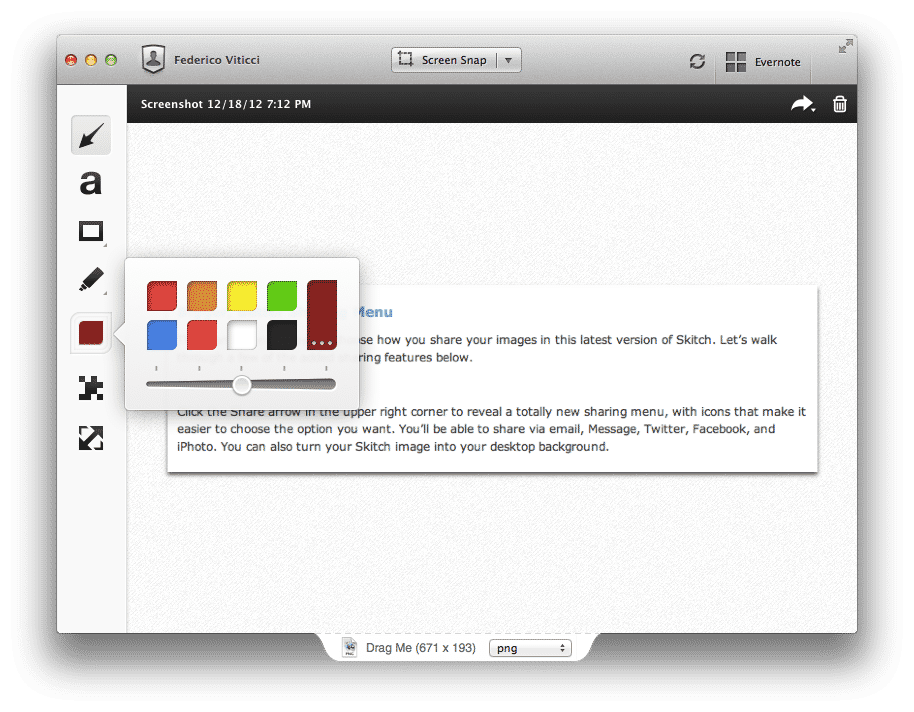
It is made by the developers of the most popular note-taking app Evernote. Some of the features of Skitch are:
- A mobile app (Android/iOS) is available.
- Captures rectangular areas on the screen.
- Annotation features
On the top, there is an option called “Screen Snap”. Use it to capture the screen.
Download and Install Skitch
Skitch
Price
Skitch is free for both personal and professional use.
Pros of Skitch
- Easy to use
- Simple interface
- The final images appear professional
- Price
Cons of Skitch
- Limited features
- No keyboard shortcuts
Snagit
Snagit is a free screenshot tool by Techsmith. This company also has another screenshot tool named “Snagit”. Jing is a less versatile and free version of Snagit. But Jing is useful for simple screenshots. The most mindblowing thing about Jing is that it does not have a screenshot. It rests on the corner of your screen and shows it options when we click on it.
We can use on-screen options for taking a screenshot or customize keyboard shortcuts for taking screenshots. After you take a screenshot, Snagit will open a small screen where you will have basic editing options, annotating, and adding text options. You can save the image directly after editing is done.
The sad thing is these are the only features available in Snagit as it was designed to be a minimal tool having limited features.
Download and Install Snagit
Price
Snagit is free for both personal and commercial purposes.
Pros of Jing
- Lightweight
- Free
- Easy to use even for non-technical users
Cons of Jing
- Limited features
- Screenshots are saved only in PNG format
Nimbus Screenshot
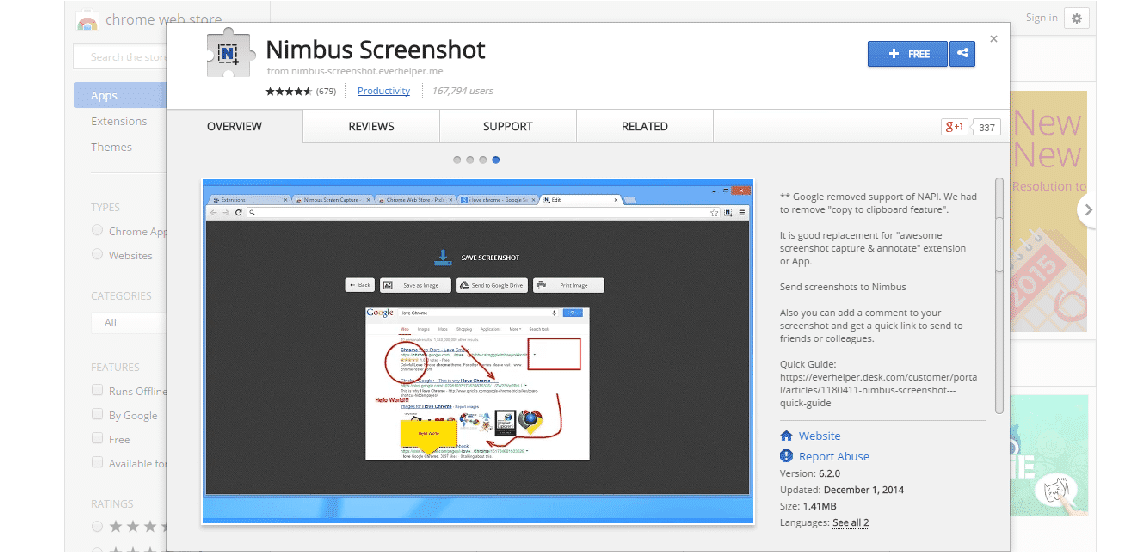
Nimbus Screenshot is a Chrome and Firefox plugin and after installation, it appears in the extension area of the browser. Some of the features of Nimbus Screenshot are:
- Capture scrolling area
- Screen recording
- Capture part of a screen
- Keyboard shortcuts
- Start with a blank image
The standout feature of Nimbus Screenshot is that it can take a scrolling screenshot of only a part of the screen.
For taking the screenshot, just click on the extension icon or you can use the keyboard shortcuts for the same. After taking the screenshot, you will be guided to 3 options- save, edit or discard. You can further perform any of these tasks by selecting one of these options.
Now you may be wondering if Nimbus Screenshot is a browser-based screenshot tool, will it be useful for taking screenshots of other windows? The answer is yes. Below is the procedure for the following:
- Open the “blank image” from the extension.
- Nimbus Screenshot will open the editor for you.
- Now choose the options which say “Capture from the desktop”.
- Once you click the button, you will see all the open windows.
- Choose the one you would like to capture.
These were the features of the Nimbus Screenshot.
Download and Install Nimbus Screenshot For Chrome
Price
Nimbus Screenshot is free.
Pros of Nimbus Screenshot
- Lots of capture options
- Free
- Video Support
Cons of Nimbus Screenshot
- No multi-tab interface.
- Image editing features are basic
- Limited file format support
This was our list of 5 awesome tools for taking screenshots on PC. You can share your list and give us more suggestions in the comment box below.
Read Next: 10 Google Chrome Keyboard Shortcuts
