Android may be Google’s most popular OS, but it has a few glaring shortcomings. The first is fragmentation, and the second is its inability to use larger screens. The OS itself does not have any of these problems, however, it is the implementation. On the other hand, Chrome OS is great for laptops and tablets. No matter who you buy your Chromebook from, you can be sure you’ll have the same experience. Chrome OS solves the biggest problems with Android. While Google only sells it with Chromebooks, you can install and run Chrome OS from a USB Drive. If you are already a Chrome OS user, you can even create a bootable USB drive on Chrome OS.
Chrome OS is not available for download anywhere, so it is difficult to get your hands on it. It’s an open-source counterpart, Chromium OS, however, is readily available to download, install, modify, etc. Chrome OS is owned and maintained by Google. Chromium OS is maintained by the open-source community and lacks a couple of features in comparison. Overall, if you want a taste of Chrome OS, it’s a good place to start.
Requirements
To be able to run Chrome OS from a USB drive, there are a few prerequisites that you must fulfill.
- Of course, to run something from a USB drive, you need a USB drive.
- You’ll also need a working computer with a working USB port.
- A file archive application that can extract .7z archives. You can download 7-Zip for Windows, Keka for macOS, and p7zip for Linux.
- Etcher image burner for Windows, macOS, or Linux
Get the latest Chromium OS daily build
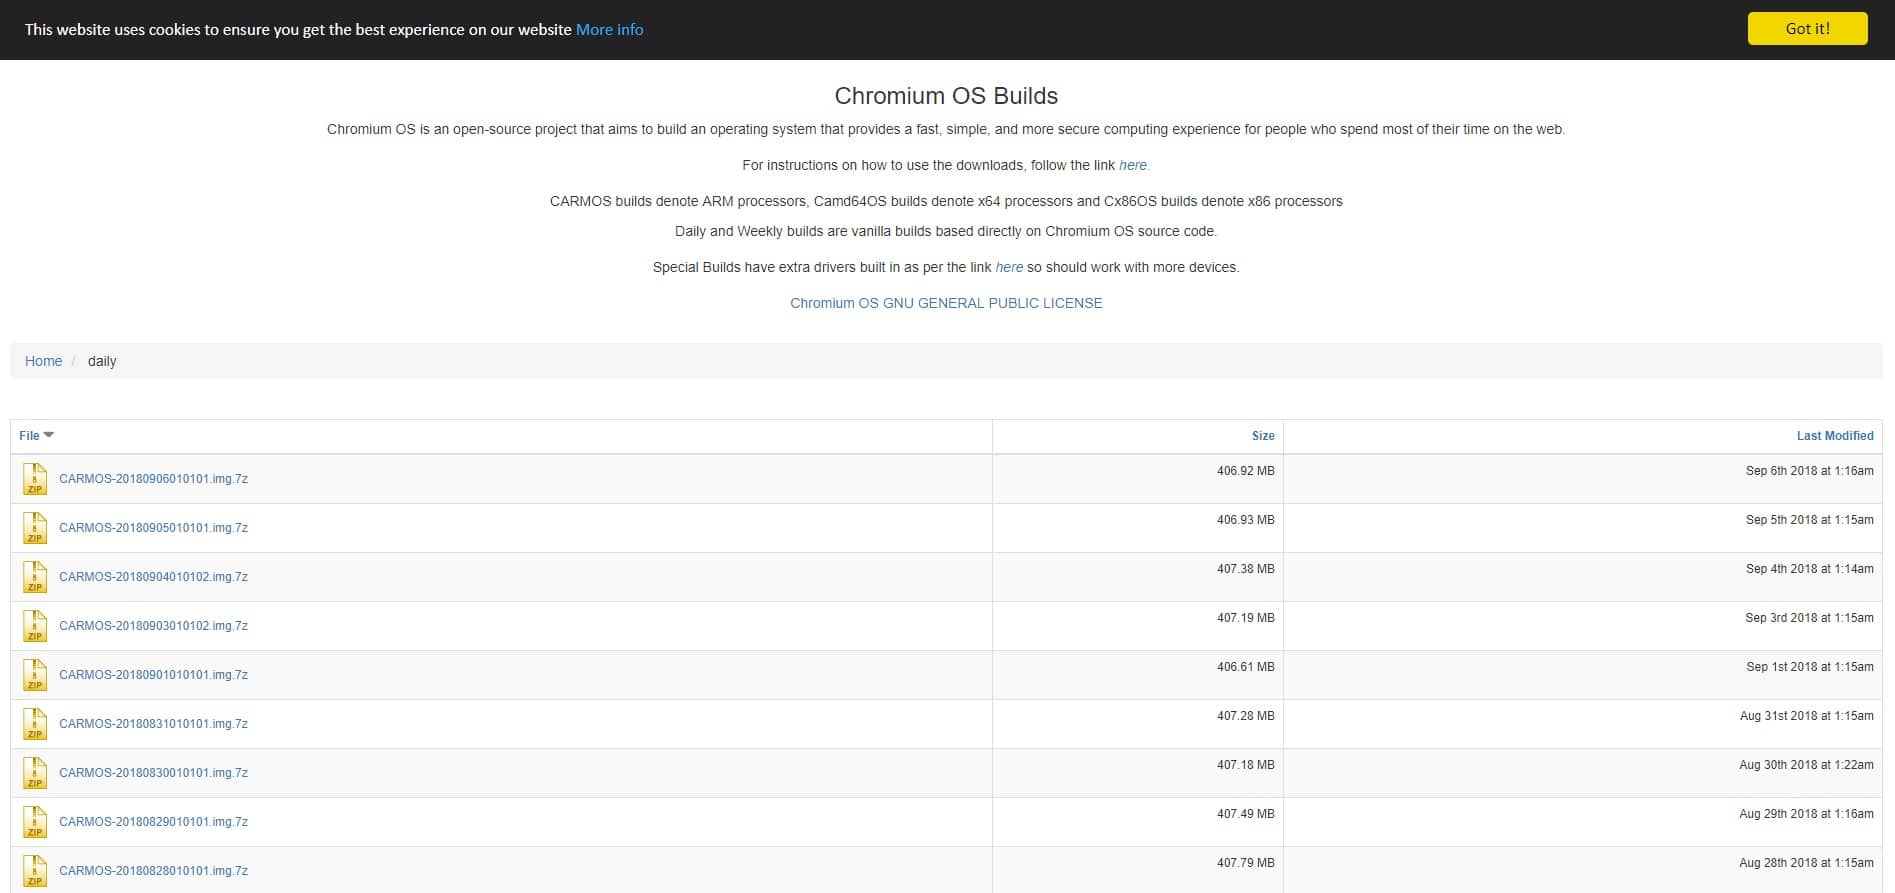
Download the latest Chromium OS daily build
While Google doesn’t maintain official Chromium OS builds, somebody does. You can download a Chromium OS build from his website. Once you have it downloaded on your computer, use a 7-Zip extractor to extract the image file from the archive.
Format the USB Drive
Before you can create a bootable Chrome OS USB drive, you need to have fully clean USB storage with no files on it. It should be obvious that any data you have on your USB Drive will be erased. While the image installer will format the USB Drive, it is better to manually format it before to avoid any complications later.
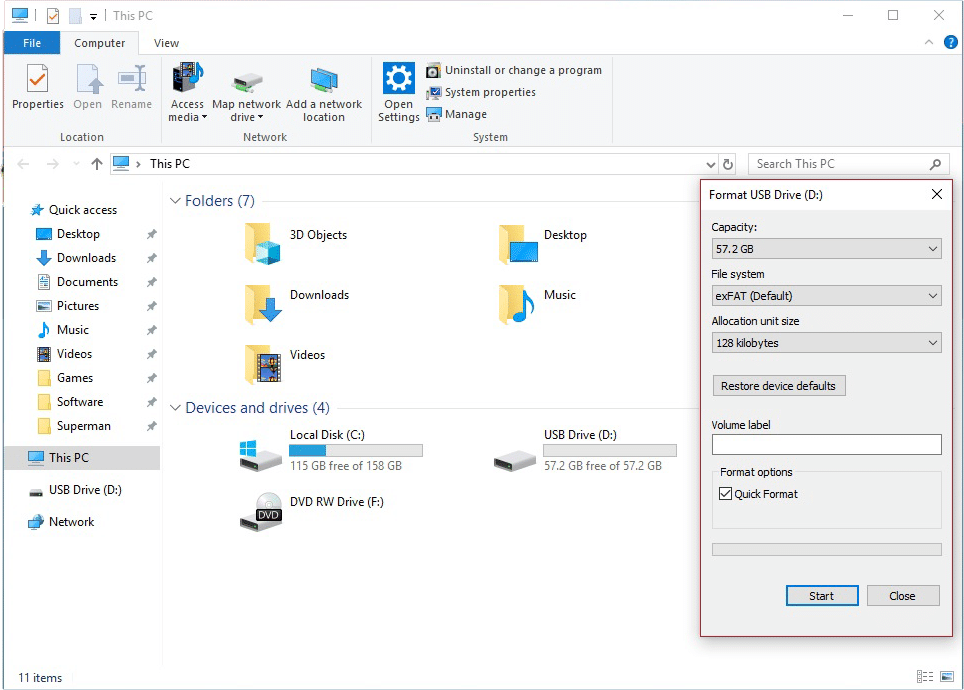
Formatting a USB Drive on Windows is pretty easy. Just plug it into the USB port, go to This PC, and right-click the USB Drive. From the context menu, select Format… and then select FAT32 (or exFAT) under Filesystem if not already selected. Mac users can rely on the built-in disk utility, and Linux users have plenty of options as well, from GParted to KDE Partition Manager. You can name the drive anything you like, but Chrome OS or Chromium OS would be a comfortable name.
Install the image onto the USB Drive
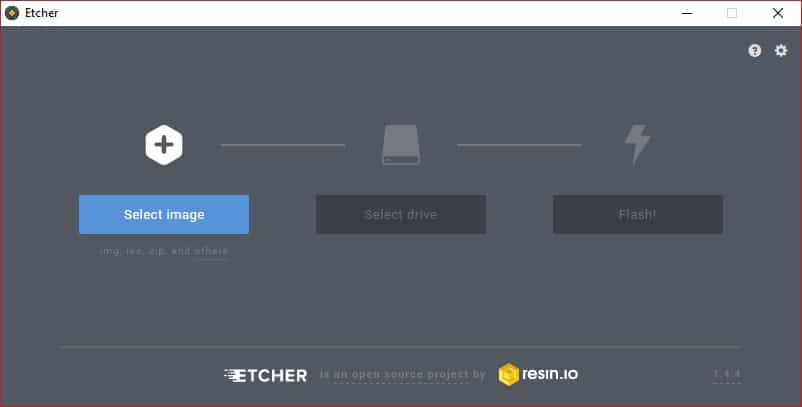
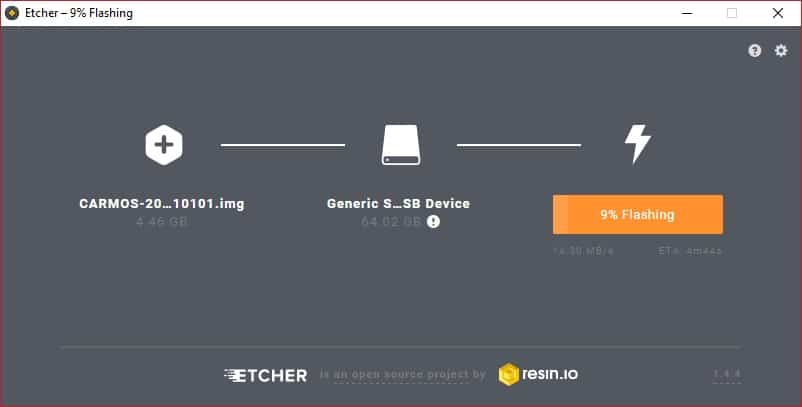
Download and install Etcher from the link provided under the Requirements section. There are plenty of other tools available that do the same job, i.e., installing an image to a flash drive. However, Etcher is cross-platform so no matter if you use Linux, Mac, or Windows, we can easily show you how to use it. Not that you’ll need to be shown how to use Etcher, which is another reason to use it. Etcher is as simple as flashing an image to a USB Drive. When you run it, click the Select Image button and select the extracted Chromium OS image.
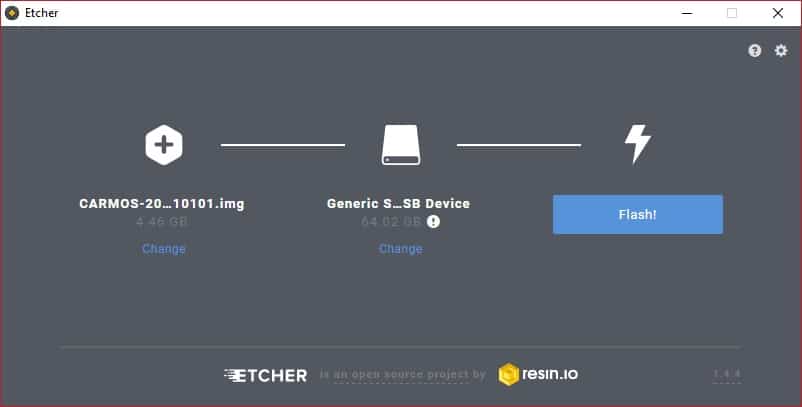
Similarly, select the USB drive by clicking on the Select Drive button. When you’re ready, click the Flash! button and Etcher will begin writing the image to the USB Drive.
When done, Etcher also validates the installation to see whether everything is okay with the USB drive. Validation takes some time, but you can turn it off in the settings before clicking the Flash! button.
Enter boot options on your computer
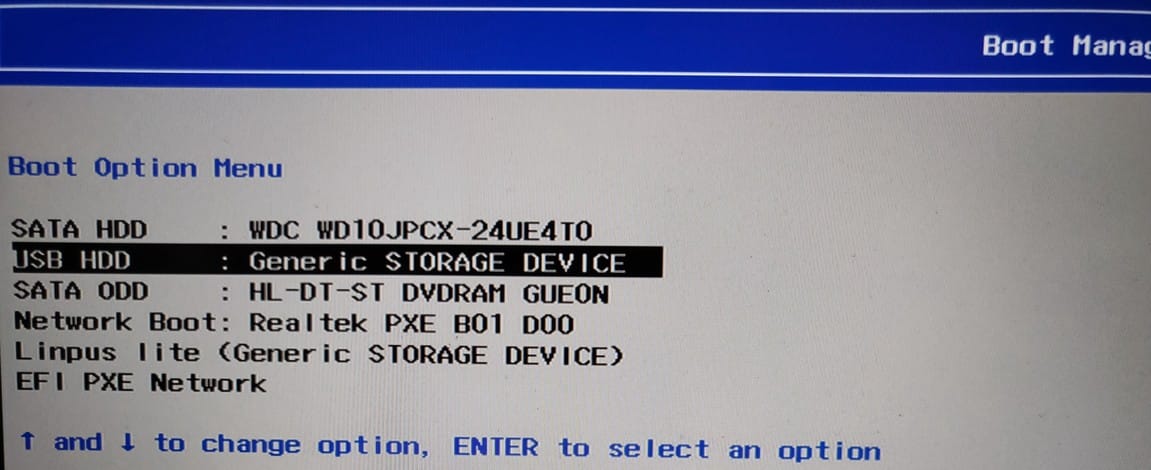
Now that you have the drive ready, reboot your computer. Different manufacturers and models from the same manufacturer have different ways to enter the boot options. Things get even more complicated if you’ve built your computer with parts from different manufacturers. So we can’t help much with how to enter the boot menu or the BIOS menu on your specific computer or laptop. Usually, you can enter either the boot menu or the BIOS by repeatedly pressing the F2, F5, F8, or F12 keys. Some devices have a separate button to boot into those menus. Once you get to the boot menu, select the USB device to boot from it.
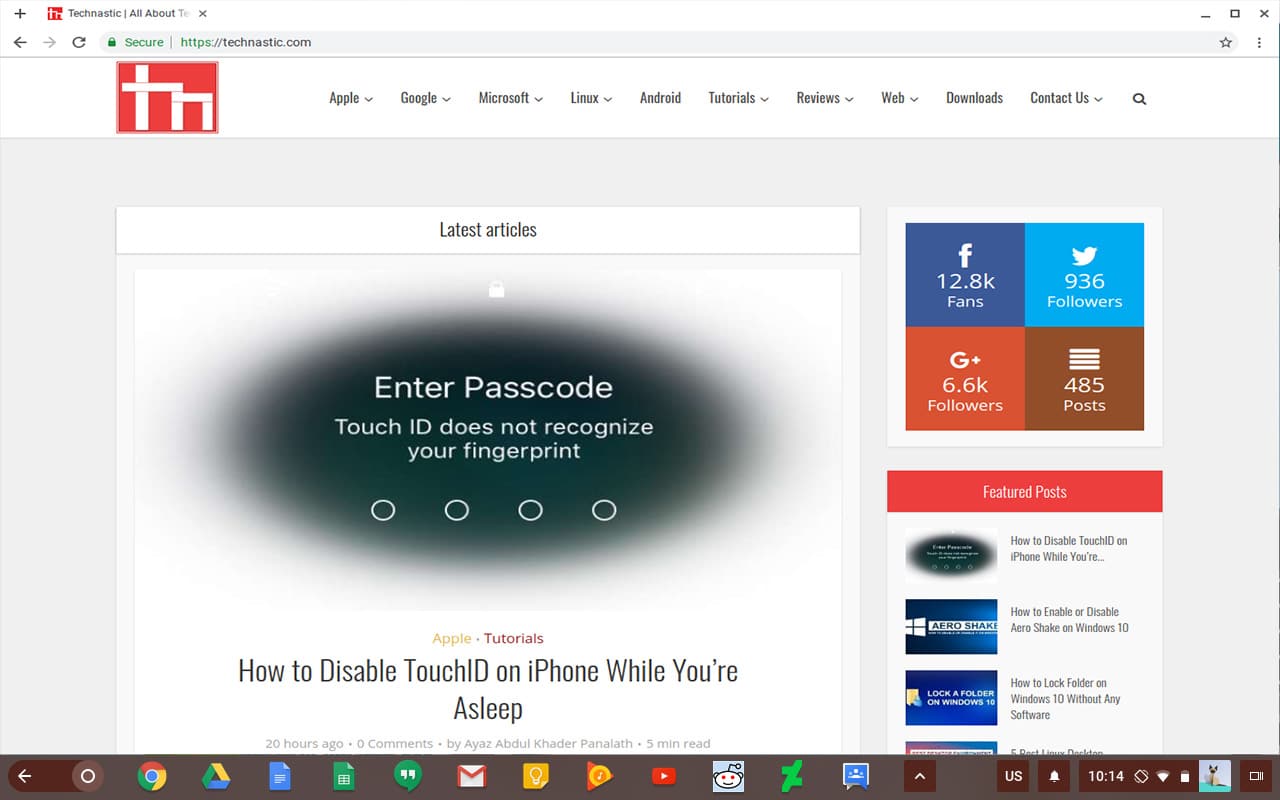
You should now be able to boot into Chromium OS, and you can go ahead and set it up using your Google account. You only need to do this once.
Now that you have successfully booted the Chrome OS on Windows from a USB drive, you should also check out our list of some must-have apps for Chrome OS.
