The ability to add different users to a particular system has been around for decades. Adding different user accounts helps protect the privacy of the users even while using the same computer. This means users can install their programs and save files in separate spaces on the system without worrying about prying eyes. While adding and managing users on Linux systems isn’t very difficult, it is new for most if not all. Here, we’ll show you how to manage users in Ubuntu 18.04.
For those unaware, Ubuntu 18.04 is the latest Ubuntu release from Canonical. If you’re coming from Windows or Mac, chances are Ubuntu is your first choice. It is after all touted as the most user-friendly Linux distro and it is. Ubuntu 18.04 is also important because it’s the first long-term release to have ditched Unity for GNOME. This means even if you were using anything earlier than Ubuntu 17.10, you’re in for a little surprise. To manage users in Ubuntu 18.04, you can use the command line just like you can for almost anything else on a Linux distro.
However, this tutorial is geared towards newcomers who might not know their way around. Coming from a platform like Windows, the complex command line methods can scare one off. Fortunately, on Ubuntu, many of the things can also be done via a graphical interface. The method to manage users in Ubuntu 18.04 also applies to other Linux distributions using the GNOME 3 desktop.
How to manage users in Ubuntu 18.04
-
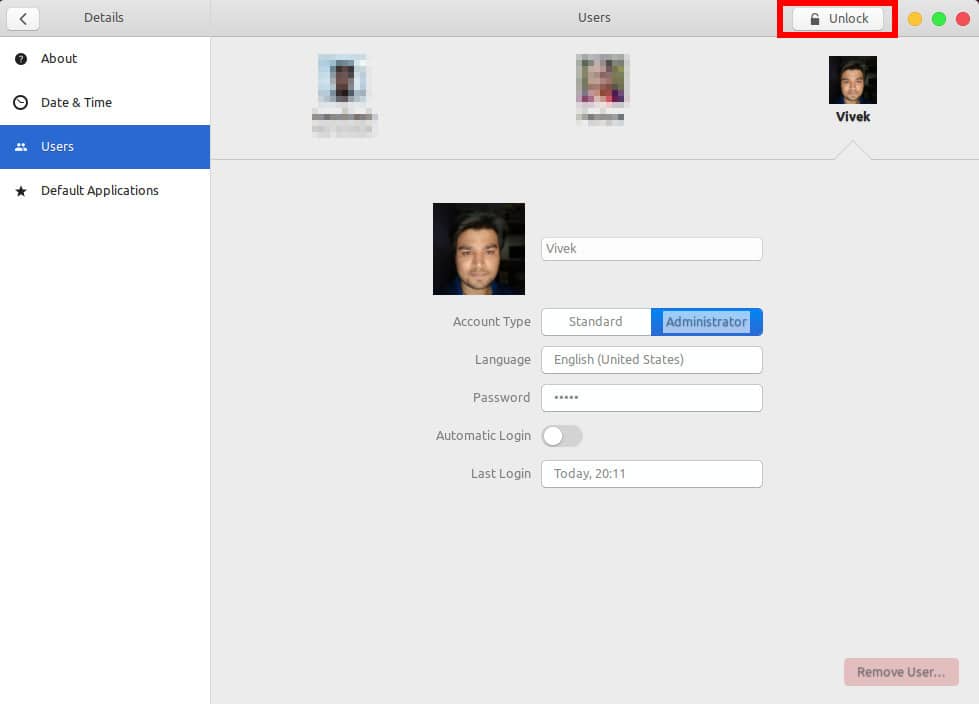
Click on Activities in the top-left corner or hit the Windows key on your keyboard and type Users. Click on Users to open the user management settings page. Alternatively, you can go to Settings > Details > Users. By default, this setting is locked and you can only view it. To unlock it you’ll need to enter your password.

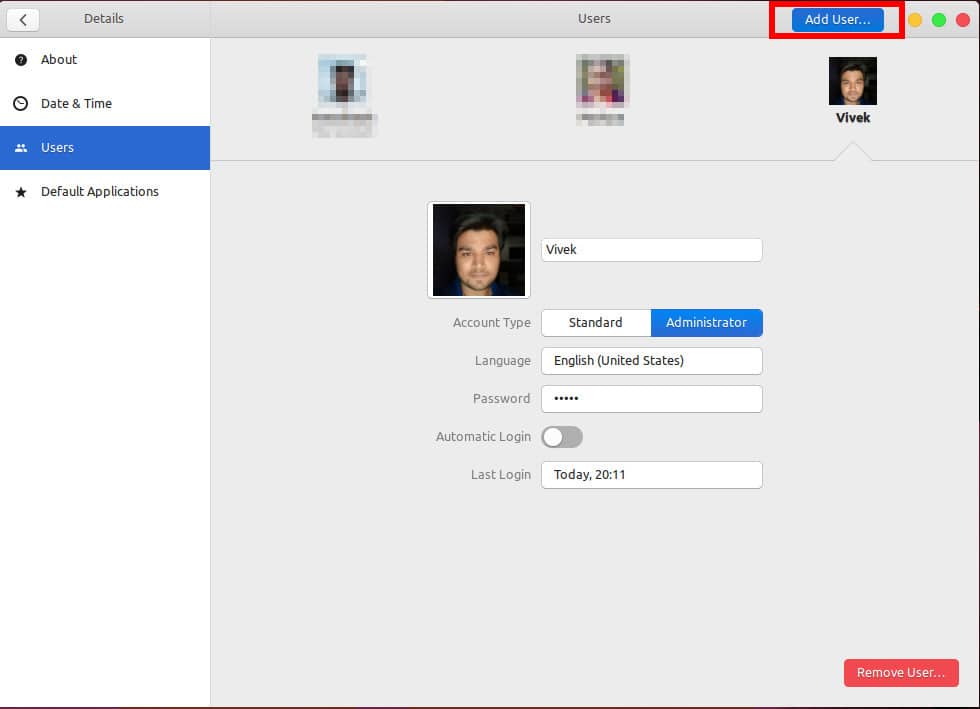
- Click Unlock in the top-right corner and enter your password when prompted. You’ll notice now that the Unlock button now changes to Add user…

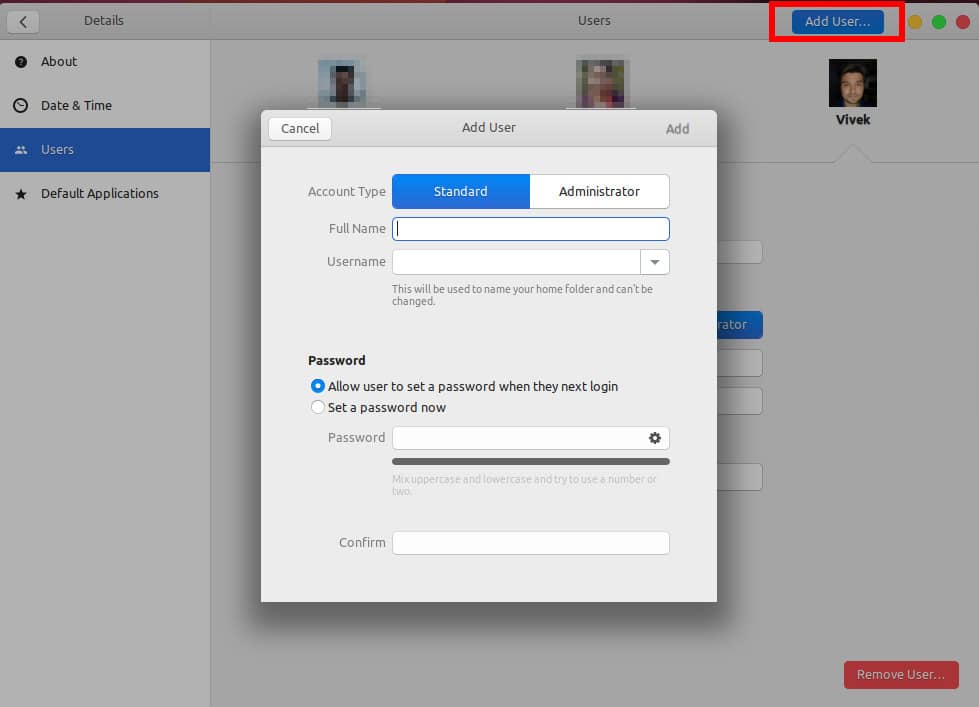
- A new pop-up window will appear where you can enter the full name of the person and their username. Depending on your preference, you can let the user define their password when they log in, or you can define one yourself. Another thing to note here is the Account Type. One of the two account types allowed in Ubuntu 18.04 is the Administrator. You can create more than one Administrator account, all in the Administrators group. The other account type is called the Standard account. A user logged in using a Standard account cannot perform system-wide administrative tasks unless the user has access to an Administrator account password. On the other hand, someone using an Administrator account can do pretty much anything on the system such as create another user account.

- When you’re ready, just click Add in the top-right corner. The Add button will not be clickable unless you enter an accepted password, in case you are trying to create a password for the new user account right here.
Apps are shared, data is not
You can now log out of your system and you’ll see the newly created user account listed on the GDM login screen. It is possible in some cases that you don’t immediately see the new user account. In that case, rebooting your PC can help. The new user account can then be accessed by clicking on it in the GDM login screen and entering the password, just like you previously logged into your own account. All your installed apps are shared between the two accounts, so there is no need to install duplicates. The app data, as well as any other data such as your GNOME configuration, is kept private though. Therefore any of your login information from Firefox, for instance, will not be shared between the two accounts.