Corrupted and outdated cache files can slow down your Windows PC and cause operational quirks. Accumulated temporary files consume storage space and cause sluggish boot times and system crashes. Cache files silently eat up several gigabytes of drive space. That’s why you must clear the computer cache and regularly clean the junk files on your Windows PC to speed up the system, reclaim storage space, and optimize system performance.
Removing cache files and temp data keeps your PC running at peak performance. Good cache hygiene fixes slow device issues. Browser cache holds your browsing history and personal data. Clearing browser cache protects privacy and loads the latest website versions instead of stale cached content.
This guide covers expert tips for cleaning various cache types on Windows. You’ll learn practical techniques for managing system cache, browser data, and network cache using Windows’ built-in utilities and commands.
Don’t Miss: 5 Ways to Clear Cache on Android via ADB, Fastboot, & More
Clearing System Cache on Windows
Windows includes multiple tools for clearing the system cache. The built-in utilities help remove temporary files and free up valuable storage space on your PC.
1. Clear Temp, %Temp%, and Prefetch Cache
The cache data on Windows includes temporary files that may clog your system storage unless cleaned manually. They keep building up over time, hog GBs of space, and slow down the computer. Try the methods below to get rid of the temporary and prefetch cache on your Windows PC.
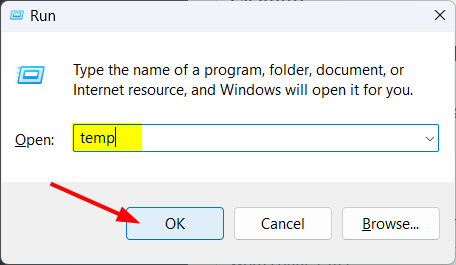
- Press the Windows +R keyboard shortcut, type “temp” in the Run dialog box, and click OK or press Enter.
- Alternatively, you can navigate to C: > Windows > Temp to access temporary cache files.
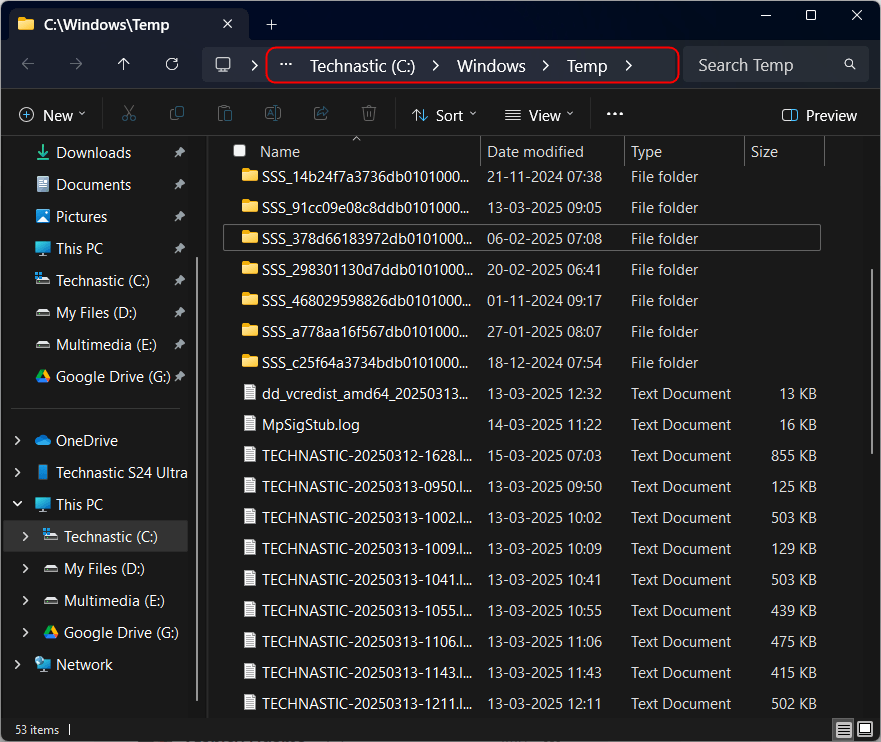
- Press Ctrl + A to select all files in the Temp folder and delete them.
- Press Windows + R again, type “%Temp%‘ in the Run dialog box, and press Enter.
- Select all the files in the folder and delete them.
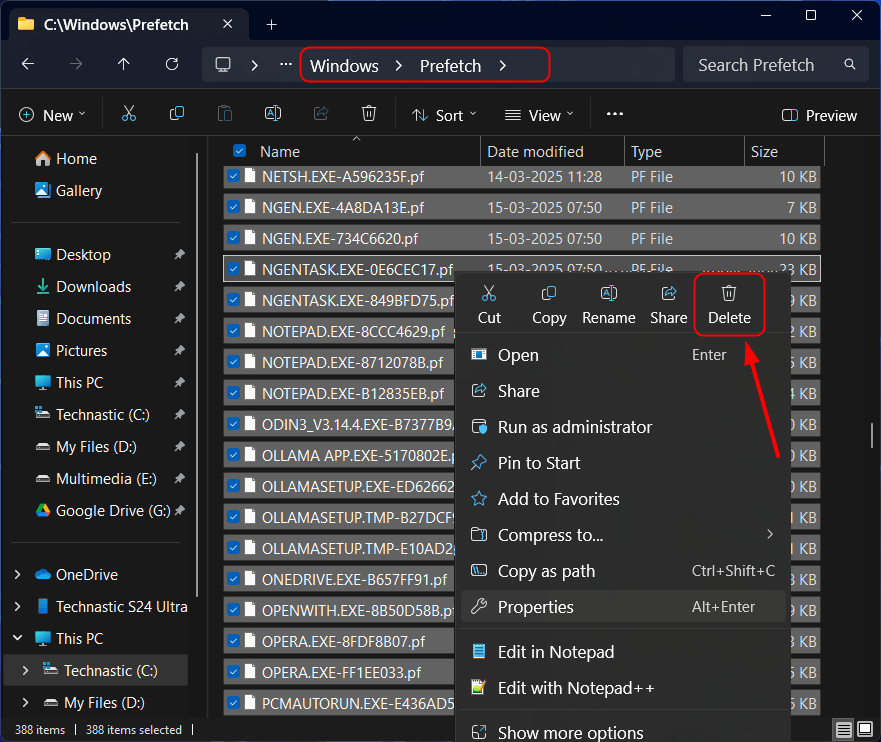
- Now, open the ‘Prefetch‘ folder in the Windows directory in your C Drive. Select all the files in the folder and delete the prefetch cache.
2. Clean a PC with Windows Storage Sense
If enabled, Storage Sense automatically works to free up disk space. The tool targets temporary files and Recycle Bin items on your Windows PC.
- Click the Windows icon in the Taskbar and click Settings.
- Select System from the left-hand pane and click Storage.
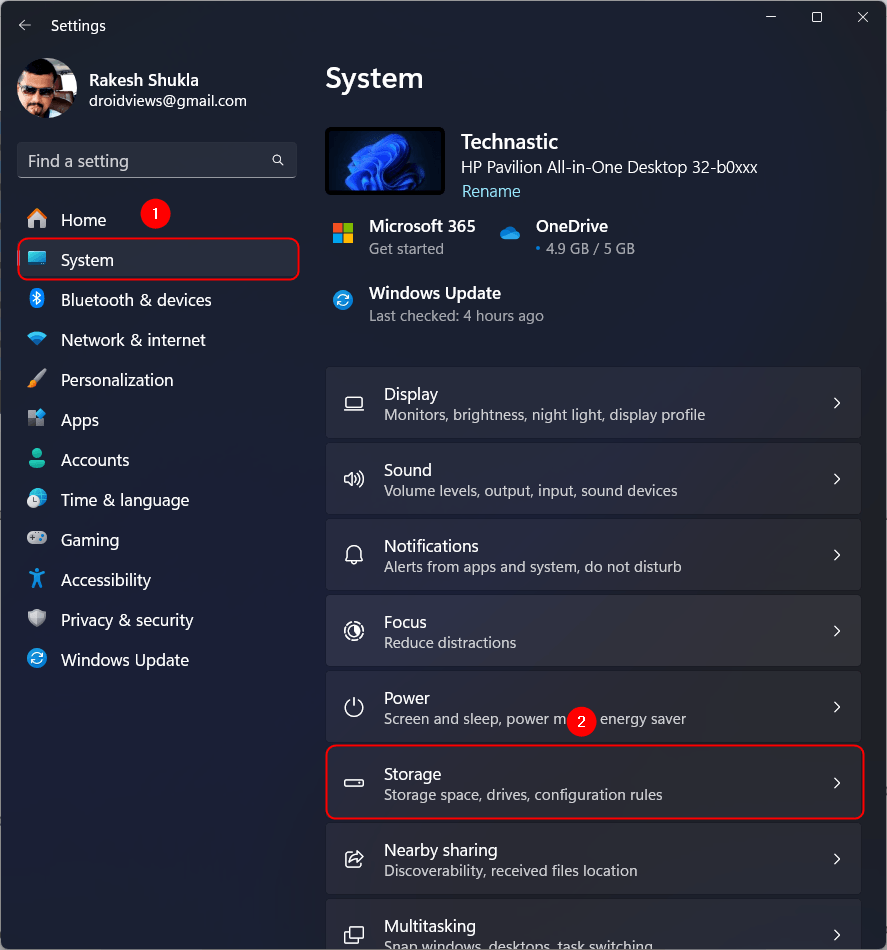
- Click the toggle next to Storage Sense to enable it. Now open Storage Sense.
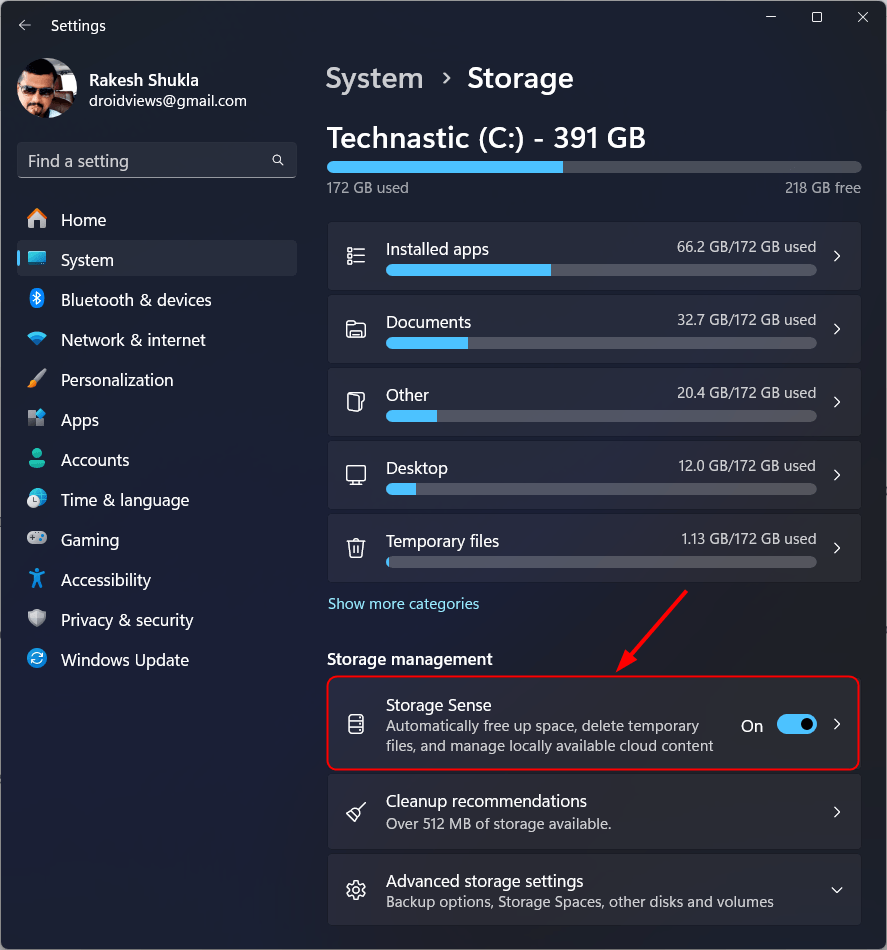
- Set up your preferences in Storage Sense to schedule regular cleanup and click the Run Storage Sense Now button.

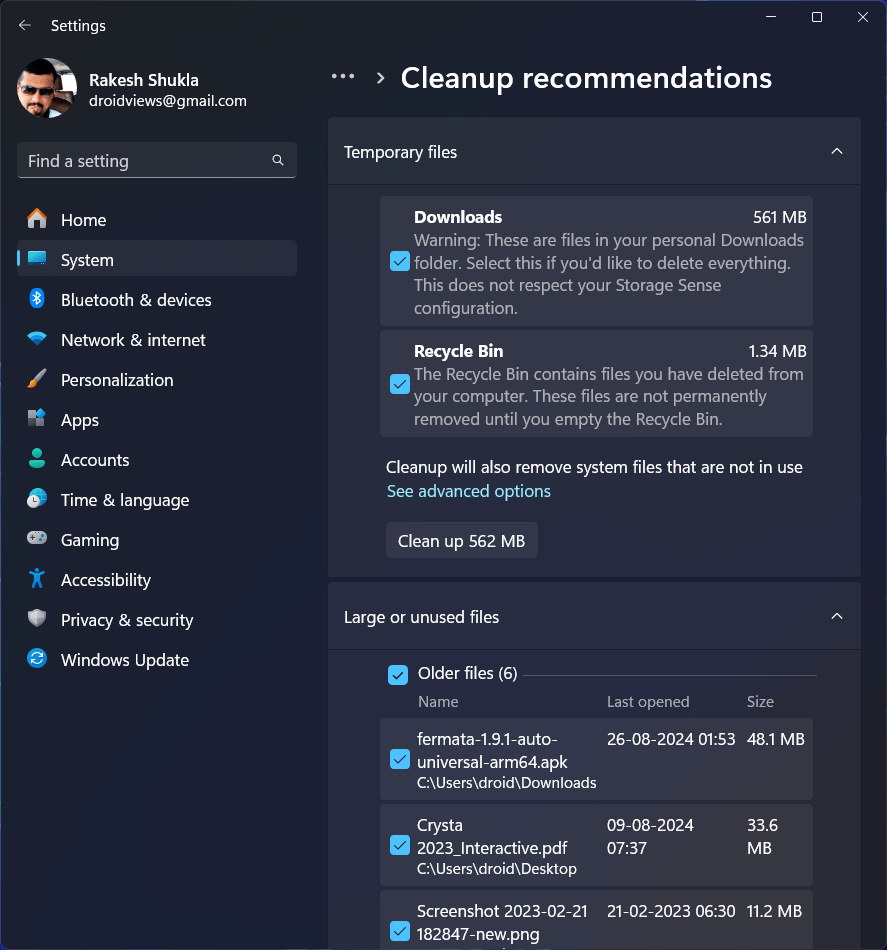
You can use the Cleanup Recommendations feature to delete unused files on your Windows PC. Navigate to Settings > System > Storage > Cleanup Recommendations, select unused files, and delete them. Windows will scan your drive and show different cache types ready for removal.
3. Using Windows Disk Cleanup Utility
Disk Cleanup stands out as Windows’ most powerful cache-cleaning tool. Here’s how to use it:
- Type ‘Disk Cleanup‘ in the Windows search box.
- Pick your Windows drive (usually C:).
- Click Clean up system files for extra options.
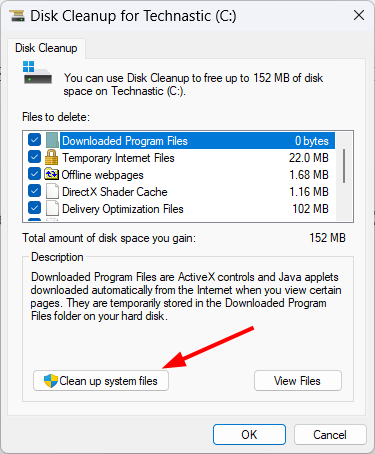
- Choose the file types to remove.
The tool finds temporary Internet files, setup logs, and cache files safe for deletion.
4. Clear Cache Using Microsoft PC Manager
Before coming across Microsoft PC Manager, I used utilities like WizTree, CCleaner, and WinDirStat to clear the cache and clean up my PC. PC Manager is compatible with Windows 10 and 11. It lets you manage your computer from a single interface.
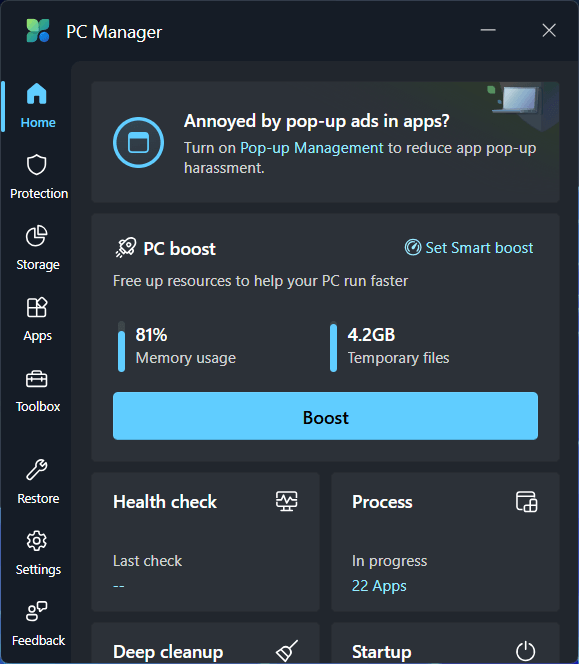
Download and install PC Manager from the Microsoft Store. Launch the utility, select the Storage option, and click Scan next to Deep Scan.
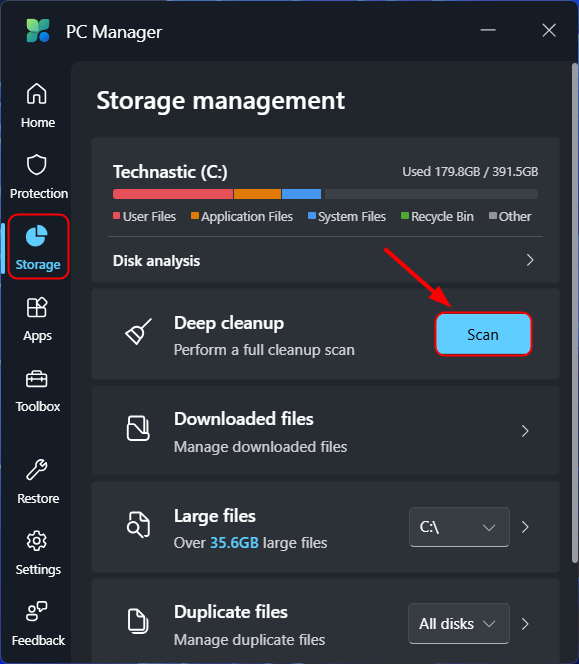
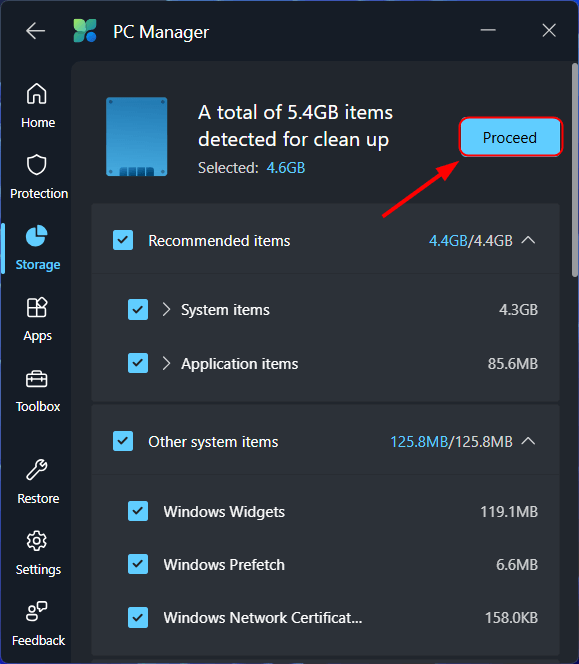
PC Manager will scan your PC for all accumulated caches, unused files, and even app caches. Click the Proceed button to clean up your Windows PC.
5. Clearing Cache Using Commands
Power users can clear the computer cache faster using command-line tools. Open the Command Prompt as an admin. To do so, press Windows + X and select Command Prompt (Admin) or Terminal (Admin) from the menu. Then, execute the commands below, and don’t forget to restart the PC afterward.
Please close all apps before clearing the cache. Active apps might break when trying to access deleted cache data. Windows rebuilds the necessary cache files automatically after cleanup. For best results, run basic cleanups monthly and system file cleanups quarterly. You’ll notice faster boot times, quicker app launches, and smoother system performance.
Clear Temp Files:
del /q/f/s %TEMP%*
Flush DNS Cache:
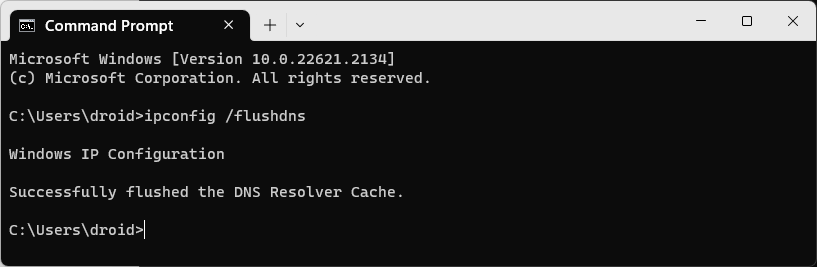
ipconfig /flushdns
Clear Store Cache:
wsreset.exe
Clear Prefetch Cache:
del /q/f/s %SystemRoot%\Prefetch\*
Clearing the Browser Cache
If your web browser is slow, doesn’t load fresh web content, or is unresponsive, it must be due to a corrupt cache. Web browsers like Chrome, Safari, Edge, Firefox, and Opera pile up cache files on your PC. Clearing the browser cache and cookies will make your browser perform faster.
Edge and Chrome browsers store everything from browsing history to downloaded files. Here’s how to clear the browser cache:
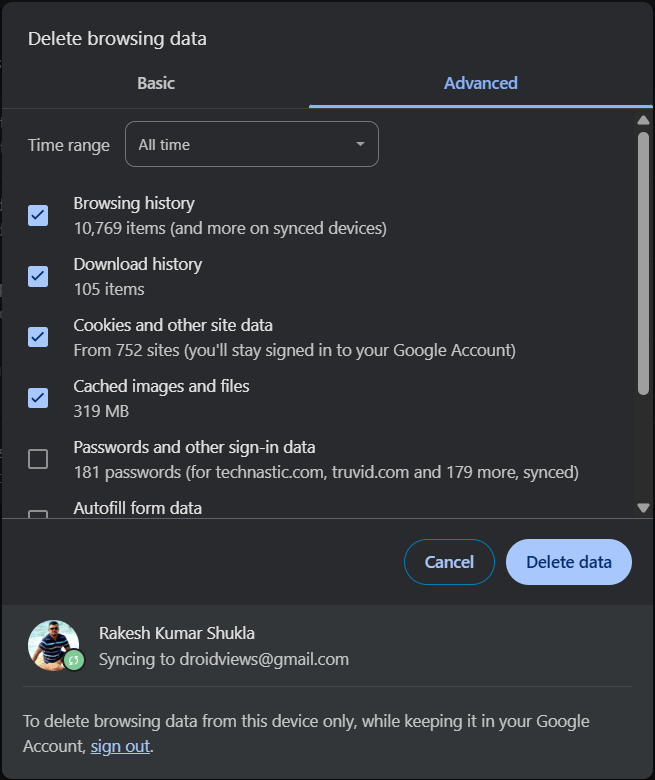
- Press Ctrl + Shift + Delete to open browsing data settings
- Pick your time range
- Select items to remove:
- Browser history
- Download history
- Cookies and site data
- Cached files
- Saved passwords
- Form data
Alternatively, type or paste the following URLs in the URL bar of the respective web browser and press the Enter key to access the Delete browsing data menu.
- Google Chrome:
chrome://settings/clearBrowserData - Microsoft Edge:
edge://settings/clearBrowserData - Opera:
opera://settings/clearBrowserData - Firefox:
about:preferences#privacy
Websites load fresh content after cache clearing. First visits might feel slower while browsers build a new cache.
Fix DNS and Network Cache Issues
DNS and network cache problems can break your internet connection. Here are the fastest ways to clear these caches and restore your network performance.
1. Clear DNS Cache
DNS cache saves website IP addresses for quick access. However, outdated or corrupted records may cause the following problems.
- Website access fails
- Network security alerts
- Slow browsing
- DNS update delays
Clear DNS cache using these steps:
- Hit Windows + R.
- Type
cmdin the Run box. - Enter
ipconfig /flushdnsand press Enter. - Check the success message.
Regular DNS cache clearing stops DNS poisoning attacks. Hackers use these attacks to inject fake DNS records, sending you to malicious sites. Besides, there are 5 other ways to flush the DNS cache in Windows 10 and 11.
2. Reset Network Settings
Network reset fixes stubborn connection problems by removing and reinstalling network adapters. Before you proceed with the reset, do not forget to write down network settings and save Wi-Fi passwords.
To reset network settings on Windows 11, do the following:
- Open Settings and select Network and Internet.
- Pick Advanced network settings.
- Select Network Reset.
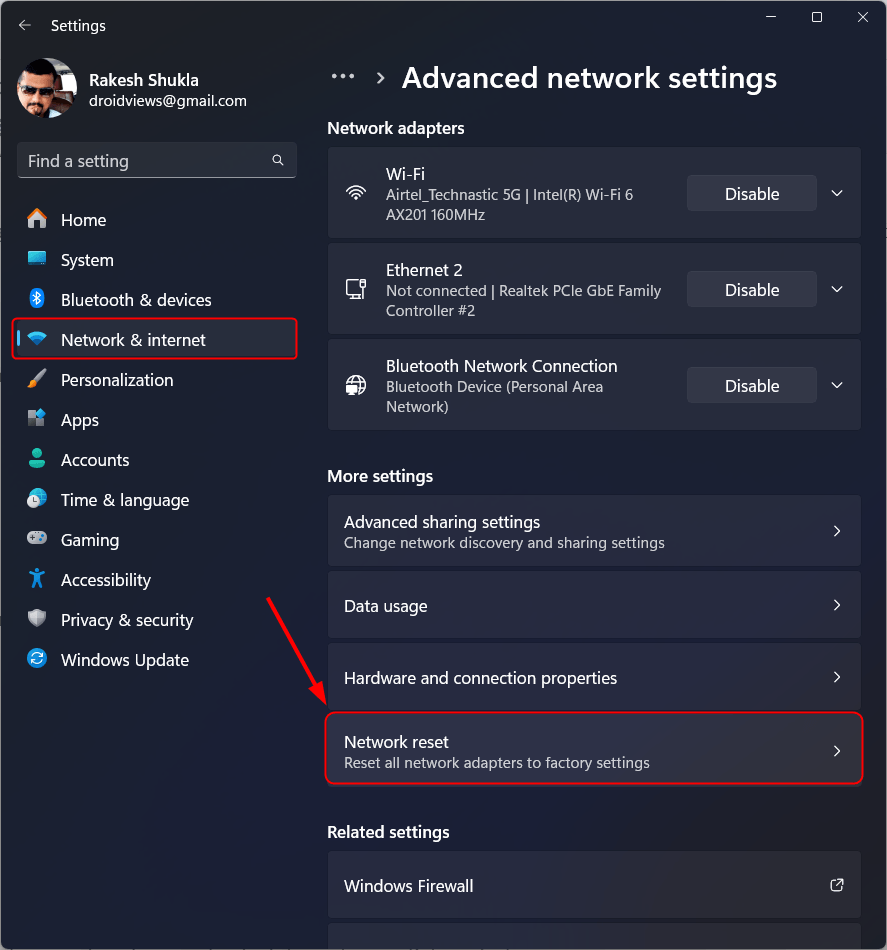
- Hit Reset Now.
On Windows 10, launch Settings and navigate to Network & Internet > Status and select Network reset.
A network reset changes these components:
- Winsock: Handles internet I/O
- TCP/IP: Controls device communication
- Network adapters: Physical/virtual interfaces
You’ll need to set up these again:
- Wi-Fi connections
- VPN profiles
- Custom IP settings
- Network drives
Use network reset as your last option after basic fixes fail. When done right, it solves complex network issues.
Setting Up Automatic Cache Cleanup
Windows cache settings need proper tuning for peak performance. Smart cache configuration prevents system slowdowns and keeps your PC running smoothly. Storage Sense handles automatic cache cleaning in Windows. The tool watches system resources and removes unneeded files based on your rules. Set up auto cleanup:
- Launch Settings.
- Go to System > Storage.
- Turn on Storage Sense.
- Pick cleanup times:
- Temp files removal
- Old downloads cleanup
- Recycle bin emptying
Windows checks drive space and clears the cache automatically to maintain size limits. This stops cache problems without manual work.
Debloating your Windows 11 computer can further boost its performance and make it faster.