Using the following Chrome OS tips and tricks, you can make out of this amazing OS by Google. From unlocking GBs of Drive space, capturing screenshots, changing DPI, and using Google Drive offline, there’s a lot you can do to make your experience way better.
When Chromebooks first appeared on the market, nobody foresaw them becoming popular. Why would, after all, a computer that can only run a browser sell like hotcakes? And not any browser, only the Google Chrome browser. Still, somehow, Chromebooks managed to make headlines by outselling Macbooks that one time in 2016. That may have been made possible due to various reasons but there’s no denying that Chromebooks have managed to carve out a niche in the market. The software powering them, Chrome OS is simply a browser built to run on top of a Linux kernel.
Chrome OS, being an OS based on a browser is pretty much an online system. The number of apps that can work offline is few and far between. Google managed to somewhat cover this gap by making Android apps work with Chrome OS. Android may be the most popular OS by Google, but recently, the most significant changes have been happening with the browser-based OS. This never-ending evolution of the platform means there’s always something new to learn and experience.
Furthermore, Chromebooks aren’t the most powerful machines around., far from it. The system’s reliance on web apps results in a smooth and fast experience. However, this also means you can’t get a lot of heavy-duty work out of your machine. With Android apps now available, you can run a few mobile games but that’s it. There are no professional-grade image editing tools, nor can you do any serious video editing. This makes it important that you get the most out of your Chromebook because there’s not much to it but a browser if you’re not looking for something more.
You may also like: How to Run Chrome OS from a USB Drive
5 Chrome OS Tips & Tricks
1. Unlock up to 100GB of cloud space on Google Drive
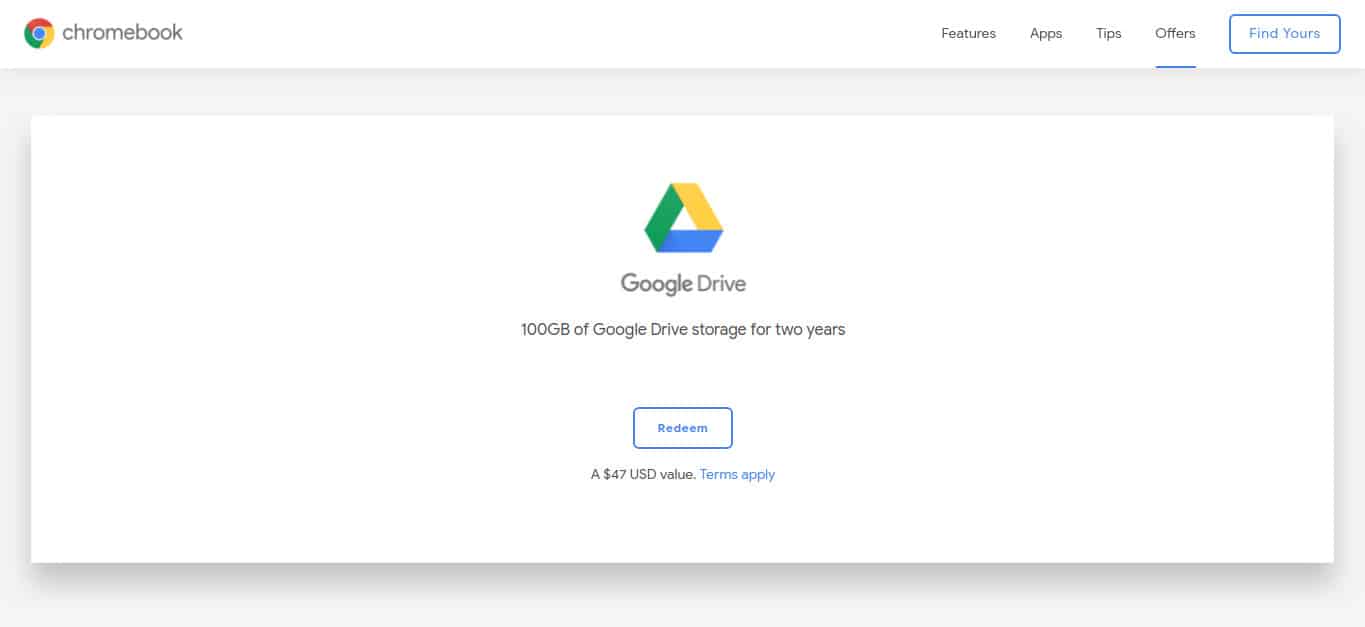
Google is a software and services company and it knows it better than anyone. Therefore, it shouldn’t be surprising that the company uses its services to sell more hardware. For example, buying a Pixel device from Google gives you unlimited storage on Google Photos with original file sizes. Similarly, Google gives Chromebook customers a lot of benefits to buying a Chromebook. You don’t get any of these benefits for simply buying the Chromebook though, you have to redeem your offer. You can do this by heading over to the Chromebook offers page from your Chromebook. Scroll down and you’ll find there’s 100GB of Google Drive storage space waiting for you. This is available only for 2 years from the time you redeem it, however.
2. Change DPI
Not many operating systems will let you change the DPI (dots per inch) value. DPI can be considered the virtual resolution of your screen, in a way. This can be helpful if you’re having some scaling issues such as UI elements appearing too big or too small. Lately, even Android allows you to change these settings to an extent. Chrome OS makes it ultra-easy, albeit with a keyboard shortcut you may never find out on your own.
Using this Chrome OS tip, you can change the DPI on your Chromebook. Increasing the DPI makes content on the screen smaller while decreasing it makes everything appear larger. Pressing Ctrl, Shift, and + or Ctrl, Shift, and – on your keyboard will decrease or increase the DPI value respectively. In other words, Ctrl, Shift, and + will make everything on your screen bigger while the opposite is true for Ctrl, Shift, and –. When you change the DPI, you’ll receive a notification confirming the change. Keep in mind this is different from changing the display resolution and can result in blurry text.
3. Take screenshots and partial screenshots
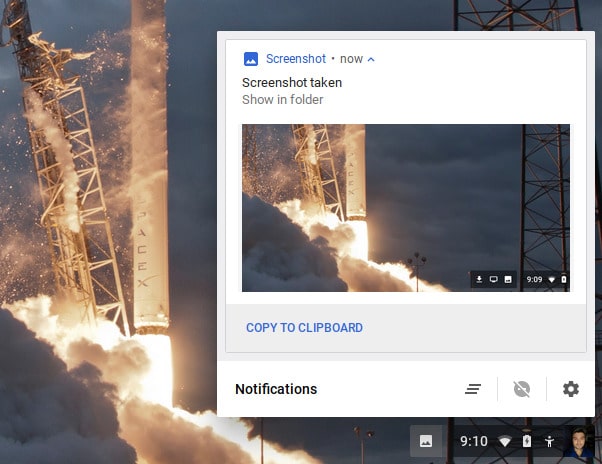
While Chromebooks are not meant for power users, they’re something everyone can use. Even your grandma could use Chrome OS with relative ease once she learns how to click. The method of taking screenshots on Chrome is a testament to that. To take a screenshot all you have to do is press Ctrl + 
Don’t miss: 5 Must-Have Apps for Chrome OS
4. Use Google Drive offline
Much of the work on Chrome OS is done online, whether you’re editing docs or creating a PowerPoint presentation. That doesn’t mean you necessarily need an internet connection to create, edit, or save documents. Remember Chromebooks do have local storage too and you should make use of it.
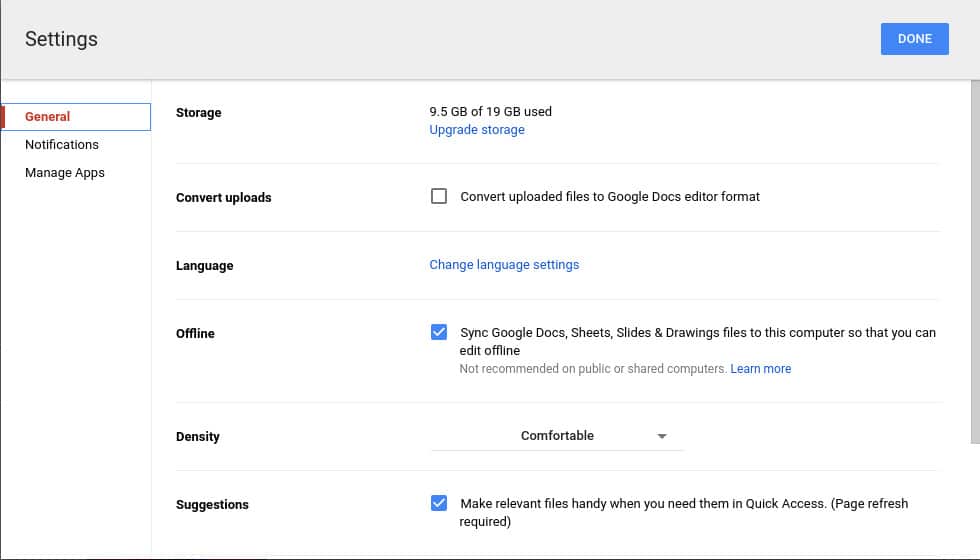
This is more of a Google Drive feature that works on any OS than a Chrome OS feature but it’s really good to have on Chrome OS. To enable offline files, you have to go to the Google Drive website, tap on the cogwheel icon in the top right, and select Settings. In Settings, check the box labeled Sync Google Docs, Sheets, Slides & Drawings files to this computer next to the Offline header.
5. Download to Google Drive
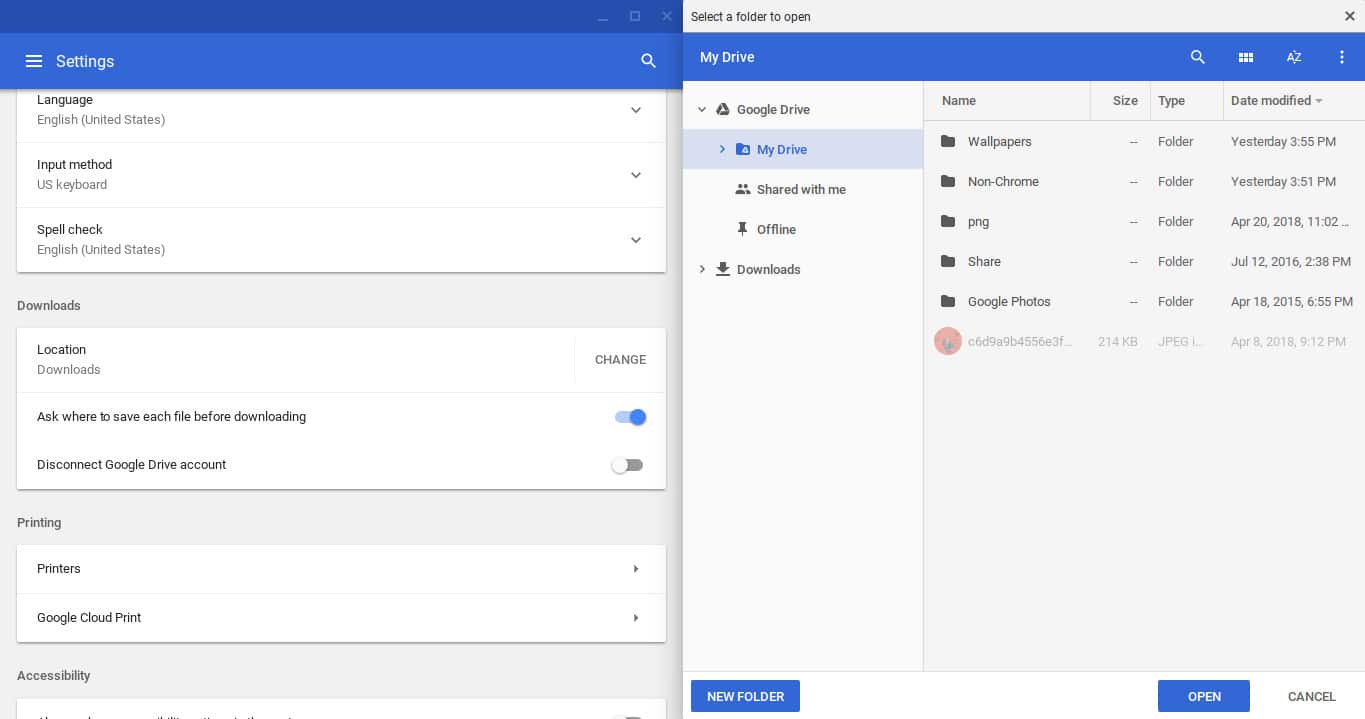
Yes, Chromebooks are known to be a product of the Internet age. However, even Google realizes not everyone wants everything online. We download a lot of files that we don’t really want to be synced between devices or uploaded to the cloud. Yet, if you’re someone who would like that option Chrome OS lets you do it. Go to Settings > Advanced and under the Downloads section, click CHANGE next to Location. Now, select My Drive in the pop-up window and click OPEN.
Use the above-mentioned Chrome OS tips and tricks and let us know if you would want us you add more useful information to the article.
Editor’s pick: How to Enable Picture-in-Picture in Google Chrome