When Satya Nadella took charge of Microsoft, one of the many changes he made was how Microsoft sells Windows. Instead of selling a copy of Windows and then supporting it for a few years, Microsoft now sells Windows as a service. Which means, there won’t be newer versions of Windows for you to buy. Windows 10 is all there is. But obviously, that does not mean Redmond will stop the development of their most recognizable piece of software. Windows 10 continues to receive not only security updates but other updates regularly. These updates address issues and add new features to the operating system. That uses a lot of data and internet bandwidth. Quite understandably, some people might want to limit the bandwidth.
The operating system downloads updates in the background and most of the times installs them in the background as well. This makes the whole update process more seamless. But there have been complaints on online forums that users are unable to use the Internet while Windows is updating. This is more common for users on a slower Internet connection. Before Windows 10, users had to rely on third-party tools to limit the bandwidth for Windows updates.
Fortunately, with the Fall Creator’s update, Microsoft acknowledges the problems faced by some users. Windows 10 allows users to adjust the bandwidth for Windows updates, although the option to do this is buried quite deep in the settings. Deep enough that a casual user may never stumble upon it. In fact, it almost seems like the guys at Microsoft didn’t want anyone to find these settings. These settings are only available to users who have already installed the Windows 10 Fall Creator’s update. If you’re not sure, go to Settings > System > About PC and check the Windows version. If you have a Windows version 1709 or higher, the Fall Creator’s update is installed on your PC.
Set Windows updates bandwidth in Windows 10
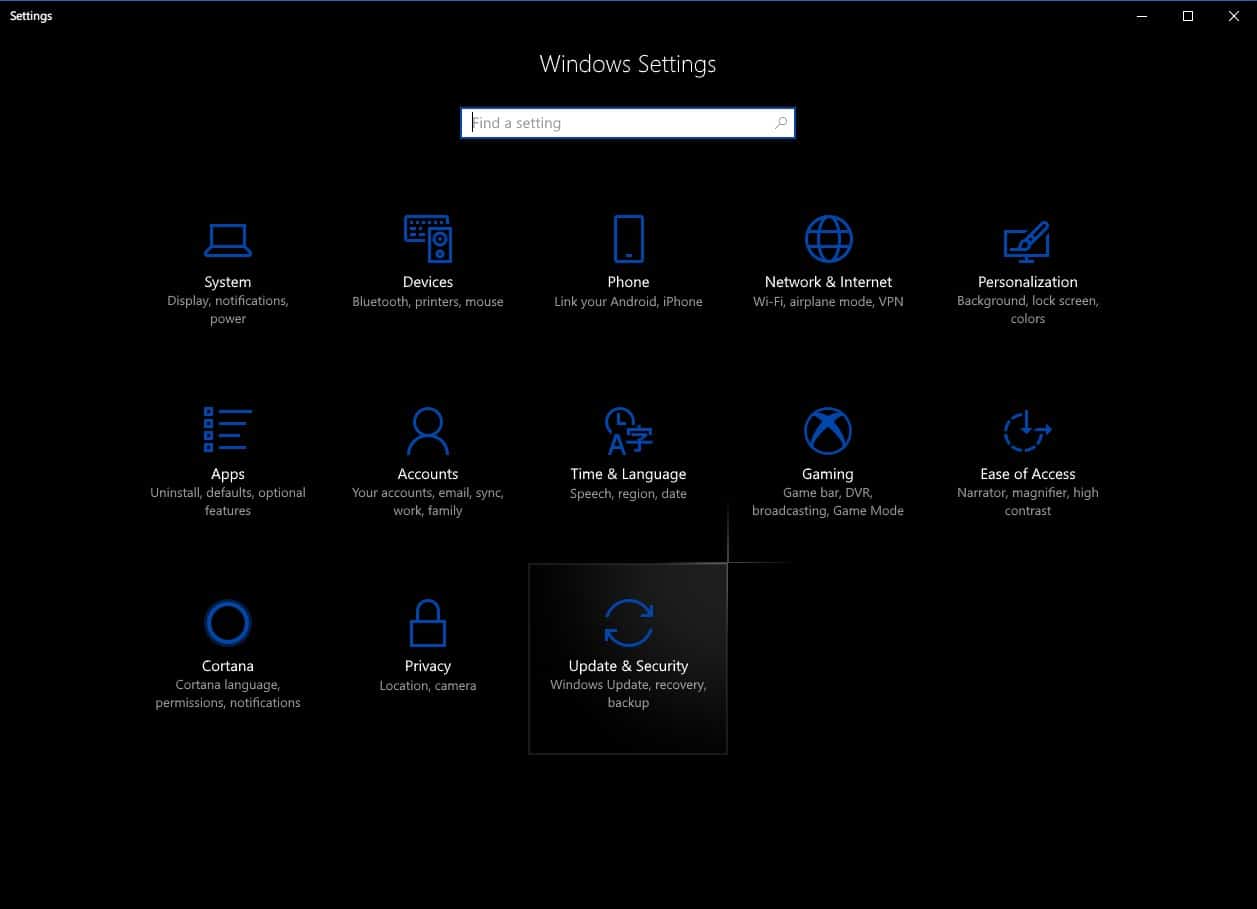
- Launch the Settings app and click Update & Security.

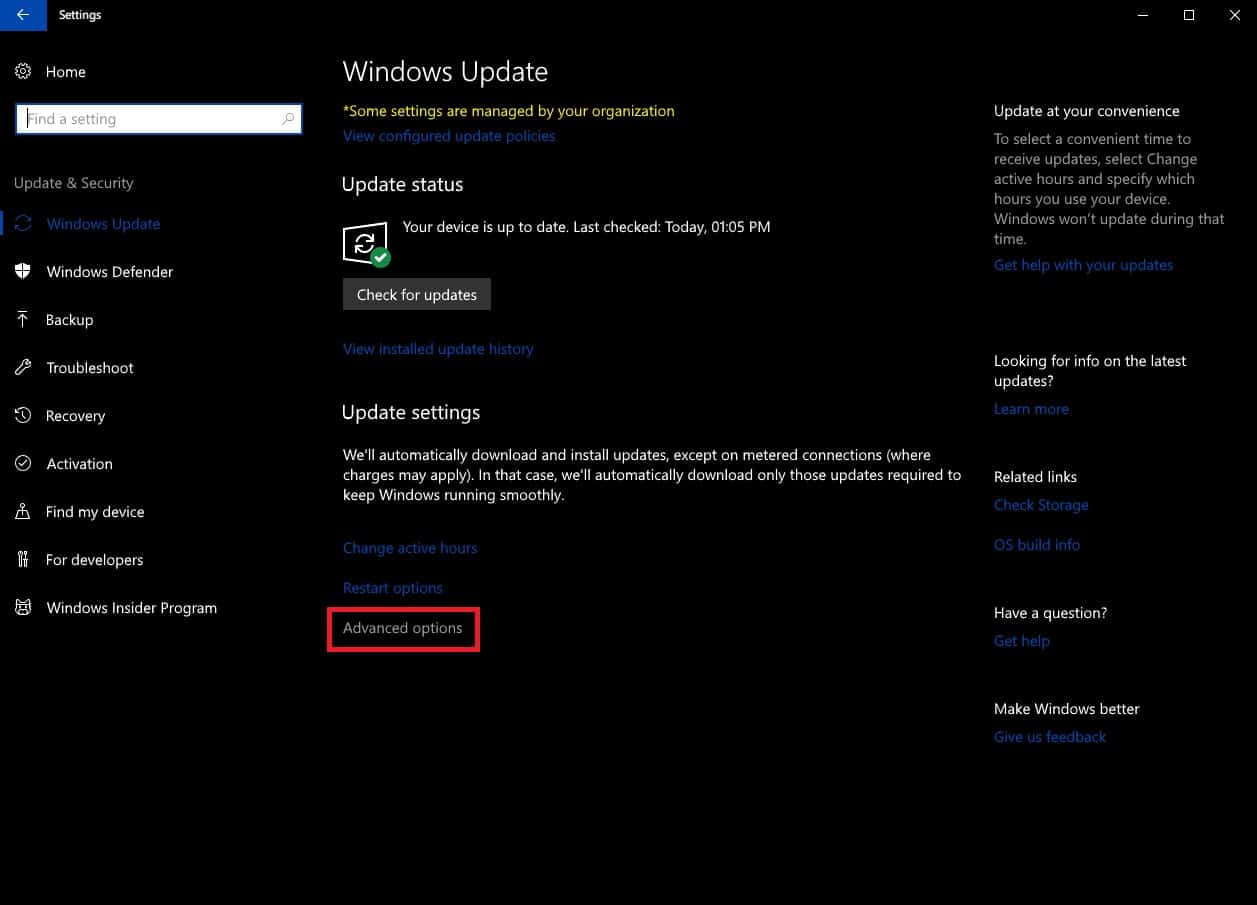
- You’d land on the Windows Update tab by default. Click Advanced options under Update settings.

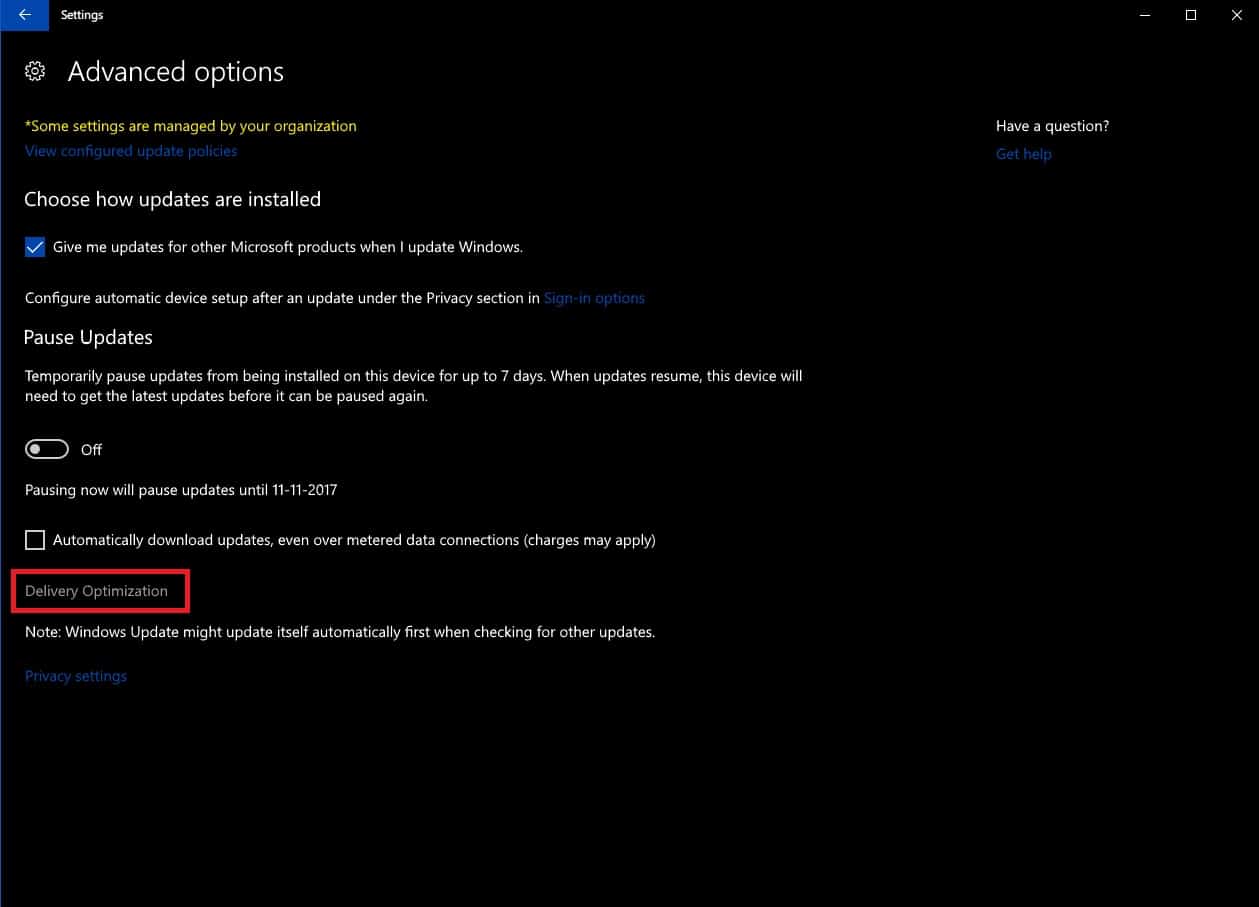
- Now click Delivery Optimization under Pause updates.

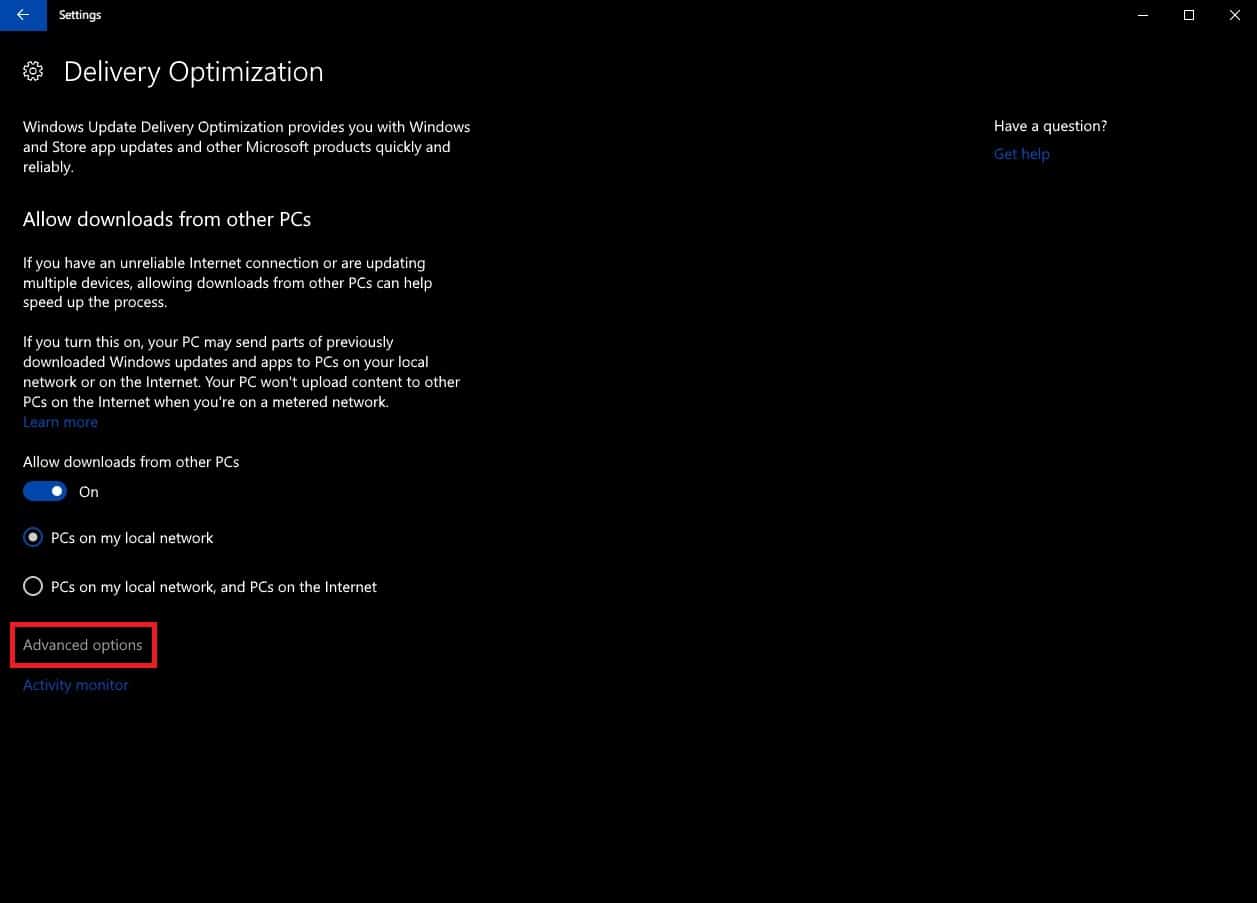
- Once again you’ll find Advanced options. Click on it. But before you do that, you might also want to turn off Allow downloads from other PCs. What this essentially does is enables Peer to peer download of Windows updates between different PCs. Depending on the selected option, downloaded Windows updates are shared with every Windows 10 PC out there, connected to the Internet or just the PCs connected to the same WiFi network as yours. This helps speed up the update download process, but it also means you will be seeding the downloaded updates to other users. Assuming you already have a slower Internet connection, seeding updates might not be a good idea. Alternatively, you can leave it turned on and limit the upload bandwidth for Windows updates as well along with the download limit.

- Now, you finally land on the Settings page where you can adjust the bandwidth used for downloading Windows updates.

- Under Download Settings, you can set the amount of bandwidth the operating system should use while downloading updates in the background as well as in the foreground. By default, Windows 10 uses 45% of the bandwidth while downloading in the background. And that is fair because it leaves you slightly more than half of the bandwidth to use. In the foreground, that is when you’re actively trying to download an update, the OS uses 90% of the bandwidth to download updates. To adjust the values, click on the checkbox next to the value you want to edit and then use the sliders to adjust the values.
- Similarly, you can also adjust the bandwidth for uploading Windows updates in case you have decided to seed it. If you’re on a limited data plan, you should definitely switch off the peer to peer update process because you might run out of your data quite fast no matter how slowly you seed updates.