Linux is all about options and there’s no better example of this versatility than the number of Linux distributions available at your disposal. Some of these bring with them their own unique set of basic apps. Nautilus is a popular file manager of choice for many Linux distributions. It looks fairly basic but it has got tricks up its sleeve that Windows File Explorer still does not, such as tabs. Dolphin file manager is another option for Linux and Ubuntu users. It is the default file manager of Kubuntu, openSUSE, Slackware, or any other Linux distro using the KDE Plasma desktop. You can install the Dolphin file manager on Ubuntu by using a command line.
Dolphin is to Nautilus what Nautilus is to the Windows File Explorer. Nautilus is great, it is simple, it looks clean, and it can do pretty much what an average user would want from it and sometimes even more than that. Dolphin is a different beast, quite literally.
If you’ve never been exposed to some advanced file managers Dolphin might not seem like something you’d want to use. The story is pretty similar to that of the KDE Plasma desktop that it was made for. But you can manually install Dolphin on Ubuntu and you don’t necessarily need the Plasma desktop for it to run.
You can easily add new apps and remove installed apps. Now, there are 3 ways to install and uninstall programs on Ubuntu and you should check them out as well.
Installing Dolphin File Manager on Ubuntu
Dolphin is available in the Ubuntu repositories and thus also in the Software Center. You can search for //dolphin in the Software Center or use the link below.
If you’re more of a command-line person you can use the following command in a Terminal window to install Dolphin.
sudo apt-get install dolphin
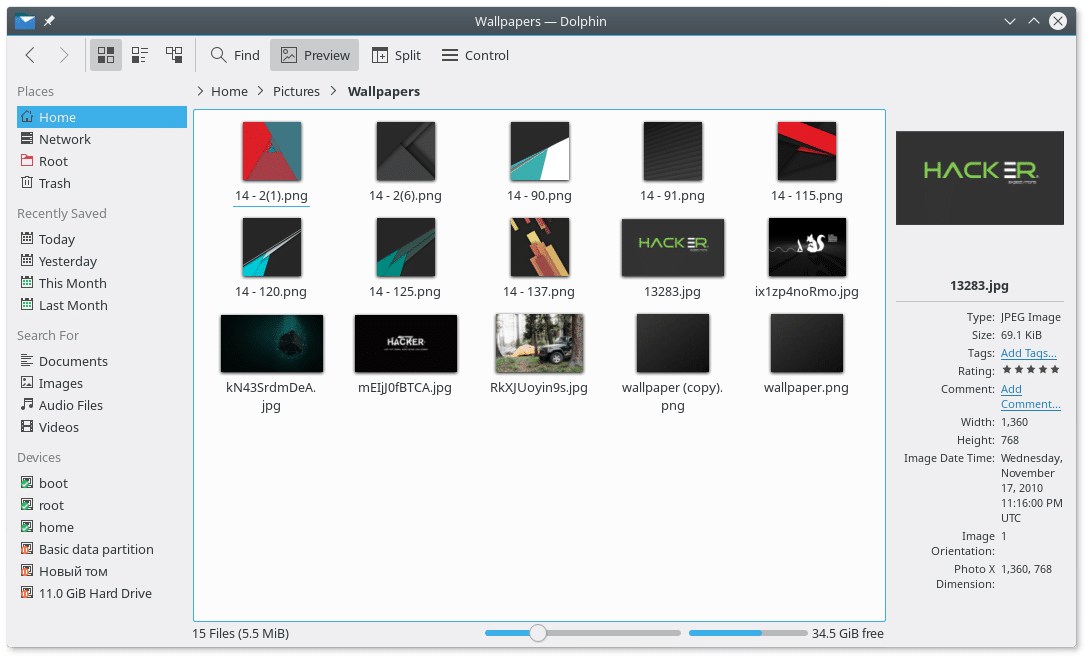
Dolphin File Manager Interface
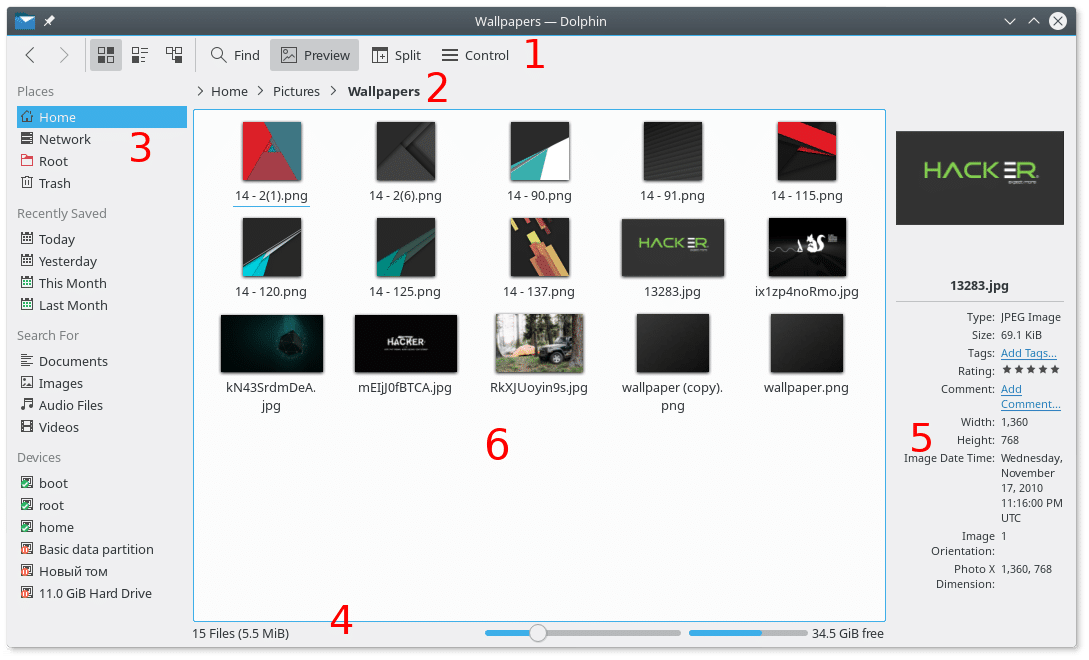
- Main toolbar
- Address bar (breadcrumb by default).
- Left Sidebar (Places panel, by default)
- Status bar
- Right Sidebar (Information panel)
- Main area
Dolphin will seem pretty similar to the Windows file explorer at first, but there are a few key differences. For instance, the main toolbar only has a few buttons and looks rather clean and simple. You can access the menu by clicking on the Control button, kind of like the single menu button on Chrome. The left sidebar, by default, has Places where the Windows file explorer would have Quick access. You can specifically view your files by type by selecting Documents, Images, Audio Files, or Videos under Search for.
On the Status bar is a slider that you can use to zoom in or out, it lets you set the size of items in the view area. To increase performance, Dolphin does not show thumbnails by default, no matter how much you zoom in. You’ll have to click on the Preview button at the top, fortunately not every time.
Tabs and Split View
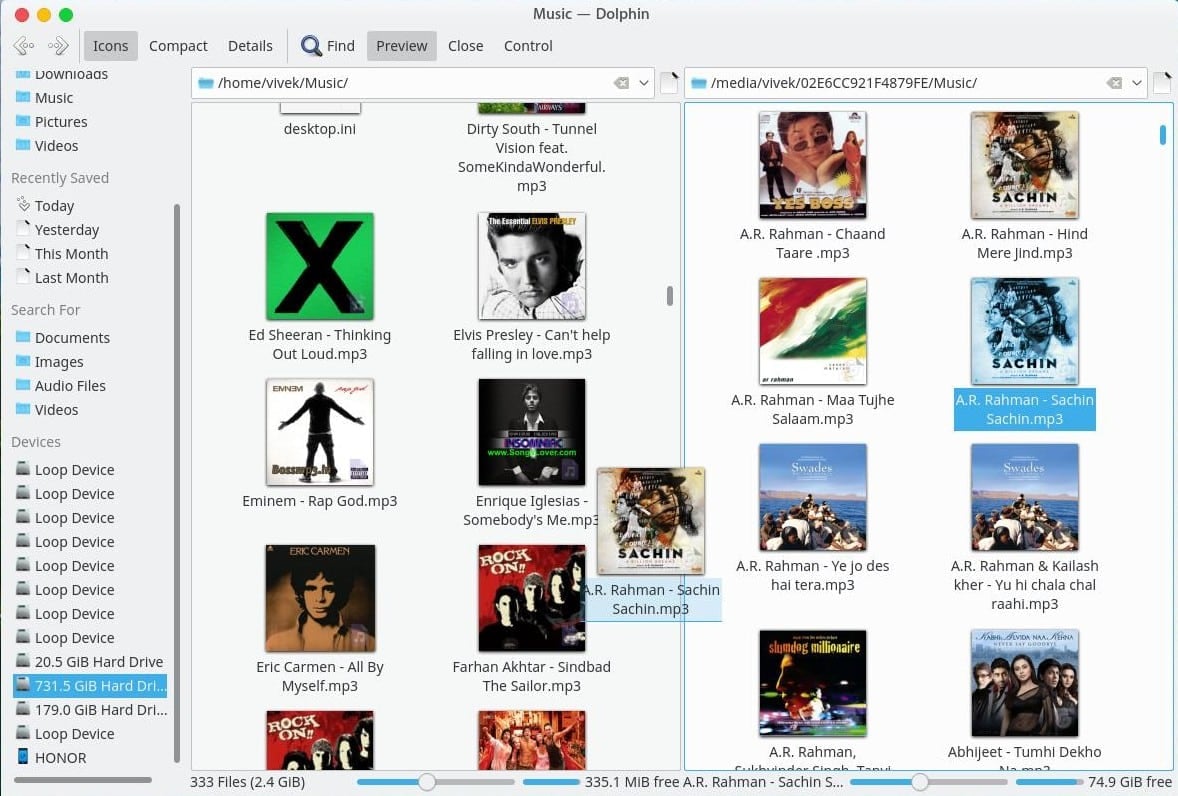
Dolphin does support tabs like Nautilus or any other decent file manager out there. To launch a new tab you can press Ctrl+T and you can close one with Ctrl+W while the tab is open. Alternatively, you can just right-click on a folder and select Open in New Tab.
Tabs are great but you can’t see two tabs at once. You can only switch between them and while that does make copying files between two places easier than not having tabs at all, Split View is much better at it. You can easily use it by pressing F3 or clicking on the Split button at the top. This splits the Dolphin window into, you could say two tabs that you can view side by side. You can thus easily drag and drop files between them making things much easier. There is only one sidebar, toolbar, etc for navigation and they work for the side currently in focus.
Moving Panels, Integrated Terminal, and the Tree View
You may notice this, sooner or later that Dolphin does not have the Tree view navigation on the left like the Windows file explorer. Not that you’ll need it really because you do have the breadcrumbs-style address bar at the top. But if you still want it, Dolphin has it.
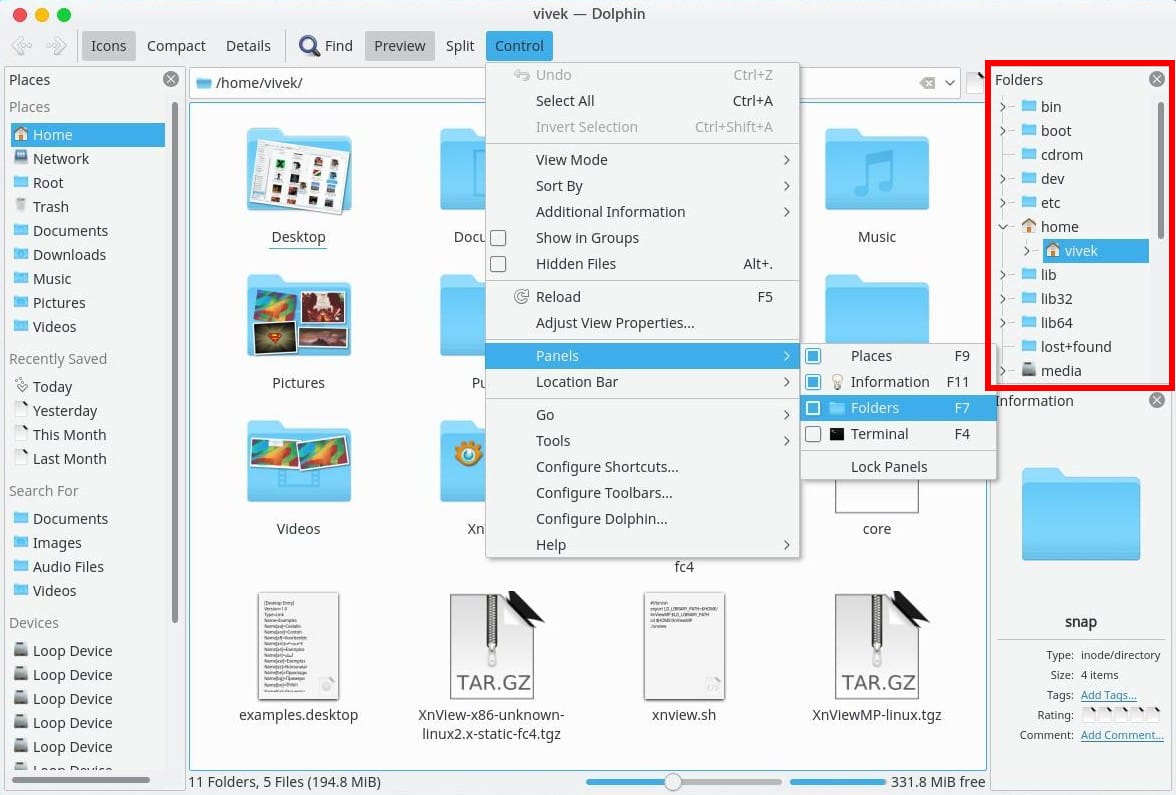
All you have to do is press F7 on your keyboard. A longer route would be Control > Panels > Folders. You’ll most probably find it in the upper left side but you can easily move it to the bottom left or even to the right as I have in the screenshot above. All you have to do is select Unlock Panels and then drag any panel to whichever side you want.
You can also enable an integrated Terminal inside the Dolphin window if you select Terminal. You can also move the Terminal panel to either the top of everything or the bottom where it appears by default.
Dolphin services

If you thought that was all you could customize about Dolphin, you couldn’t be more wrong. Dolphin services are basically what others call extensions or plugins. This simple yet functional file manager does manage to do a pretty good job at hiding them though. If not told, there’s a very good chance you won’t find them, or if you do, you’ll simply ignore them.
Dolphin services can add many cool features that Dolphin does not have by default. If you were frustrated that the supposedly advanced file manager does not let you set an image as wallpaper, you’d love the Set as wallpaper service.
Dolphin already comes pre-installed with a bunch of these services but you can download and install more. You can convert videos, images, PDF documents, and Office documents, and send files to Chromecast, all with a right-click. All you need is to install the concerned service. You’ll find the installed services in Control > Configure Dolphin… > Services. You can download more services by clicking the Download New Services… button here.
Don’t forget to check our detailed tutorial to learn how you can edit images in Dolphin professionally.
Read Next: How to Zip and Unzip Files in Ubuntu Using Command