Earlier versions of Windows have allowed booting into Safe Mode in case Windows couldn’t normally boot or had crashed. This was something really helpful but was replaced with Automatic repair eventually which isn’t all that great, to be honest. First, it only kicks in if your Windows has failed to boot multiple times, and sometimes it just won’t at all. Even if it does, it might get stuck itself and there’s no way you can know that since all you see is some text and a loading animation. Fortunately, Safe Mode itself hasn’t been removed from Windows. You can force Safe Mode in Windows 10 and manually take care of any problems that are preventing it from booting.
To force safe mode in Windows 10 though you will need a bootable Windows media. You can access the command prompt using it unless the feature has been disabled on your media in which case you’d have to create another one using another PC or borrow one from a friend. With access to the Command Prompt, you can force Windows to boot into safe mode. We’ll show you how but first you should know that these changes are permanent. Meaning this will force Windows to always boot into safe mode unless you disable it again. Of course, we’ll also show you how to do that.
Force Safe Mode in Windows 10
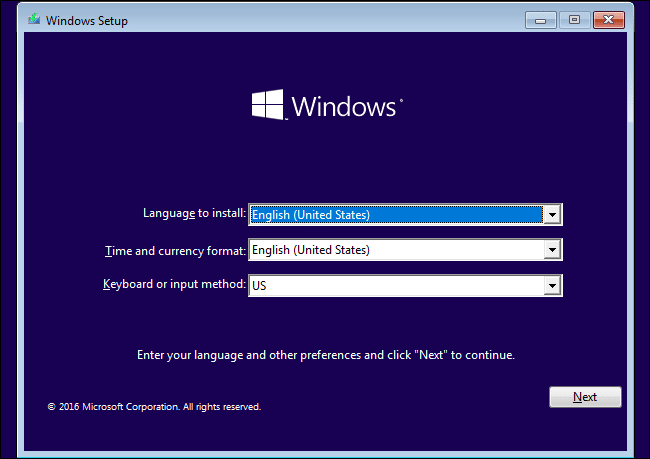
- Use your installation media to boot up your computer and press Shift + F10 on your keyboard when you see the first Setup screen. This is before you click Next or anything else.

- When in the command prompt, enter the command given below to see your current boot info.
bcdedit
- At the very bottom of the boot info, you’ll find a section (or multiple sections) named Windows Boot Loader. Look for one that lists partition=C: in front of device and take note of the identifier. As you can see in the screenshot below, it’s {current} for me because I’m logged into my PC but for you, it could be {default} or anything else too.

- Even if you do edit the wrong bootloader you have nothing to worry about. It won’t break much on your system, and you can always revert the changes later. Just remember that you can make changes to the bootloader using the identifier. With that in mind, use either of the commands mentioned below depending on your requirements. Replace {identifier} with your boot loader’s identifier.
bcdedit /set {identifier} safeboot networkor
bcdedit /set {identifier} safeboot minimal
safeboot network lets you use the Internet while inside the Safe mode while the other won’t.
- Now reboot your Windows machine without the installation media. It should boot into safe mode without any warning or prompt.
- To disable Safe Mode again, run the command prompt as administrator from within the safe mode. You can also use the installation media again to access the command prompt, whichever method you prefer.
- Use the following command now to disable safe mode.
bcdedit /deletevalue {identifier} safebootNote that if you use the command prompt from within the safe mode the identifier is changed to {current} instead of {default}.