Millions of machines are now running on Windows 10 operating system. Microsoft has added many new features including its digital voice assistant Cortana in Windows 10. Known for its robustness among the operating systems, but we cannot predict when our hard disk might crash or OS might get corrupted. It’s always a better option to have a backup of the currently working copy, as we don’t need to go through the entire OS installation.
Most of the Windows 10 users might not have an idea about how to create a backup of the system image. Let’s learn in this tutorial how to create system image backup and restore it. Before starting, make sure you have enough space in the hard disk or you have an external drive with enough space.
How to create system image backup
Follow the below steps to create system image backup in Windows 10.
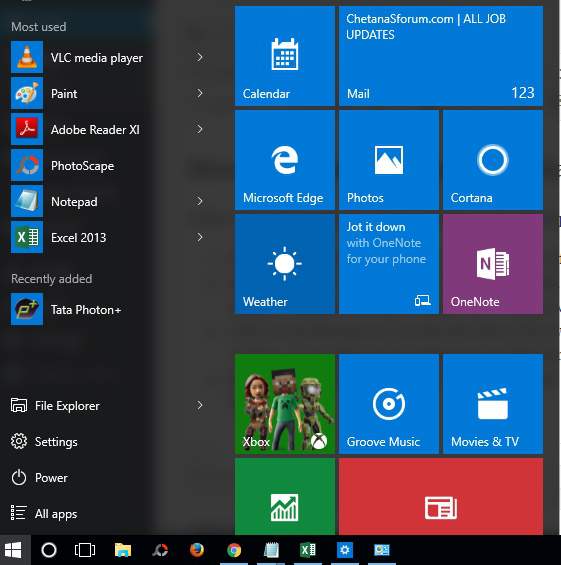
- Click on Windows start button in the bottom left corner of the screen. Then select Settings from the list.

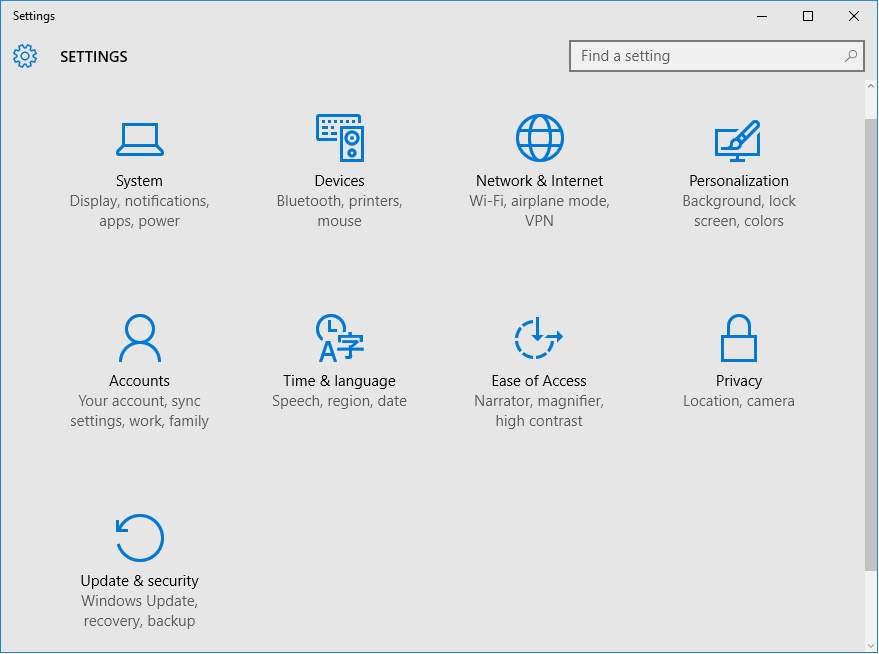
- The settings window will appear on the screen with various tiles. Click on Update & security option. Then update & security window will open within the Settings window.

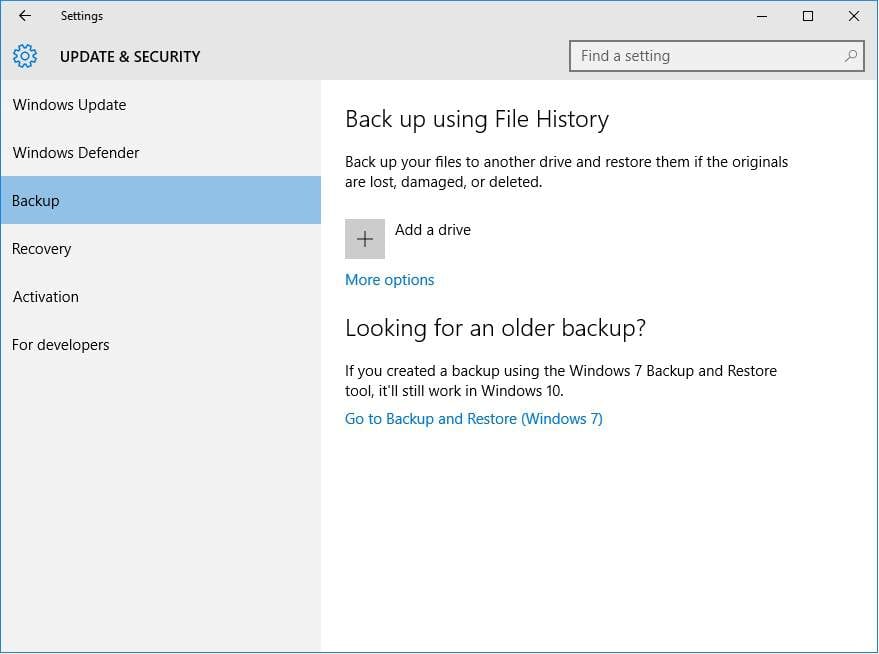
- Click on the Backup tab on the left side of the window. You can see options appearing on the right side of the window. Now click on Go to Backup and Restore(Windows 7).

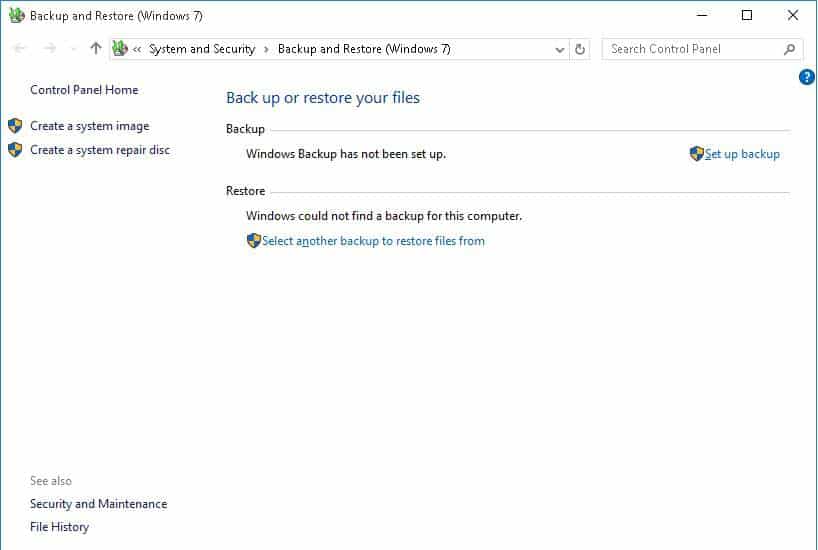
- Backup and Restore window will appear on the screen. Click on Create a system image option on the left side of the window.

- In Create a system image window, select On a hard disk and choose drive where you want to save the backup image. Click on Next button.

- Now select other drives which you want to include along with system backup.

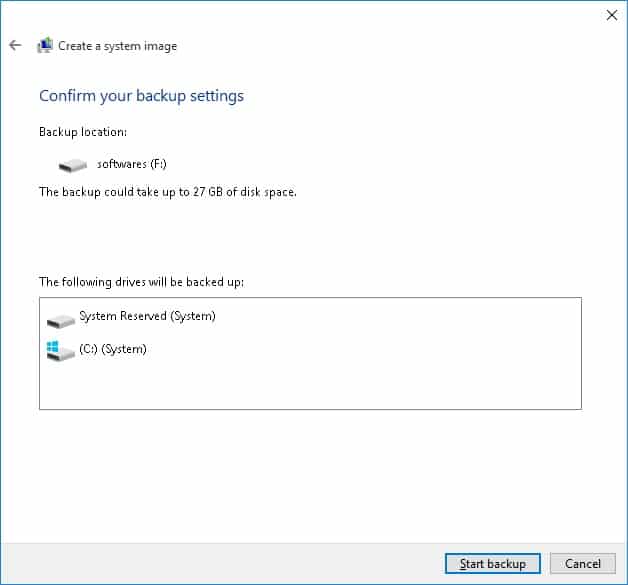
- Click on Start Backup button to start the backup process once you confirm the backup settings.
- Take rest for some time as the backup process will last for some minutes. Once the backup image is created, you will see a success message on the screen.

How to restore system image backup
Once you have system backup image, you can restore it by performing the below steps.
- Connect the drive containing system backup image to your PC and reboot your computer with Windows installation media.
- In Windows setup, click on Next button and then click on Repair your computer option on the bottom the left corner of the screen.
- Click on Troubleshoot, then click on Advanced options and select System image recovery option.
- Now select the backup image which you want to recover and then click on Next button.
That’s it. You have successfully completed backup and restoring of system backup image.
Let us know your valuable comments and suggestions in the below comments section.