On Windows, you can restore your system to how it was at a certain point in time using System Restore Points. They are usually automatically created every week and before events such as installing a Windows update. If this is the first time you’re hearing about a system restore point or you want to know how to manually create and use a restore point, you can check out our guide. You can also refer to our guide if you want to enable system restore pint on your PC. Today, we’re going to show you how you can create an automatic restore point daily on Windows 10.
Because the weekly-created system restore points might not always help some people. If you frequently mess around with your Windows 10 PC for theming or any other reasons, you might need more recent backups than something a week old. Even if you’re always careful enough to manually create system restore points before you try anything dangerous, you are but human. We tend to forget things often and this isn’t something you would want to forget. The best solution is to schedule an automatic system restore point creation on Windows 10 every day.
This works because Windows is pretty good at deleting older restore points when necessary. The default amount of space system restore points can use is 2% of the disk space. When that limit is reached, Windows will delete the oldest of the restore points. So you don’t need to worry about your computer getting filled up with a bunch of restore points.
Automatic restore points can be created daily with a simple registry tweak. There certainly are other ways to do this using Task Scheduler or Group Policy Editor but they’re either more complicated or not available to everyone. You can also create a desktop shortcut to create a system restore point.
Schedule Restore Point on Windows 10
- Hit the Windows key on your keyboard and type regedit.

- Click on the first search result to launch the Registry Editor.
- Navigate to
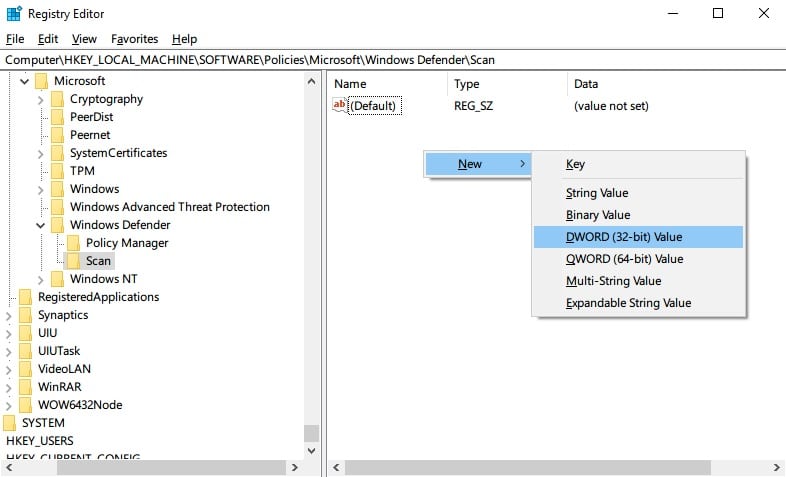
HKEY_LOCAL_MACHINE\SOFTWARE\Policies\Microsoft\Windows Defender
or copy and paste the address in the address bar at the top of the registry window. - Right-click on the Windows Defender folder on the right and select New > Key.

- Name it Scan and hit Enter.
- On an empty area on the right-hand pane, right-click and select New > DWORD (32-bit) Value.
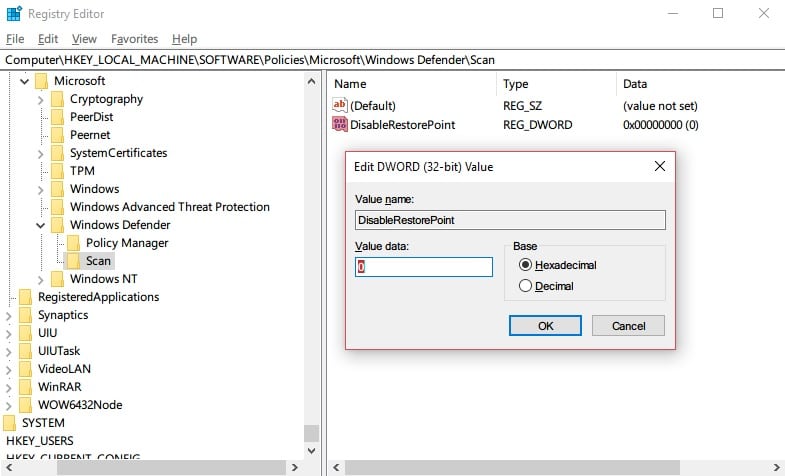
- Name the key DisableRestorePoint and press Enter.
- Double-click on the newly created DWORD and change its value to 0 if it’s not already so.

- Click OK and then close the registry editor.


You have successfully scheduled automatic restore points on your Windows PC. From now on, a system restore point will be created every day and if you want to undo those changes, simply repeat steps 1 to 3 and then on step 4, delete the Scan key. This will remove it and its components reverting your settings to how they were.
Read Next: 8 Mouse Tricks for Windows 10 You Must Know About