If you’ve been thinking about getting a Chromebook, you’re probably wondering what exactly are you going to miss out on. Chromebooks run Chrome OS and while the hardware is pretty decent, the OS itself is pretty limiting. Sometimes, Chrome OS isn’t even enough against Android. This was helped by porting Android apps to Chrome OS. There are still a lot of things you cannot do on Chrome OS compared to any other desktop OS. However, creating a bootable USB on Chrome OS is very much possible. Check out more Chrome OS tips and tricks to make the most of it.
A bootable USB drive can be used to install a new operating system, as well as for using tools such as GParted. The former is the more popular use of a bootable USB drive though. Chrome OS doesn’t have many (or any, in fact) third-party tools to create bootable recovery media. It may be making headlines often, but Chrome OS is still used by a very small number of people. This makes developing apps less beneficial for the devs now that Google is pulling Chrome app support from other platforms.
Fortunately, Google does provide its own Chromebook Recovery Utility. It is designed to create Chrome OS recovery images for Chromebooks and also works on Windows, Mac, or a Linux system. It normally downloads the image from Google’s servers but it does allow you to select an image locally stored on your machine. While meant to create Chrome OS recovery images, using a Windows or a Linux image does seem to work as well.
If you bought a Chromebook with decent specs and feel like the OS is holding it back, creating a bootable Windows or Linux USB drive can be just the thing you need. Using it you can install a more powerful desktop OS which can make much better use of your Chromebook’s hardware. Keep in mind though that if you don’t know what you’re doing, you may end up damaging your Chromebook. It is advised that you create a recovery utility first using the Chromebook Recovery Utility, something it was meant to do. Here’s how you can create a bootable USB on Chrome OS after that.
Chromebook Recovery Utility
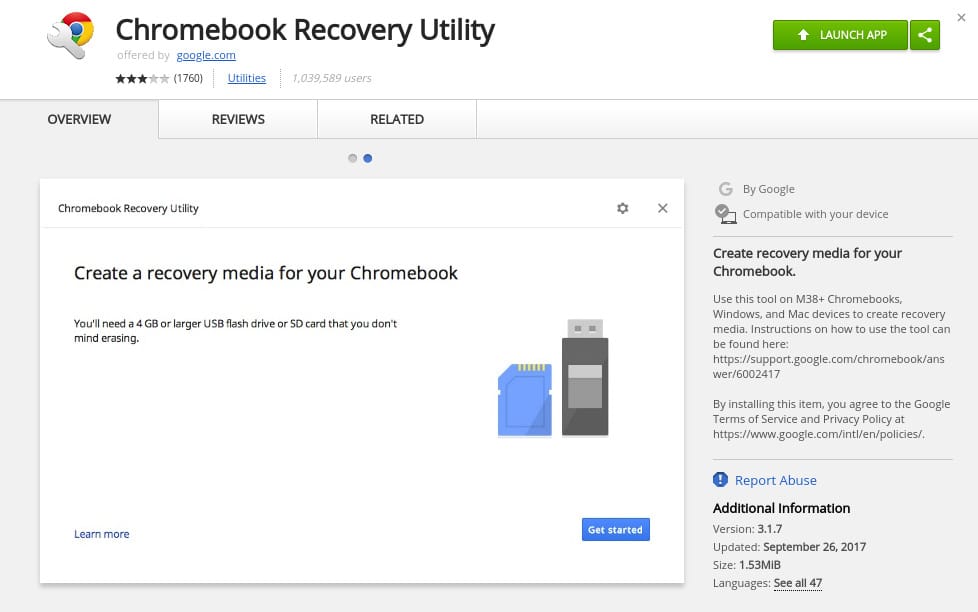
Chromebook Recovery Utility can be installed from the Chrome Web Store like any other Chrome app if it’s not already installed. You can head over to the Chrome Web Store and search for it or simply follow the link below.
Download Windows or Ubuntu Image file
Since you are looking to create a bootable USB on Chrome OS you probably already have an image you want to boot from. In the odd case that you don’t, you can download the latest Ubuntu 19.04 images. Ubuntu or any other Linux distributions are full-fledged desktop operating systems and are completely free. If you have a Windows 10 license, you can also download a Windows 10 image from Microsoft’s website.
Whichever image you use, you have to remember that the recovery utility wasn’t meant to handle ISO images. As such, you’ll have to rename the file and replace the iso in the name to bin. For instance, rename ubuntu-18.04-desktop-amd64.iso to ubuntu-18.04-desktop-amd64.bin.
Create a bootable USB on Chromebook
Now that you have the Chromebook Recovery Utility and an image you want to install on it, we can proceed ahead.
- Insert the USB drive that you want to make bootable.
- Launch Chromebook Recovery Utility from the Chrome app drawer.

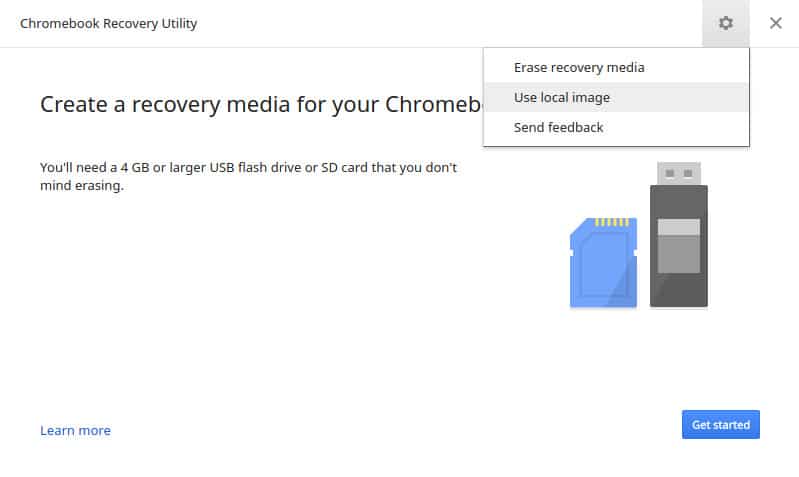
- Click on the Settings icon in the top right and select Use local image.

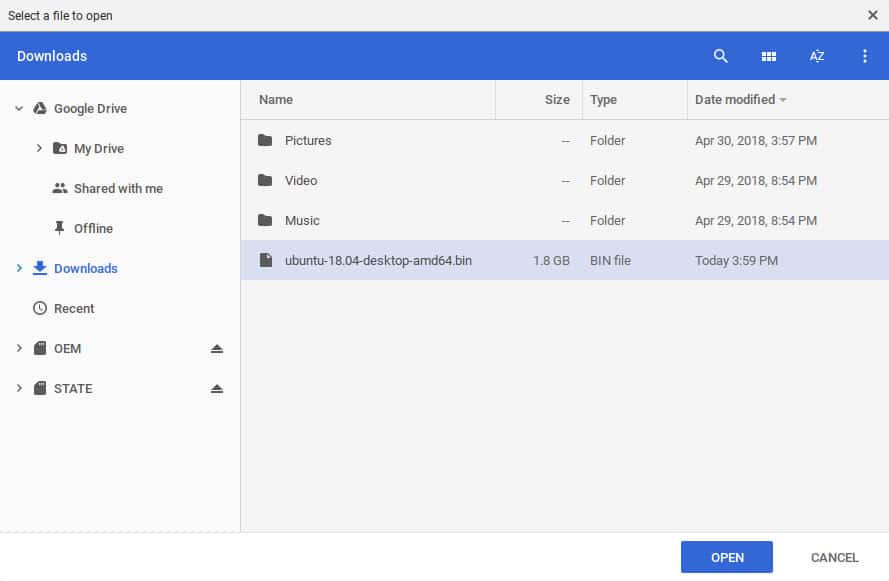
- Select the image you want to flash onto the drive and click OPEN. If you haven’t renamed the file as mentioned earlier, it won’t be listed here.

- Next, select your USB drive from the drop-down menu and click Continue.

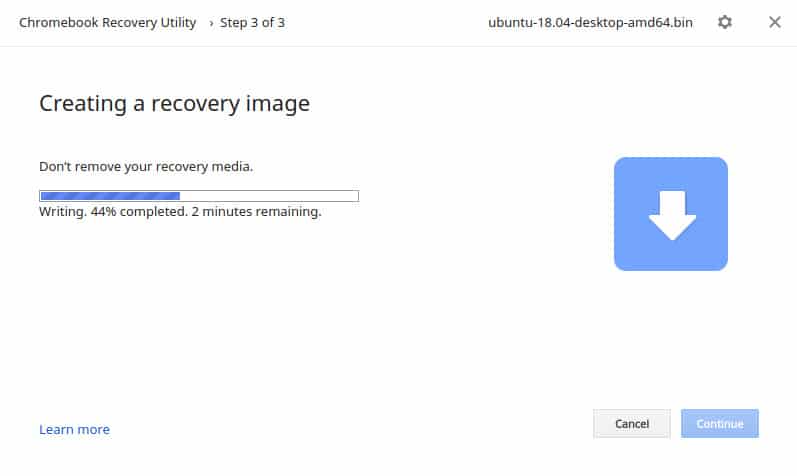
- You’ll be warned that all the data on the drive will be lost. Click Create now to start the process. Depending on the hardware specs of your Chromebook, the size of the image, and the read/write speed of your USB, this can take some time.
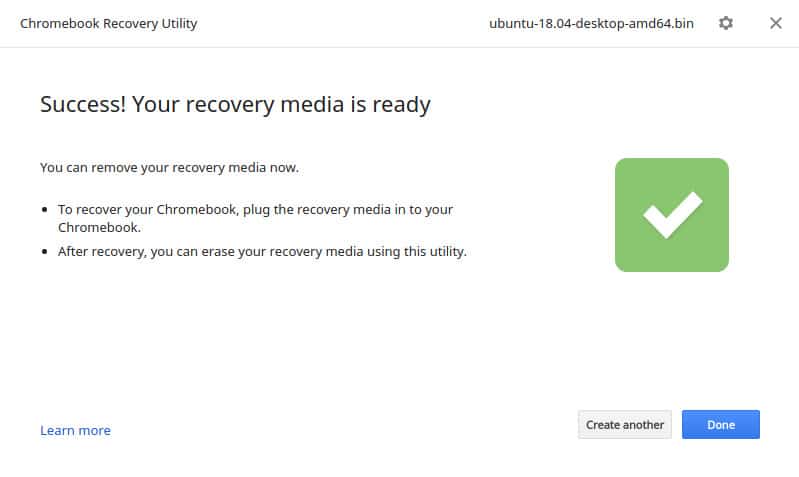
- Click on Done when the process is complete.

Having created the bootable USB successfully, you should also check out these must-have apps for the Chrome OS.